140
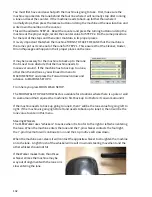
The above speed pots are sealed in place after being adjusted in factory using liquid tape.
Balancing the Two Walker Drive Motors
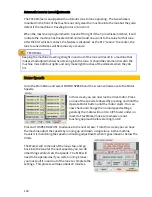
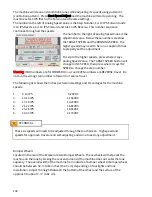
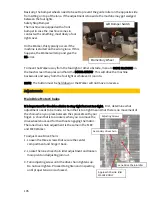
The two drive motors are “balanced” with a long 22 AWG yellow wire. This wire is used on
either the 7-pin or the 10-pin drive motor, depending on which motor needs more
resistance.
The wire only receives current while the machine is traveling on the approach and it is only
creating a small amount of resistance in the circuit to balance the two motors so they will
run at the same speed. A longer length of wire will make the motor run slower.
To balance the motors on the Walker, first determine which motor is using or needs the
resistance wire. The instructions below are written as if there is no resistance wire.
1.
Go to the MOVE MACHINE screen and position the machine as if it were going to the
next lane.
2.
Line the rear panel up with the approach boards so they are parallel with each other.
3.
Press the DOUBLE UP ARROW and stop the machine where desired.
4.
Check to see if the rear panel is still parallel with the approach boards. If one side
only advances ½ an inch this may not be a concern (unless you
want it absolutely perfect).
5.
Press the DOWN ARROW and observe if the machine advances
back to where it started.
6.
Do this exercise, several times, to see if the machine repeats its
movements forward and back.
7.
If the machine repeats its error and is off by as much two boards,
then replace the proper jumper with a wire between 6 and 8 feet
(1.8 to 2.4 m) to start with. If the machine does not travel the
same in both directions then you will need to split the difference when adjusting the
resistance wire.
8.
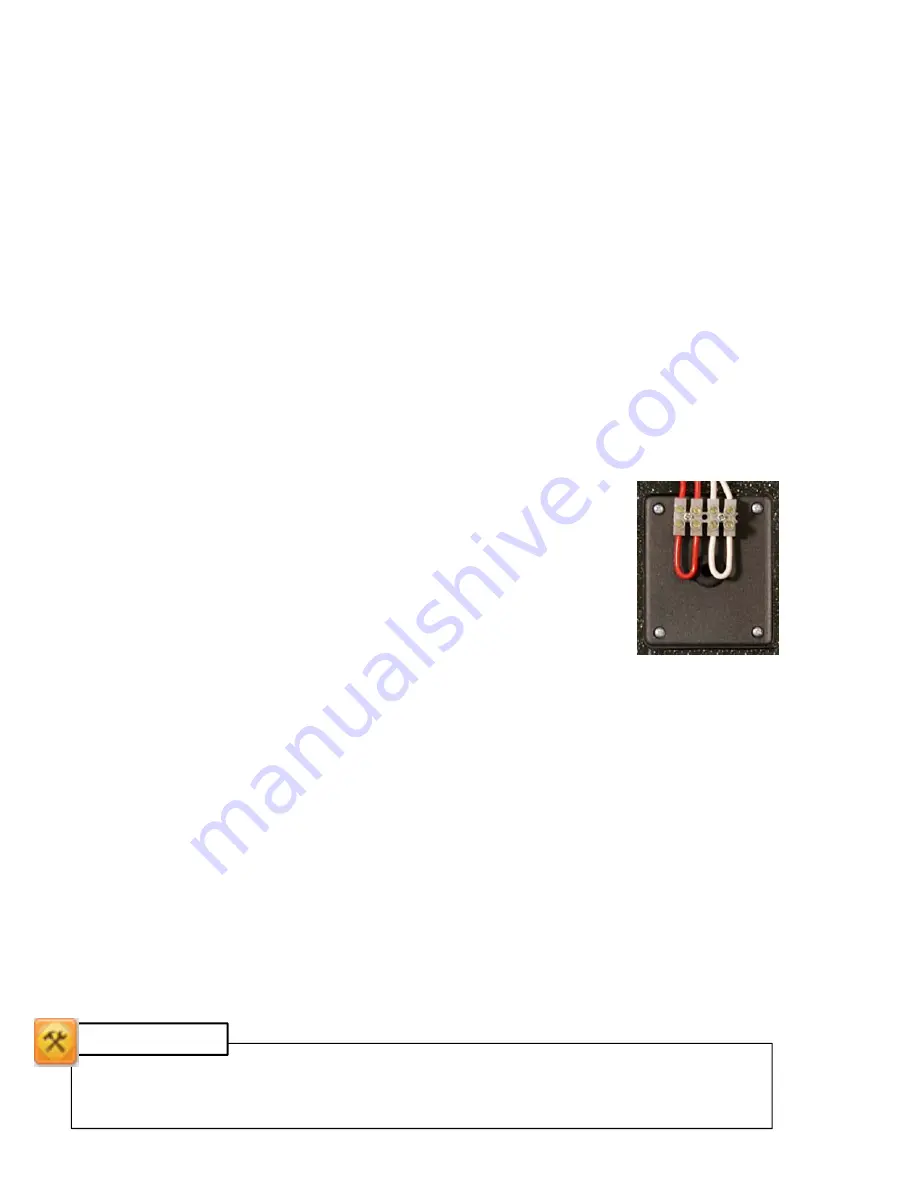
If the yellow resistance wire is used to control the 7-pin motor it will be connected to
the two terminals on the left hand side of the black box (red wires).
9.
If the yellow resistance wire is used to control the 10-pin motor it will be connected
to the two terminals on the right hand side of the black box (white wires).
10.
When stripping the wire, remove ½ inch of the insulation so you can fold the wire in
half when inserting into the terminal block.
11.
Be certain to turn the power off when adjusting the wire length
.
12.
After you have installed the length of wire (which we hope is a little long to start),
repeat steps 1 through 5 and observe the movement of the Walker.
13.
Shorten the yellow wire if needed in 6 to 12 inch increments (~15 to 30 cm) and then
test the results. Continue until the motors are balanced and the machine travels
straight. Put the excess wire inside the black box along with the jumper when
finished.
The length of wire used will vary from machine to machine and it may be necessary to
move the resistance wire to the other motor after both motors break in.
TECHNICAL
Summary of Contents for FLEX 17-5801
Page 1: ...OPERATORS MANUAL Edition 03 18...
Page 2: ......
Page 12: ......
Page 16: ...4 Wah lah I did them the same...
Page 51: ...39...
Page 171: ...159...
Page 172: ...160 CHAPTER 7 Miscellaneous Parts Stickers and Decals...
Page 173: ...161...
Page 174: ...162...
Page 176: ...164...
Page 178: ......
Page 181: ......
Page 183: ......
Page 185: ......
Page 187: ...7 7...
Page 189: ......
Page 191: ......
Page 193: ......
Page 195: ......
Page 197: ......
Page 199: ...14 15 16 17 18 19 5 4 7 6 13 8 9 10 2 12 11 9 3 8 10 9 1 3 9 10 12...
Page 201: ......
Page 203: ......
Page 205: ...7 7...
Page 207: ......
Page 209: ......
Page 211: ......
Page 213: ......
Page 215: ...7 5 7...
Page 217: ......
Page 219: ......
Page 221: ......
Page 223: ......
Page 225: ......
Page 227: ...7 7...
Page 229: ......
Page 231: ......
Page 233: ...7...
Page 235: ......
Page 237: ......
Page 239: ...3 2 9...
Page 241: ......
Page 243: ......
Page 245: ......
Page 246: ...235...
Page 248: ...230...
Page 249: ...231...
Page 250: ...232...
Page 251: ...233...
Page 252: ...234...
Page 253: ...235...
Page 254: ...236...
Page 255: ...237...
Page 256: ...238...
Page 257: ...239...
Page 258: ...240...
Page 259: ...241...
Page 260: ...242...
Page 261: ...243...
Page 262: ...244...
Page 263: ...245...
Page 264: ...246...
Page 265: ...247...
Page 266: ...248...
Page 267: ...249...
Page 268: ...250...
Page 269: ...251...
Page 270: ...252...
Page 271: ...253...
Page 272: ...254...
Page 273: ...255...
Page 274: ...261...
Page 276: ...257...
Page 277: ...258...
Page 278: ...259...
Page 279: ...260...
Page 280: ...261...
Page 281: ...262...
Page 282: ...263...
Page 283: ...264...
Page 284: ...265...
Page 285: ...266...
Page 286: ...267...
Page 287: ...268...
Page 288: ...269...
Page 289: ...270...
Page 290: ...271...
Page 291: ...272...
Page 292: ...273...
Page 293: ...274...
Page 294: ...275...
Page 295: ...276...
Page 296: ...277...
Page 297: ...278...
Page 298: ...279...
Page 299: ...280...
Page 300: ...281...
Page 301: ...282...
Page 302: ...283...
Page 303: ...290...

