63
Board Counting Target and Proximity Switch (look for tutorial video on KOSI)
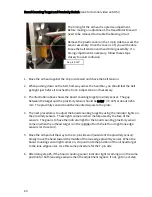
The timing for the oil head is a precise adjustment.
Before making an adjustment, the Head Motor Fuse will
need to be removed to disable the braking circuit.
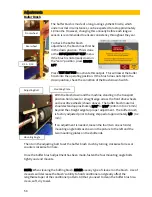
Remove the plastic cover on the 10-pin side to access the
sensor assembly. Once the cover is off, you will be able
to see the belt tension and head timing assembly. If a
timing adjustment is necessary, follow these steps
closely to avoid confusion.
1.
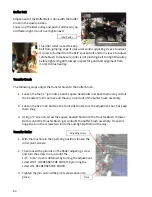
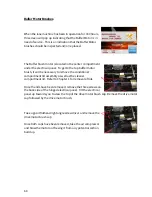
Move the oil head against the 10-pin side wall and check the belt tension.
2.
When pushing down on the belt, half-way across the head bar, you should feel the belt
get tight just before it touches the track. Adjust tension if necessary.
3.
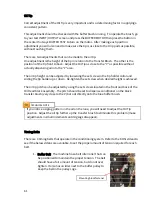
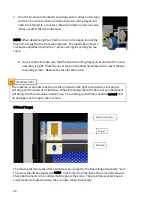
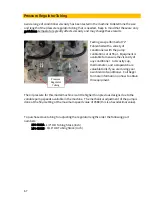
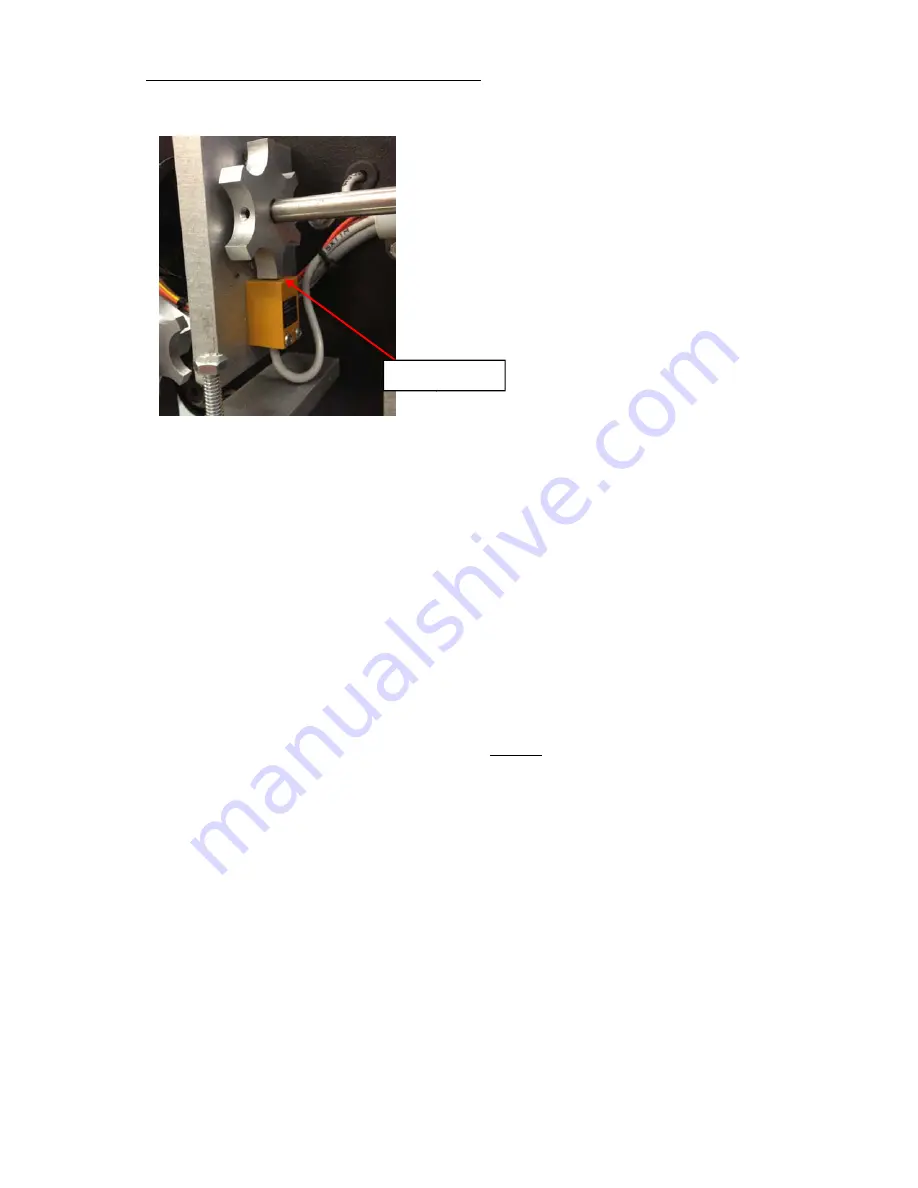
The illustration above shows the board counting target proximity sensor. The gap
between the target and the proximity sensor should be 0.010” (
0.005) or about 0.254
mm. The proximity sensor should be mounted square to the plate.
4.
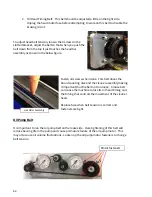
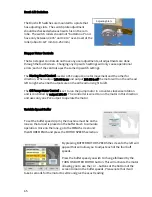
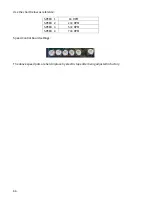
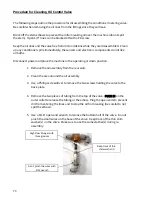
The next procedure is to adjust the board counting target by using the indicator lights on
the proximity sensors. These lights come on when metal passes by the face of the
sensors. The goal is to have the indicator light for the board counting proximity sensor
come on when the oil head target is in the middle of both the left and right lane edge
sensors (or close to it).
5.
Move the oil head all the way to the 10-pin side wall (outside of the proximity sensor).
Slowly move the head toward the middle of the lane edge proximity sensor. When the
board counting sensor light comes on, stop and note the position of the oil head target
to the lane edge sensor. Use this same procedure for the 7-pin side.
6.
After doing step #5, if the board counting sensor indicator light is coming on in the same
position for both lane edge sensors then the adjustment is good. If not, go to next step.
Gap is 0.010”
Summary of Contents for FLEX 17-5801
Page 1: ...OPERATORS MANUAL Edition 03 18...
Page 2: ......
Page 12: ......
Page 16: ...4 Wah lah I did them the same...
Page 51: ...39...
Page 171: ...159...
Page 172: ...160 CHAPTER 7 Miscellaneous Parts Stickers and Decals...
Page 173: ...161...
Page 174: ...162...
Page 176: ...164...
Page 178: ......
Page 181: ......
Page 183: ......
Page 185: ......
Page 187: ...7 7...
Page 189: ......
Page 191: ......
Page 193: ......
Page 195: ......
Page 197: ......
Page 199: ...14 15 16 17 18 19 5 4 7 6 13 8 9 10 2 12 11 9 3 8 10 9 1 3 9 10 12...
Page 201: ......
Page 203: ......
Page 205: ...7 7...
Page 207: ......
Page 209: ......
Page 211: ......
Page 213: ......
Page 215: ...7 5 7...
Page 217: ......
Page 219: ......
Page 221: ......
Page 223: ......
Page 225: ......
Page 227: ...7 7...
Page 229: ......
Page 231: ......
Page 233: ...7...
Page 235: ......
Page 237: ......
Page 239: ...3 2 9...
Page 241: ......
Page 243: ......
Page 245: ......
Page 246: ...235...
Page 248: ...230...
Page 249: ...231...
Page 250: ...232...
Page 251: ...233...
Page 252: ...234...
Page 253: ...235...
Page 254: ...236...
Page 255: ...237...
Page 256: ...238...
Page 257: ...239...
Page 258: ...240...
Page 259: ...241...
Page 260: ...242...
Page 261: ...243...
Page 262: ...244...
Page 263: ...245...
Page 264: ...246...
Page 265: ...247...
Page 266: ...248...
Page 267: ...249...
Page 268: ...250...
Page 269: ...251...
Page 270: ...252...
Page 271: ...253...
Page 272: ...254...
Page 273: ...255...
Page 274: ...261...
Page 276: ...257...
Page 277: ...258...
Page 278: ...259...
Page 279: ...260...
Page 280: ...261...
Page 281: ...262...
Page 282: ...263...
Page 283: ...264...
Page 284: ...265...
Page 285: ...266...
Page 286: ...267...
Page 287: ...268...
Page 288: ...269...
Page 289: ...270...
Page 290: ...271...
Page 291: ...272...
Page 292: ...273...
Page 293: ...274...
Page 294: ...275...
Page 295: ...276...
Page 296: ...277...
Page 297: ...278...
Page 298: ...279...
Page 299: ...280...
Page 300: ...281...
Page 301: ...282...
Page 302: ...283...
Page 303: ...290...


