9
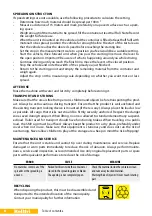
ERROR
CAUSE
MEASURE
No materilas comes out of the
spreader or the spreading is
uneven
Packed fertilizer inside the container or
stuced in the spreading plate or blades
The opening is not completely open.
Check the material inside the container, clean
and take away stucked material.
Warning! Risk of injuries! Never touch rotating
part
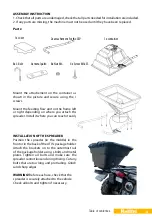
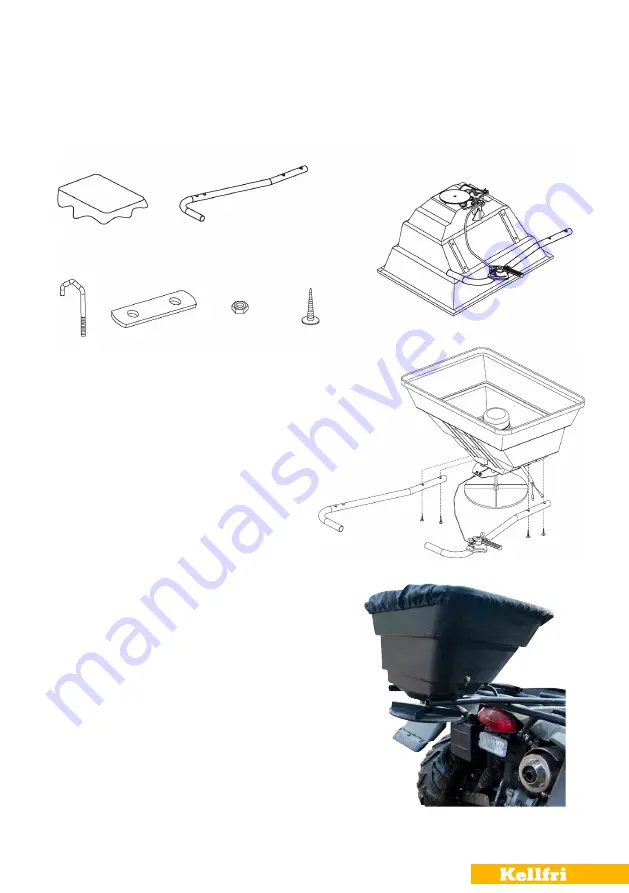
1x cover
2x attachement for the ATV
WARNING!
Before each use, check that the
spreader is securely attached to the vehicle.
Check all bolts and tighten if necessary.
1x container
8x J-bolt
4x metal palte
8x Nut M6
4x Screw M5x35
ASSEMBLY INSTRUCTION
1. Check that all parts are undamaged, check that all parts needed for installation are included.
2. If any parts are missing, the machine must not be used until they have been replaced.
Mount the attachement on the container as
shown in the picture and secure using the 4
screws.
Mount the feeding flow unit on the frame left
or right depending on where you attach the
spreader. Install it where you can reach it easily
INSTALLATION OF THE SPREADER
Position the spreader (in the middle) in the
front or in the back of the ATV’s package holder.
Attach the brackets on to the outermost rail
of the package holder using J-bolts and metal
plates. Tighten all bolts and make sure the
spreader cannot loosen during driving. Cut any
bolts that are too long and protruding. Grind/
sand sharp edges.
Parts:


