52
53
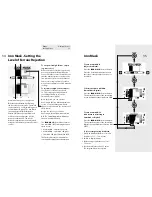
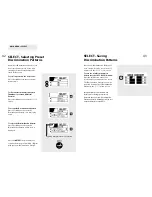
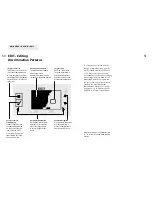
Select the Discrimination Pattern that
you would like to edit
(Select, pg. 40,
Learn pg. 44).
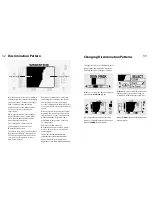
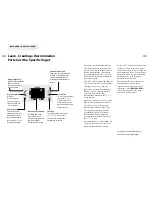
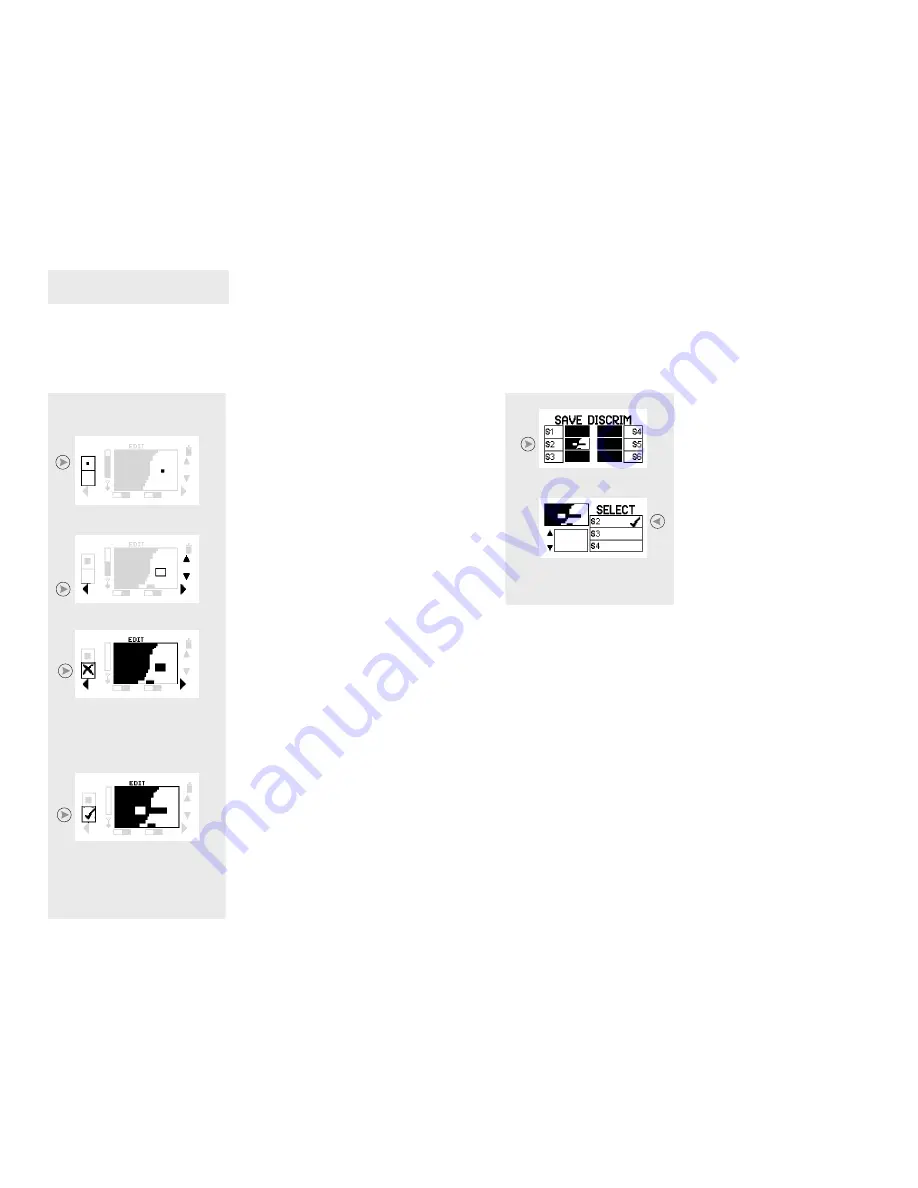
To change the size of the target
frame:
Press the top left shift button to switch
between three target frame sizes.
To move the target frame:
Press the shift buttons next to the
navigation arrows. Position the resized
frame over the screen section you wish
to edit.
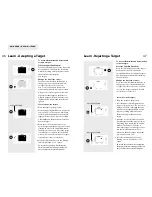
To reject the framed area:
Press the center left shift button once.
You will note that a cross appears
next to the button and the area of
screen within the target frame has
turned black. You can now move the
target frame in any direction using
the horizontal and vertical navigation
arrows.
To accept the framed area:
Press the center left shift button until
a tick appears next to the button. This
instructs the Explorer SE to clear the
framed area.
EDIT - Editing
Discrimination Patterns
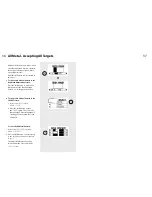
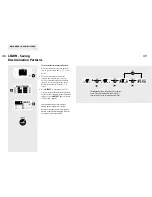
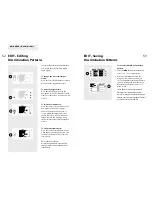
To save the edited Discrimination
Pattern:
1 Press the
MENU
shortcut button and
select
SAVE DISC
from the menu.
2 Press the shift button next to the
location you want to save it to (e.g.
S2). The edited Discrimination Pattern
can now be retrieved from the list of
Discrimination Patterns in the
SELECT
menu screen.
Saved Patterns are not erased when
factory preset settings are restored.
Be sure to save your new Discrimination
Pattern, otherwise all changes will be lost
once the detector is turned off.
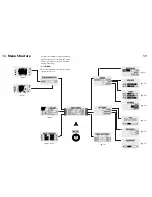
MAIN MENU > DISCRIM > EDIT
Be sure to save your new
Discrimination Pattern, otherwise all
changes will be lost once the detector
is turned off.
EDIT - Saving
Discrimination Patterns
Summary of Contents for Explorer SE
Page 1: ......

