EN
OWNER'S
MANUAL
EBIKE
6
1. Grease the dust caps and seals with Teflon oil.
2. Check if any parts of the seatpost are damaged. If you find that any parts are worn or damaged,
replace them with new original parts.
Every 50 hours of operation – it is recommended to have the seatpost serviced by a professional
service centre
IMPORTANT NOTICE
There is a mark on the seatpost that indicates the minimum insertion of the seatpost into the frame.
This mark of the minimum insertion of the seatpost into the frame must not be visible. Never fit
a seatpost to the frame of an e-bike below this mark! The saddle clamp bolt or quick-release
mechanism of the seatpost must be tightened so that the seatpost cannot rotate in the frame. Move
the quick-release lever only sideways in the OPEN or CLOSE positions. Do not turn the locked quick-
release switch, it may be damaged!
NOTICE
If necessary, use KLS mounting paste for carbon components. Observe the tightening torques of
the bolts of the saddle clamp, in case of over-tightening there is a risk of damaging the frame and/
or the clamp.
STEM AND HANDLEBARS
THREADLESS STEM (A-HEAD STEM)
The "a-head" type stem is attached to the fork neck and secured with two Allen screws. The height
of the stem and handlebars is adjusted by means of rings which are inserted between the stem and
the head assembly, or by replacing the stem with a stem with a different angle. The a-head stem also
adjusts the clearance of the head assembly.
Loosen the 2 Allen screws on the stem clamp that secure the stem to the fork and the head assembly
bolt. Tighten or loosen this bolt to adjust the head assembly clearance so that the fork rotates freely
but the head assembly has no clearance. Tighten the head assembly bolt first. Now adjust the
direction of the stem and tighten the stem with the 2 Allen screws on the stem clamp.
Check before tightening:
• whether the individual parts of the head assembly fit together correctly
• whether the fork neck is correctly seated in the head assembly
NOTICE
Before riding, check that the Allen screws on the stem clamp are tight. To maintain the proper
function of your e-bike's head assembly, it is necessary to periodically (according to the frequency
of riding) lubricate the head assembly with the appropriate lubricating grease. Disassembling and
reassembling and tightening the head assembly to maintain the smooth running of the bearings
requires some experience – we therefore recommend that you contact a professional service centre.
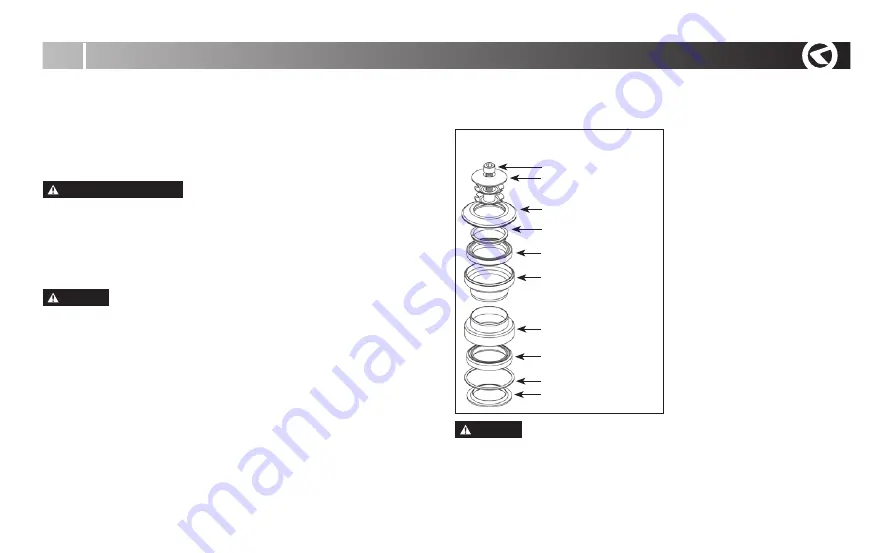
1. adjusting bolt
2. lock with star nut
3. upper cover
4. compression ring
5. ball bearing
(cartridge)
6. upper bearing cup
7. lower bearing cup
8. ball bearing
(cartridge)
9. dust seal
10. fork crown race
A-HEAD HEADPARTS
Summary of Contents for E-CARSON 10
Page 1: ...OWNER S MANUAL E BIKE ...
Page 2: ...EXTENDWARRANTY OF YOUR KELLYS FRAME ...
Page 41: ...EN OWNER S MANUAL EBIKE 41 ...
Page 53: ......


