B. Check for traces of oil on the compressor pan which
could mean a broken or leaking refrigeration line.
UNDER NO CIRCUMSTANCE SHOULD THE
COMPRESSOR BE STARTED WHEN OIL IS
PRESENT UNTIL INSPECTED BY A SERVICE
TECHNICIAN.
C. INSPECT THE FACTORY WIRING FOR
TERMINALS THAT MIGHT HAVE VIBRATED
LOOSE IN SHIPPING. TIGHTEN ALL SCREW
TYPE TERMINALS.
D. Check the refrigeration lines to see that they are
“free” and no damage was done during shipping.
E. Check fan blade for free operation.
F. Turn on the main power switch. Once the compressor
starts, the voltage should be checked at the
compressor terminals to determine if there is proper
voltage to the compressor. The voltage should not
exceed the 10% above or below the rated
compressor voltage.
EXAMPLE: If the voltage reads 220 volts with no load
and it drops below 210 volts when the compressor
starts, it may indicate that the supply wiring is too small
or that the wire run is too long.
G. Listen for any unusual noise such as lines vibrating,
etc. Correct the problem by tightening screws,
slightly bending tubing, etc.
H. The temperature control thermostat which is located
in the rear post is factory set for average conditions.
A customer adjustment requires a coin or
screwdriver to turn the slotted shaft. A numbered dial
makes it easy to keep track of adjustments. #1 is
warmest setting and #7 is coldest setting. An “OFF”
position is provided for your convenience in
defrosting the cabinet.
I. Allow the cabinet to pull down and cycle prior to
loading with product (Approx. 24 hours).
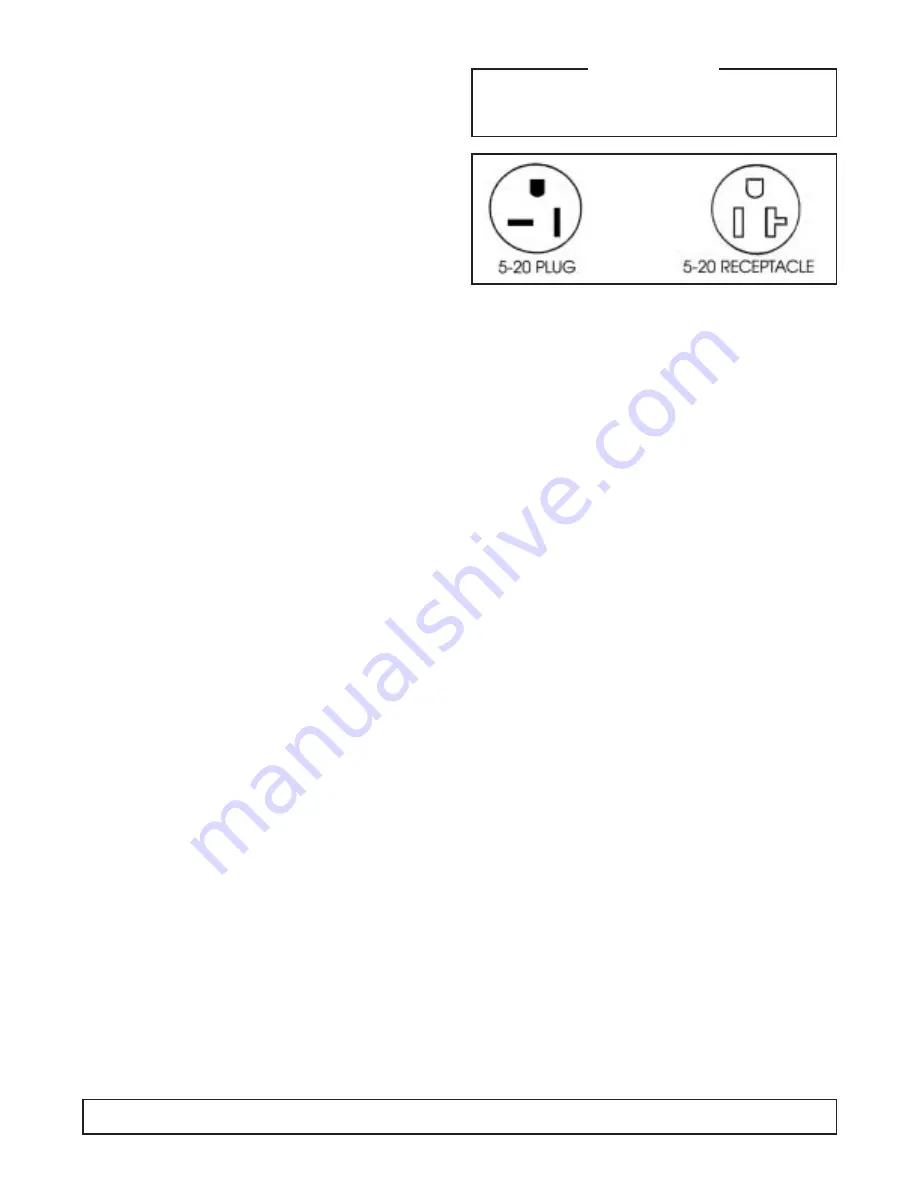
GROUNDING INSTRUCTIONS
This appliance is equipped with a three-prong
(grounding) plug for your protection against shock
hazards. The appliance should be plugged directly into
a properly grounded three-prong receptacle.
Where a two-prong wall receptacle is encountered, it
must be replaced with a properly grounded three-prong
receptacle in accordance with the National Electrical
Code and local codes and ordinances. The work must
be done by a licensed electrician.
IMPORTANT
Do not, under any circumstance, cut or remove the
round grounding plug from the appliance plug.
WARNING
Consult a licensed electrician if you have any doubt
about the grounding of your wall receptacle. Only a
licensed electrician can determine the polarization of
your wall receptacle. Only a properly installed three-
pronged wall receptacle assures the proper
polarization with the appliance plug.
IMPORTANT USAGE INSTRUCTIONS
Dipping Cabinet
The cabinet must be located in an area free from air
drafts created by open doors, air conditioning ducts,
and fans. The cabinet should not be located in the
direct sunlight.
The rear grill must be clear of any obstructions so the
intake and exhausting of air for the condensing unit can
move freely.
Dipping cabinets are designed for use in an air
conditioned store. This cabinet is designed for
merchandising, not hardening of the product.
High humidity can cause fogging of the lid and front glass.
High temperatures, installation of warm product and
heavy usage can cause the product to soften. This
condition will be more noticeable at the top of the cans.
The corners of the cabinets are the coldest areas.
These areas should be used for product that is more
difficult to keep firm.
Frost and ice act as insulators. The need for defrosting
will depend on usage and product firmness.
If the frost is scraped daily with a plastic scraper,
intervals between complete defrosting may be
extended.
Thermostat adjustments should be made one
increment warmer or colder allowing 24 hours between
adjustments to allow the product to stabilize.
INTRODUCTION
9
Dipping Cabinet 1298.02 2/3/03 1:14 PM Page 11
Summary of Contents for R-404A
Page 3: ...Introduction...
Page 13: ...SECTION II Principles of Operation...
Page 14: ......
Page 28: ......
Page 29: ...SECTION III Maintenance Repair...
Page 55: ...PARTS LISTING With Illustration Identification...
Page 56: ...CABINET PARTS EXPLODED VIEW 54 CABINET PARTS EXPLODED VIEW 2 1 3 4 7 9 8 6 10 11 5...
Page 60: ...CONDENSING UNIT EXPLODED VIEW 58 CONDENSING UNIT EXPLODED VIEW...
Page 62: ...ELECTRICAL PARTS EXPLODED VIEW 60 ELECTRICAL PARTS EXPLODED VIEW...
Page 64: ...1 6 7 2 4 3 5 LID EXPLODED VIEW 62 LID EXPLODED VIEW...
Page 66: ......
Page 67: ...ACCESSORIES...
Page 68: ......
Page 73: ...ADJUSTABLE LEG KIT 52 1831 01 ACCESSORIES 71...
Page 74: ...CASTER KIT 52 1830 01 72 ACCESSORIES...
Page 76: ...CAN CLAMP INSTALLATION 74 ACCESSORIES...
Page 79: ......
Page 80: ...by National Refrigeration Products 563 Corbin Road Honea Path South Carolina 800 486 8369...


