Attaching
KM00321,00009F2 -19-07FEB20-4/6
Continued on next page
KM00321,00009F2 -19-07FEB20-5/6
KM402938
—UN—06FEB20
KM402939
—UN—06FEB20
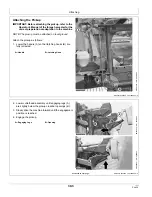
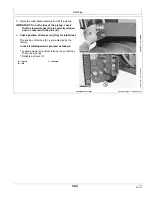
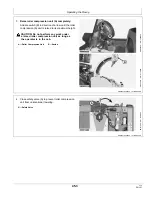
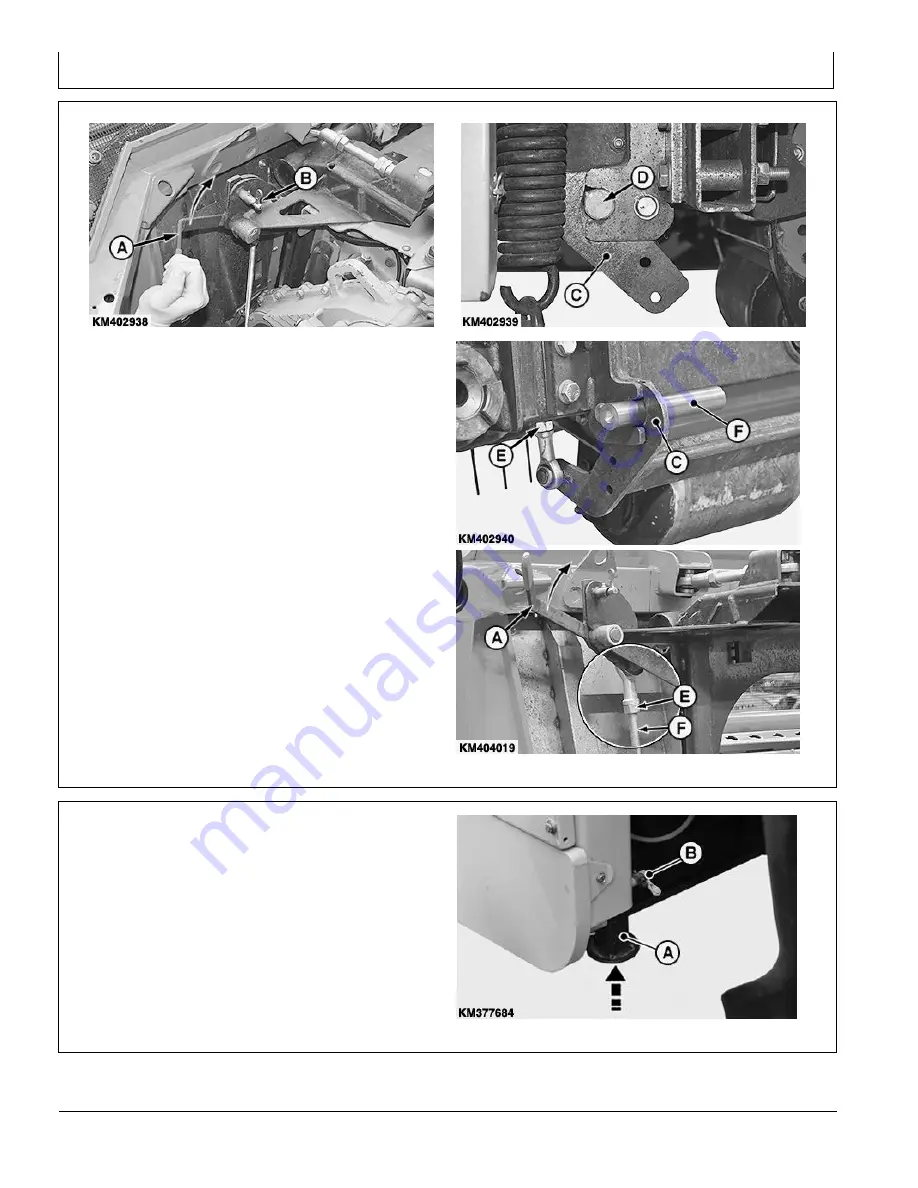
7. Raise handle (A) and secure with spring-loaded pin (B).
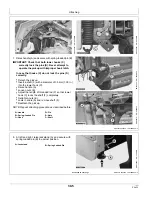
IMPORTANT: Check that both lower hooks (C)
correctly lock the pins (D). Never attempt to
operate the pickup with improper hook latch.
In case that hooks (C) do not lock the pins (D)
correctly:
•
Detach the pickup.
•
Insert a shaft (F) with a diameter of 35 mm (1.38 in.)
into the lower hook (C).
•
Raise handle (A).
•
Loosen nuts (E).
•
Adjust the length of threaded rod (F) so that lower
hook (C) locks the shaft (F) completely.
•
Retighten nuts (E).
•
Lower handle (A) and remove shaft (F).
•
Reattach the pickup.
NOTE: Repeat attaching procedure as described before.
A—Handle
B—Spring-Loaded Pin
C—Hook
D—Pin
E—Nuts
F— Shaft
KM402940
—UN—06FEB20
KM404019
—UN—06FEB20
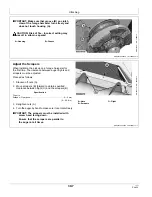
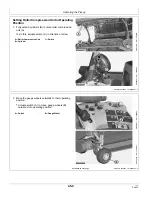
8. At left and right, raise jackstand (A) and secure with
spring-loaded pin (B) in upmost position.
A—Jackstand
B—Spring-Loaded Pin
KM377684
—UN—12APR19
30-5
022520
PN=32
Summary of Contents for Pickup C3003
Page 4: ...Introduction 022520 PN 4...
Page 6: ...Introduction 022520 PN 6...
Page 68: ...Serial Number 80 2 022520 PN 68...
Page 71: ...Index Index 3 022520 PN 3...
Page 72: ...Index Index 4 022520 PN 4...

