


Service manual Minarc Evo 150 and 180
Version 1.3
30.9.2015
15
Kemppi Oy
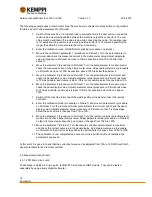
4.2.2. Calibration parameters
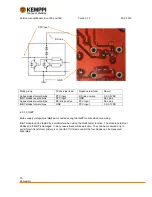
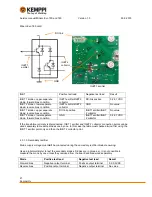
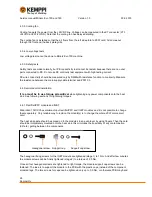
Picture4. All calibration parameters.
4.2.3. Calibration procedure
If the parameter values go out of range or some other problems occur, use the parameter 0 to reset the
calibration data. Then it is easier to start from the beginning of calibration.
Switch off the machine and disconnect the welding cables
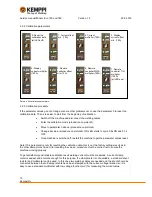
Enter the calibration mode (procedure on picture1)
Move to parameter 0 above (procedure on picture2)
Change its value (procedure on picture3). ON LED starts to cycle 0,9s ON and 0,1s
OFF.
Once machine is switched off, restart the machine to get the parameter values reset.
Note! This parameter is only for resetting the calibration data; this is not the factory settings recall as in
the other Kemppi machines. After resetting the values, procedure must be carried out to ensure the
machine working properly.
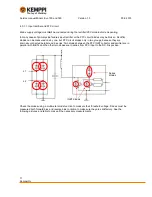
To get satisfactory and reliable calibration result welding current must be measured. A current clamp
meter is easiest and accurate enough for this purpose. If a clamp meter is not available, a standard shunt
resistor and multimeter can be used. In this case two welding cables are needed and the shunt should be
connected between them. Kemppi shunts have been stamped with the current-voltage relation, so it is
easy to use a standard multimeter with low voltage function (mV) for measuring the current value.
0. Reset the
calibration data
(all LEDs off)
1. Current offset
min. (10A)
2. Current
multiplier (150A)
4. Display
current multiplier
(150A)
5. Remote
controller offset
min (10A)
6. Remote
controller MMA
multiplier (140A)
7. Remote
controller TIG
multiplier
(150A)
(all LEDs on)
3. Display
current offset
min. (10A)


