background image

Summary of Contents for 3100 - Pro 30 in. Gas Drop

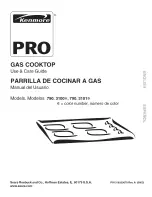
Page 1: ...se Care Guide PARRILLA E COCINAR A GAS Manual del Usuario ModeJs Modeios 790 3100 _ 790 3101 _ color number nt_mero de color iii Sears Roebuck and Co Hoffman Estates IL 60179 U S A www sears com P N 318200678 Re_ A 0603 ...

Page 2: ...filters belts light bulbs and bags 2 A service technician to instruct the user in correct product installation operation or maintenance 3 A service technician to clean or maintain this product 4 Damage to or failure of this product if it is not installed operated or maintained according to all instructions supplied with the product 5 Damage to or failure of this product resulting from accident abu...

Page 3: ... power to the appliance at the circuit breaker or fuse box and how to turn off the gas supply at the main shutoff valve User Servicing Do not repair or replace any part of the appliance unless specifically recommended in the manuals All other servicing should be done only by a qualified technician to reduce the risk of personal injury and damage to the cooktop Sears Parts Repair is the recommended...

Page 4: ...xtend Over Adjacent Surface Burners To reduce the risk of burns ignition of flammable materials and spillage due to unintentional contact with the utensil the handle of the utensil should be positioned so that it is turned inward and does not extend over adjacent surface burners 4 Never Leave Surface Burners Unattended at High Heat Settings Boilovers cause smoking and greasy spillovers that may ig...

Page 5: ...and more than a million parts and accessories we have the tools parts knowledge and skills to ensure our pledge We Service What We Sell Your Kenmore product is designed manufactured and tested to provide years of dependable operation But like all products it may require service from time to time The Sears Maintenance Agreement offers you an outstanding service program affordably priced The Sears M...

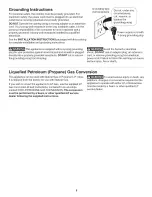
Page 6: ... from this plug Grounding type wall receptacle Do not under any circumstances cut remove or bypass the grounding prong Power supply cord with 3 prong grounding plug Avoid fire hazard or electrical shock DO NOT use an adapter plug an extension cord or remove grounding prong from electrical power cord Failure to follow this warning can cause serious injury fire or death Liquefied Petroleum Propane G...

Page 7: ... extends beyond the burner unit Because this ring _ _ traps heat the surface unit and cooktop surface could be damaged Wire trivets Do not use wire trivets Cook ware bottoms must be in direct contact with the grates Using the Griddle Before first use Wash Griddle in hot soapy water Rinse and then dry completely Apply a thin coat of vegetable oil to the entire surface front and back of griddle Preh...

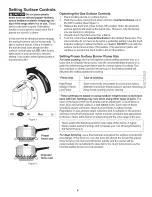
Page 8: ... Caps and Burner Heads See Figure 1 _ Head 3 Discard all packing material located under all _ _ BuHer Heads if applicable 36 CooktopLayout 4 To replace Burner Heads Caps match the letters located under center of Burner Caps with the letters located inside Burner Head only 5K 9 5K and 17 2K burners are marked with letters See Figure 1 Place all Burner Heads Caps on the cooktop See Figure 1 while ca...

Page 9: ... setting and then turn to a lower one to complete the process Use the recommendations below as a guide for determining proper flame size for various types of cooking The size and type of utensil used and the amount of food being cooked will influence the setting needed for cooking Z Off 0 Hi Med Lo Figure 1 Proper flame size High Flame Start most foods bring water to a boil pan broiling _ _ Medium...

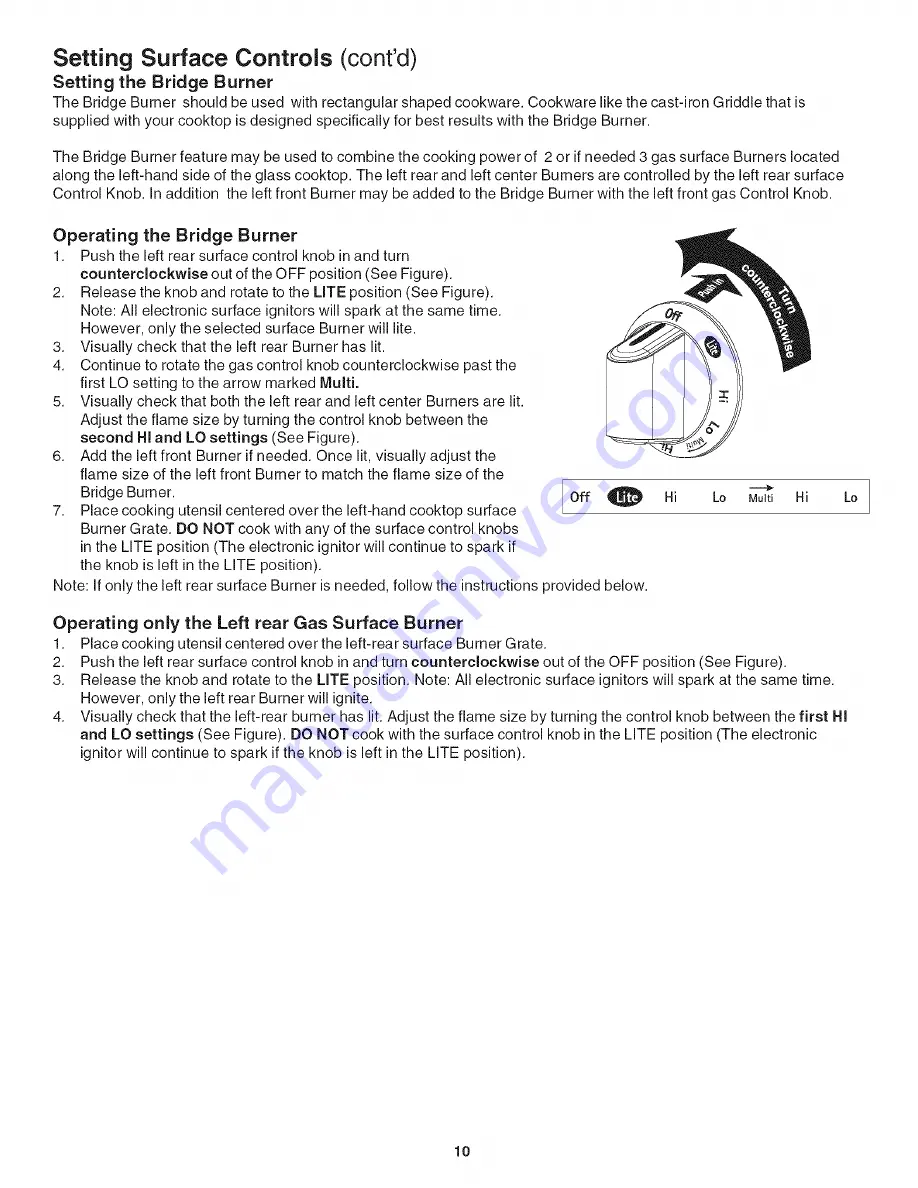
Page 10: ... rear and left center Burners are lit Adjust the flame size by turning the control knob between the second Hi and LO settings See Figure 6 Add the left front Burner if needed Once lit visually adjust the flame size of the left front Burner to match the flame size of the Bridge Burner 7 Place cooking utensil centered over the left hand cooktop surface Burner Grate DO NOT cook with any of the surfac...

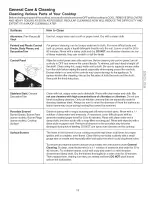
Page 11: ...e flat sides of both the knob and the shaft then push the knob into place Clean with hot soapy water and a dishcloth Rinse with clean water and cloth Do not use cleaners with high concentrations of chlorides or chlorines Do not use harsh scrubbing cleaners Only use kitchen cleaners that are especially made for cleaning stainless steel Always be sure to rinse the cleaners off from the surface as bl...

Page 12: ...e skirt Figure 1 Orifice Burner Cap Surface Burner Head Electrode To Clean the surface Burner Caps and Burner Heads Use a soap filled scouring pad or a mild abrasive cleanser to clean the surface Burner Caps and Burner Heads The ports or slots around the Burner Heads must be routinely cleaned If residue still remains in these ports use a small gauge wire or needle to clean the slots or holes For p...

Page 13: ...orts or slots Power cord is disconnected from outlet electric ignition models Be sure cord is plugged securely into outlet Electrical power outage electric ignition models Burners can be lit manually See Setting Surface Controls inthis Use Care Guide Surface burner flame burns half way around Burner ports or slots are clogged With the burner off clean ports and slots with a small gauge wire or nee...

Page 14: ...iiiiiiil iiiiiiiiiiiiiiiiii iiiiiiiiiiiiiiiiii iiiiiiiiiiiiiii iiiiiiiiiiiiiiiiii iiiiiiiiiiiiiiiiii iiii OurHome iiiiiiii HHHHHHHHH For repair of carry in items like vacuums lawn equipment iiiiiiiiiiiiiiiiii and electronics call or go on line for the location of your nearest i HHHHHHHHi_ Sears Parts 8 Repair Service Center iiiiiiiiiiiiiiiiiii iiiiiiiiiiiiiiiiiii 1 8oo488 i 222 iiiii HHHHHHHHi_ Ca...

Reviews: