background image

Summary of Contents for 318201473

Page 1: ...ified installer service agency or the gas supplier For Standard Installation Gas Cooktop Dimensions 30 76 2 cm rain for unprotected cabinet and 24 61 cm rain for cabinet with protected bottom surface Gas Cooktop Cutout Dimensions 3 7 6cm 2 5 1 cm Dia Opening to route power cable C 4 X 4 10 2 cmx I0 2 cm i to route gas supply 71 4 18 4 cm F G Do not slide unit into cabinet cutout Protruding screws ...

Page 2: ... power cable Gas Cooktop Cutout Dimensic Do not slide unit into cabinet cutout Protruding screws on the bottom of unit may damage the bottom front finish Figure 2 H 7Y4 18 4 cm 29V8 cm Note D E are critical to the proper installation of the cooktop D reflectsthe finished dimension Due to the variation in countertop materials it is recommended to first undercut this dimension and then adjust it upo...

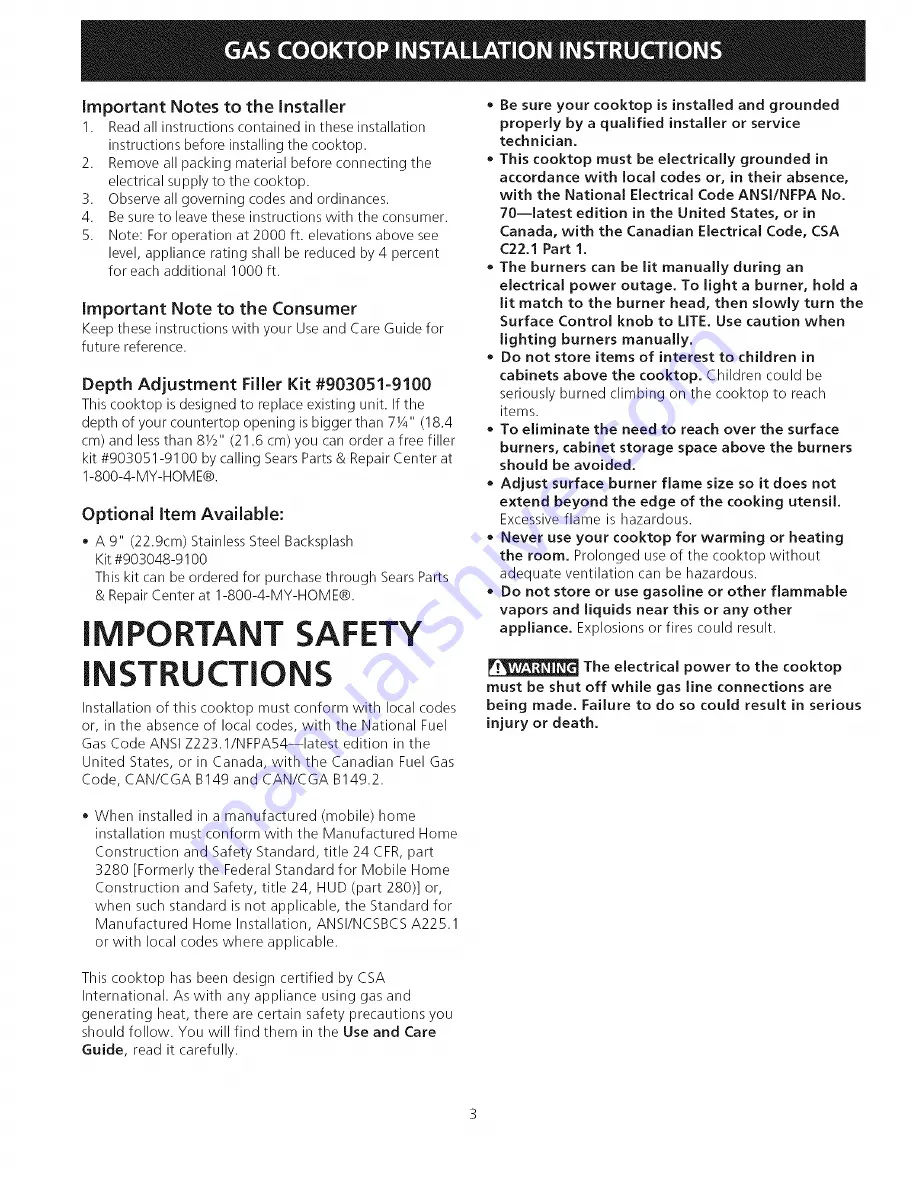
Page 3: ...o 70 latest edition in the United States or in Canada with the Canadian Electrical Code CSA C22 1 Part 1 The burners can be lit manually during an electrical power outage To light a burner hold a lit match to the burner head then slowly turn the Surface Control knob to LITE Use caution when lighting burners manually Do not store items of interest to children in cabinets above the cooktop Children ...

Page 4: ...rear edge of cutout and nearest combustible surface 18 45 7 cm P Min 30 76 2 cm min clearance between the top of the cooking platform and the bottom of an unprotected wood or metal cabinet _To eliminate the risk of burns or fire from reaching over heated surfaces cabinet storage space located above the cooktop should be avoided If cabinet storage is provided risk can be reduced by installing a ran...

Page 5: ...operty damage The qualified agency performing this work assumes responsibility for the conversion Failure to make the appropriate conversion can result in serious personal injury and property damage Important Remove all packing material and literature from cooktop before connecting gas and electrical supply to cooktop Install Pressure Regulator Install the pressure regulator with the arrow on the ...

Page 6: ...quipped with a 3 prong grounding plug which mates with a standard 3 prong grounding wall receptacle see Figure 7 to minimize the possibility of electric shock hazard from the appliance Preferred Method Grounding type wall receptacle Do not under any circumstance cut remove or bypass the Where a standard 2 prong wall receptacle is installed it is the personal responsibility and obligation of the co...

Page 7: ...ure 9 a Push in and turn control to LITEuntil burner ignites b Quickly turn knob to LOWEST POSITION c If burner goes out reset control to OFF d Remove the surface burner control knob e Insert a thin bladed screwdriver into the hollow valve stem and engage the slotted screw inside Flame size can be increased or decreased by turning the screw Turn counterclockwise to increase flame size Turn clockwi...

Page 8: ...0 150 3321 _ _E GAGE AL_BRE MED OA TE_P C F L CAL STYLE UL CAUT ON LABEL ALL t4 RES PRIO_ TO SCGNX_ CT ON JHEN ERV CI S CO _ROLS _ R k6 ERRORCAN CAbSE _ROPER AND DA OERCX SOPERATION VERIFY sqOPER OPERATION AFTER SE_V C _S AV SO Er oUErE TOD_ LOS ALAMiDf_E_ANTES OE DESCONECTARPA_ REAL ZAR ET _ANTENI_IENTO 5E LOS CONTROLES ERRORBE ALAMB_A_ PUE_ CAb_AR UN FUNC OSAM E_TO Ng_RECTO Y PELI_ OSO VER OUE S...

Page 9: ...talacion Est_indar Dimensiones de la parrilla de cocinar a gas Abertura de 2 5 1 cm de diametro para hacer pasar el cable de alimentacion 30 76 2 cm min para un armario protegido 24 61 cm min para una superficie no 30 76 2 cm Min C _ bertura de 4 X 4 10 2cm x 10 2cm para el suministro de gas 7 18 4 cm Dimensiones del para la parrilla de cocinar a gas G No deslizar dentro del hueco de la alacena Lo...

Page 10: ...eco para la parrilla de cocinar a gas No deslizar dentro del hueco de la alacena Los tornilios que sobresalen de la parte inferior de la unidad pueden daEar el acabado inferior del frente 291 8 I 2 5cm 74 crn Figura 2 7 18 4 cm Nota D E son criticos para la instalaci6n adecuada de la cocina Por favor aseg0rese de respetar estas dimensiones D refleja una dimension terminada que se recomienda para s...

Page 11: ...se aplica el Standard fo Manufactured Home Installation ANSI NCSBCS 225 1 o con los c6digos locales medidas de seguridad Vienen con el Manual del Usuario Lea atentamente el manual Aseg_rese que la plancha de cocinar sea instalada y puesta a tierra correctamente pot un instalador o t cnico caJificado La plancha de cocinar debe conectarse eJ ctricamente a tierra de acuerdo con Jos c6digos Jocales o ...

Page 12: ...7 c _ _r_r_c icee_ 0 rmllO_tst_bOI e p0r _Pi ii_i_a r1 _iiiii_iltYli_i i i_ r Min o armario metalico r _ Para eliminar el riesgo de alargar sobre los unidades en calentamiento de la superficie deberia evitarse el espacio de almacenamiento del armario ubicado sobre las unidadesdelasuperficie Sise cuenta con este espacio se puede disminuir el peligro instalando una cubierta de cocina que se extienda...

Page 13: ...nte y todos los codigos y reglamentos reguladores Si todas las instrucciones no son observadas se puede ocurrir severos lesiones o dahos materiales La agencia calificada que hace el trabajo asuma la responsabilidad para la conversion Si la conversi6n apropiada no esta observada se puede ocurrir severos lesiones o dahos materiales Importante Retire todos los articulos de embalaje y folletos de la c...

Page 14: ... debe conectarse a tierra correctamente 14 Elcable de encendido de este artefacto incluye un enchufe de tres patas a tierra que calza con un enchufe de pared de tres patas de conexiOn a tierra vet Figura 7 para disminuir la posibilidad de peligro de choques el_ctricos desde el artefacto Un electricista calificado debe verificar el enchufe de pared y el circuito para asegurar que el enchufe esta co...

Page 15: ...ue los conectores del suministro de gas han sido verificados y no exista ning0n tipo de fuga Y el suministro de electricidad se conecte a la estufa Para verificar un encendido correcto A Presione y gire a una perilla a la posiciOn de LITE Todos las bujias electrOnicas chispear_Sn al mismo tiempo Sin embargo solamente el quemador que usted se esta girando encender_i B El quemador se deber4 encender...

Page 16: ...ANTEN H ENqO EL ELECT_J _C HE_T _ CO AVERT SSEMENT Cg_ PER LE COL qANTAVANT D EFFEC CER LA RT pARA T15_N COLORCOPE CCD _ CE C_tOR CODECCLLEb_ _I_H TE _LANCO BLANC I DE FbERZA CABLF D AL _ NTATION 18 P00 3g0_ 20 I S0 3_2_ W _E GAGE ALA_BRE HED aA TE_P C FIE CAL STYLE UL CAUT ON LABEL ALL W RES F F_ICRTO SCON ECT ON HEN SERV CI_ CO _ qOLB _ R Nu ERROR C_N CA_ _E F_OPER _ND t_EI_JS OPET_AT_0N VER PY ...

Reviews: