25
Maintenance
Oven Doors
To assure the proper replacement bulb is used, call 1-800-FOR-
MY HOME
®
or 1-800-469-4663 USA and Canada and ask for part
number 74009925 - halogen bulb.
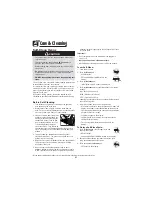
To replace oven light bulbs:
1. Disconnect power to the range.
2. When oven is cool, use fingertips to grasp edge of bulb cover.
Pull out and remove.
3. Carefully remove old bulb by pulling
straight out
of ceramic
base.
4. To avoid damaging or decreasing the life of the new bulb,
do
not
touch the bulb with bare hands or fingers. Hold with a
cloth or paper towel. Push new bulb prongs
straight into
small holes of ceramic base.
5. Replace bulb cover by snapping into place.
6. Reconnect power to range. Reset clock.
Upper and Lower Oven Lights
Important:
The oven door on a new range may feel
“spongy” when it is closed. This is normal and will decrease
with use.
• Disconnect power to oven
before
replacing light bulb.
• Allow oven to cool
before
replacing light bulb.
• Make sure bulb cover and bulb are cool
before
touching.
•
Do not
place excessive weight on or stand on open oven
doors. This could cause the range to tip over, break the
doors, or injure the user.
•
Do not
attempt to open or close doors or operate oven
until doors are properly replaced.
•
Never
place fingers between hinge and front oven frame.
Hinge arms are spring mounted. If accidentally hit, the
hinge will slam shut against oven frame and could injure
your fingers.
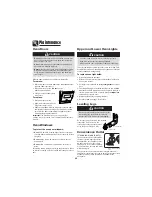
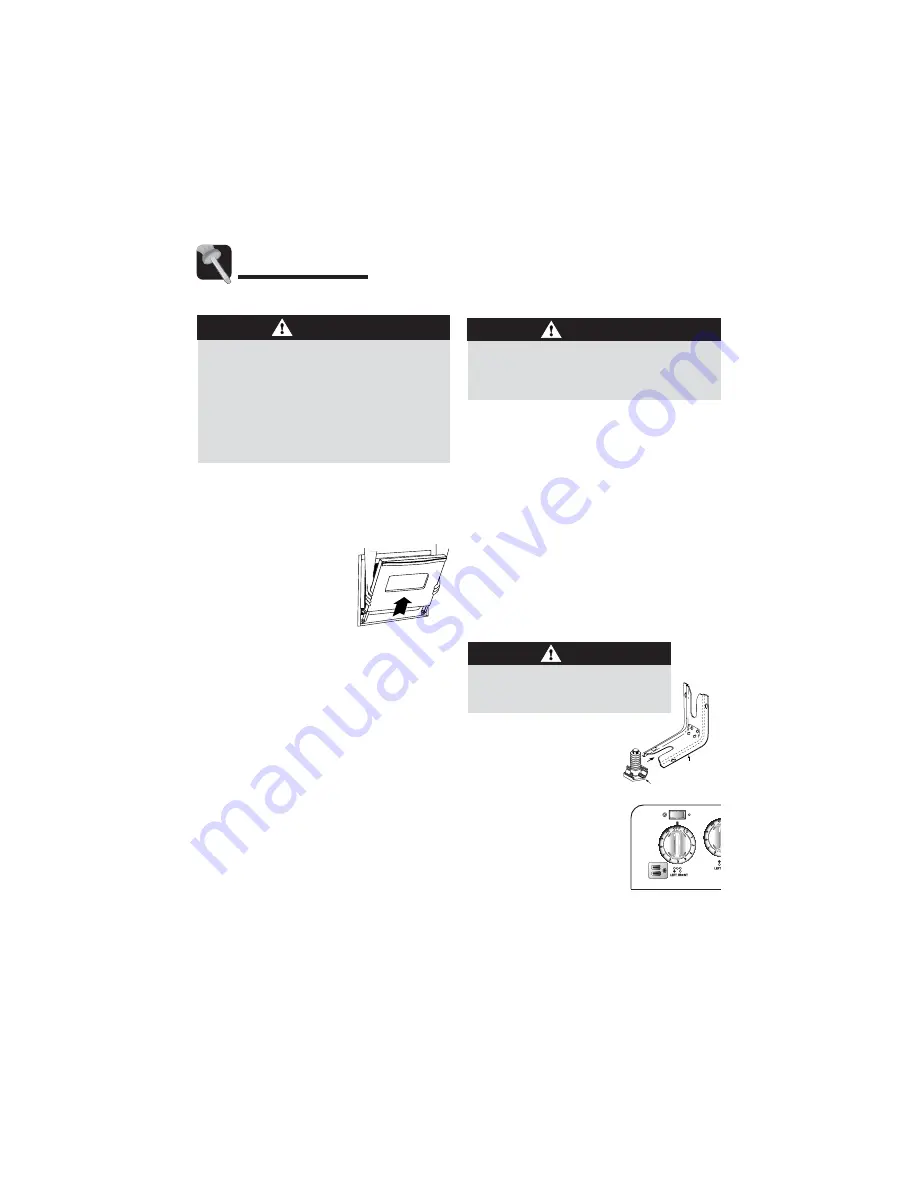
Both the upper and lower oven doors are removable.
To remove:
1. When cool, open the oven door to the broil stop position
(opened about four inches).
2. Grasp door at each side.
Do not
use the
door handle to lift door.
3. Lift up evenly until door clears
hinge arms.
To replace:
1. Grasp door at each side.
2. Align slots in the door with the
hinge arms on the range.
3. Slide the door down onto the hinge arms until the door is
completely seated on the hinges. Push down on the top
corners of the door to completely seat door on hinges.
Door should not appear crooked.
CAUTION
CAUTION
Oven Windows
To protect the oven door windows:
1.
Do not
use abrasive cleaning agents such as steel wool
scouring pads or powdered cleansers as they may scratch
the glass.
2.
Do not
hit the glass with pots, pans, furniture, toys, or
other objects.
3.
Do not
close an oven door until the oven racks are in
place.
Scratching, hitting, jarring or stressing the glass may weaken
its structure causing an increased risk of breakage at a later
date.
Convenience Outlet
(Canadian models only)
The convenience outlet is located on
the lower left and right sides of the
backguard. Be sure appliance cords
do not rest on or near the surface
cooking area. If the surface cooking
area is turned on, the cord and outlet
will be damaged.
The convenience outlet circuit breaker may trip if the small
appliance plugged into it exceeds 10 amps. To reset the circuit
breaker, press the switch located on the bottom of the
backguard.
Leveling Legs
ANTI-TIP BRACKET
LEVELING LEG
LEVELING LEG
CAUTION
Be sure the anti-tip bracket secures one of the
rear leveling legs to the floor. This bracket
prevents the range from accidentally tipping.
Be sure the range is leveled when installed.
If the range is not level, turn the
leveling legs, located at each corner
of the range, until range is level.
ANTI-TIP BRACKET
➮
CIRCUIT BREAKER
Summary of Contents for 622.60002
Page 29: ...28 Notes ...
Page 30: ...29 ...
Page 60: ...59 ...
Page 90: ...Notas 89 ...
Page 91: ...Notas 90 ...
Page 92: ...Form No A 01 06 Part No 8113P571 60 2006 Maytag Appliances Sales Co Litho U S A ...


