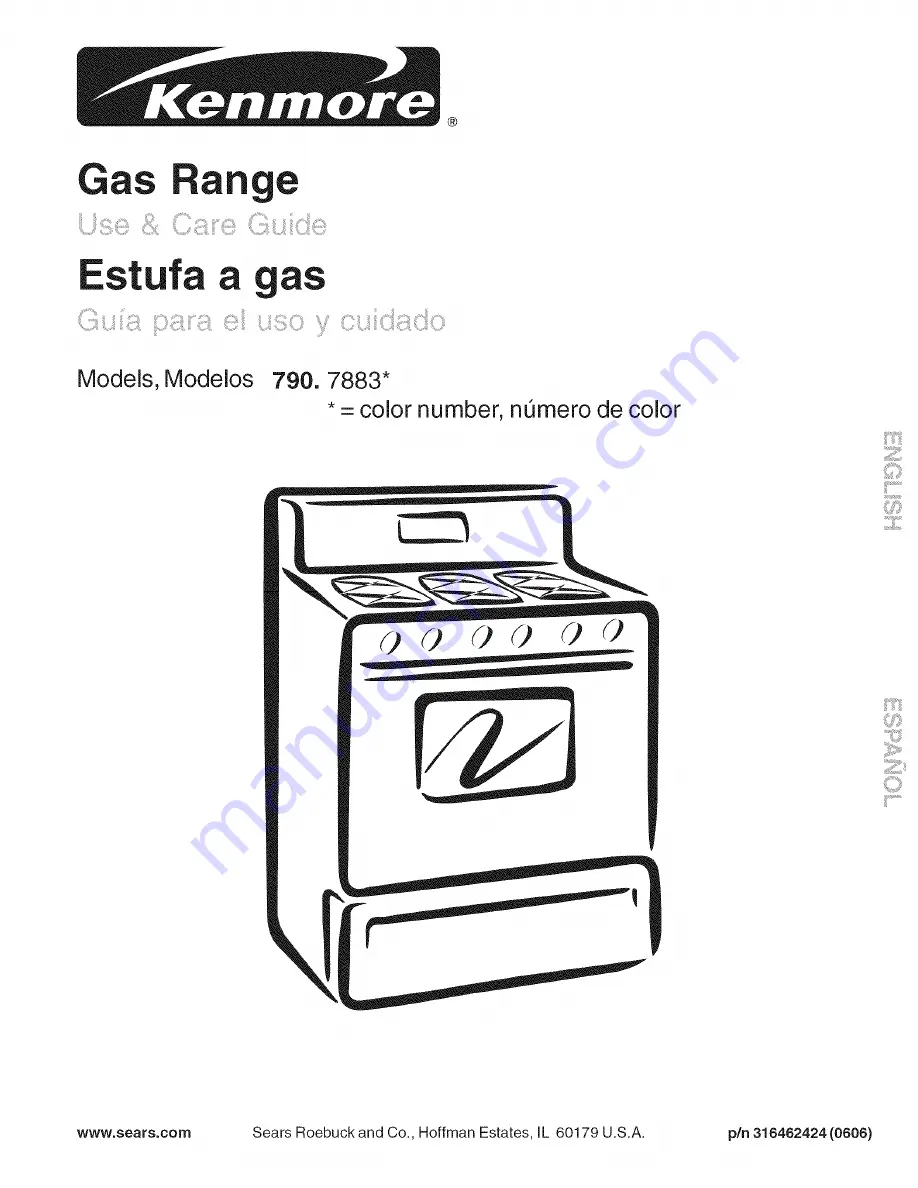
background image

Summary of Contents for 790.7883 Series

Page 1: ... Estufa a Models Modelos 790 7883 color number n_mero de color j _ j 2 J ii iii www sears com Sears Roebuck and Co Hoffman Estates iL 60179 U S A p n 316462424 0606 ...

Page 2: ...by the use of detergents cleaners chemicals or utensils other than those recommended in all instructions supplied with the product 7 Damage to or failure of parts or systems resulting from unauthorized modifications made to this product Disclaimer of implied warranties limitation of remedies Customer s sole and exclusive remedy under this limited warranty shall be product repair as provided herein...

Page 3: ...ir curtain or other overhead range hoods which operate by blowing a downward air flow on to a range shall not be used in conjunction with gas ranges other than when the hood and range have been designed tested and listed by an independent test laboratory for use in combination with each other NEVER use this appliance as a space heater to heat or warm the room Doing so may result in carbon monoxide...

Page 4: ...the side of the range when opening the door of a hot oven Let hot air or steam escape before you remove or replace food in the oven Keep Oven Vent Ducts Unobstructed The oven vent is located below the backguard Touching the surfaces in this area when the oven is operating may cause severe burns Also do not place plastic or heat sensitive items on or near the oven vent These items could melt or ign...

Page 5: ...3 Self Cleaning Oven interior 14 Adjustable Oven Racks s 15 Large 1 piece Oven Door Handle 16 Full width Oven Door styles vary with model 17 Lower Panel some models or Warmer Drawer with Handle and Warmer Drawer rack some models 18 5 000 BTU Simmer Burner some models 19 9 500 BTU Standard Burner some models 20 12 000 BTU Power Burner some models 21 14 200 BTU Power Burner some models 22 17 200 BTU...

Page 6: ...q hamburqers steaks See Broil Broiling meats chicken or fish See Broil Cookies cakes pies biscuits Muffins 2 or 3 Frozen pies angel food cake 1 or Roasting Shelf yeast bread casseroles small cuts of meat or poultry Turkey roast or ham 1 or Roasting Shelf Your range may be equipped with one or more of the oven rack types shown Fiat Rack or Handle Rack Baking Layer Cakes with 1 or 2 Oven Racks Ov Fo...

Page 7: ...as needed DO NOT cook with the surface control knob in the LITE position The electronic ignitor will continue to spark if the knob is left in the LITE position Do not place plastic items such as salt and pepper shakers spoon holders or plastic wrappings on top of the range when it is in use These items could melt or ignite Potholders towels or wood spoons could catch fire if placed too close to a ...

Page 8: ...e desired flame size for both burners together NOTE The markings between the 2nd HI and LO settings on the middle rear control knob adjust the flame size for both burners together Use the guide marks between the 2nd Hi and LO settings and adjust the flame size as needed Refer to Fig 3 7 Add the Front center Burner if desired Once lit visually adjust the flame size of the Front center Burner to mat...

Page 9: ...ture ON 1 BE SURE ALL GAS SURFACE BURNER CONTROLS ARE SETTO THE OFF POSiTiON 2 Press hold _ until one beep is heard after 3 seconds The Cooktop Locked indicator light will turn ON and the gas surface burners and functions are locked out until the cooktop is unlocked To turn the Cooktop Lockout Feature OFF 1 BE SURE ALL GAS SURFACE BURNER CONTROLS ARE SETTO THE OFF POSiTiON 2 Press hold _ until one...

Page 10: ...ly after the door STOP CLEAR pad is Iocks COOKTOP LOCKED light will glow when the cooktop has used to activate oven been locked some models door lockout setting Note The OVEN indi ater light on the electronic display will V once to change back to normal sound mode SP will turn ON and OFF when using the Bake feature and during preheat This is normal and indicates that the oven is cycling appear in ...

Page 11: ...r Change the Temperature for Baking The oven can be programmed to bake at any temperature from t 70 F to 550 F 77 C to 287 C the _ or _ f the temperature can then be adjusted in 5 F increments 1 C if the control is set to display Celsius 3 As soon as the _ or V pad is released the oven will begin heating to the selected temperature When the displayed temperature reaches the desired baking temperat...

Page 12: ...l show 350 F 177 C By holding the _ or V the temperature can then be adjusted in 5 F increments 1 C if the control is set to display Celsius Press _ 0 00 will flash in the display HR MIN 6 Press the _ or V until the desired baking time 7 appears Press The earliest possible start time will appear in the display 8 Press the _ or V until the desired start time appears in the display 9 Once the contro...

Page 13: ...ace whenever the oven is in use To change the interior oven light see Changing the Oven Light in the General Care Cleaning section To Set Add 1 Minute Feature The ADD 1 MINUTE pad is used to set additional minutes to the Timer Each time the _ pad is pressed another minute is added to the Timer if the Timer is already active If the Timer is not active and the _ pad is pressed the Timer feature will...

Page 14: ...onds the request for Slow Cook will be clear 3 Press and release the _ to set the Slow Cook feature with a high setting HI will appear in the display This setting is best for cooking foods from a 4 to 5 hour time period The oven indicator light will turn ON below the time display indicating the oven has turned ON with the settings you choose 4 or press and release the V to set the Slow Cook featur...

Page 15: ...tomatically The oven will remember that it is set for the Sabbath and the food may be safely removed from the oven while still in the Sabbath feature however the oven cannot be turned back on until after the Sabbath After the Sabbath observance turn OFF the Sabbath feature Press and hold both the and _ pads for at least 3 seconds SAb will disappear from the display and the oven may be used with al...

Page 16: ...ocated on the control panel See Fig 3 on previous page To set the thermostat push in and turn the knob to the desired setting The temperatures are approximate and are designated by HI MED and LO 1 Turn the knob to select the desired temperature setting 2 For best results preheat the drawer before adding food An empty drawer will preheat inapproximately 15 minutes 3 Turn the thermostat control to O...

Page 17: ...amage Remove the broiler pan and insert all utensils and any aluminum foil These items cannot withstand high cleaning temperatures Oven racks should be removed If they are not removed during the Self Clean cycle their color will turn slightly blue and the finish will be dull After the cycle is complete and the oven has cooled rub the sides of the oven racks with wax paper or a cloth containing a s...

Page 18: ...lf Clean Cycle is Completed 1 The time of day or End will appear in the display window and the Clean and LOCK light will continue to glow 2 Oncetheovenhascooleddownforaboutl HOURand the LOCK light has gone out the oven door can be opened 3 If End is in the display and the Select Clean indicator light remains ON press _ The time of day will appear in the display To avoid possible bums use care when...

Page 19: ... Racks under Before Setting Oven Controls i Use a mild abrasive cleaner following the cleaner s recommendations Rinse with clean water let dry After cleaning the racks rub the sides of the racks with wax paper or a cloth containing a small amount of baby oil or salad oil this will make the racks glide easier into the oven rack positions Overt Door Use soap water to thoroughly clean the top sides f...

Page 20: ...l with floor See Fig 1 4 Push the door hinge locks up towards and into the oven frame on both left and right oven door hinges See Fig 2 to the locked position 5 CIosetheoven door Special Door Care Instructions Most oven doors contain glass that can break Read the following recommendations 1 Do not close the oven door until all the oven racks are fully in place 2 Do not hit the glass with pots pans...

Page 21: ...r drip pans if equipped The ports or slots around the burner head must be routinely cleaned if residue still remains in these ports use a small gauge wire or needle to clean the slots or holes For proper flow of gas and ignition of the burner DO NOT ALLOW SPILLS FOOD CLEANING AGENTS OR ANY OTHER MATERIAL TO ENTER THE GAS ORiFiCE HOLDER OPENING ALWAYS keep the surface burner cap and surface burner ...

Page 22: ...es excessively during broiling 1 Control s not set properly Follow Broil instructions under Setting Oven Controls 2 Oven door is open Make sure oven door is closed 3 Meat too close to the broil element Reposition the broil rack to provide proper clearance between the meat the element Preheat the broil element for searing 4 Meat not properly prepared Remove excess fat from meat Cut fatty edges to p...

Page 23: ...icitamos por haber hecho una compra inteligente Su nuevo producto Kenmore rue dise_ado y fabricado para ofrecer muchos a_os de servicio confiable Sin embargo como todo producto el mismo podrta requerir mantenimiento preventivo o reparaciones ocasionales Es por eso que el tenet un Acuerdo maestro de protecci6n podrfa ahorrarle dinero y molestias Adquiera ya un Acuerdo maestro de proteccion y protej...

Page 24: ...acuums lawn equipment and electronics call or go on line for the location of your nearest 1 800 488 1222 Call anytime day or night U S A only www sears oom To purchase a protection agreement U S A or maintenance agreement Canada on a product serviced by Sears 1 800 827 6655 U S A 1 800 361 6665 Canada Pare pedir servicio de reparaci6n Au Canada pour service en frangais a domicilio y pare ordenar p...

Reviews: