background image

Summary of Contents for 9410 - 30 in. Electric Range

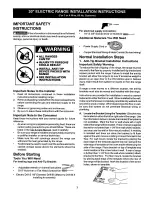
Page 1: ...t must be installed for flush to the wall installation Wall _ _Edge 2 5 8 for models equipped with warmer drawers 3 1 2 for models equipped with storage drawers 30 MINIMUM CLEARANCE BETWEEN THE TOP OF THE COOKING SURFACE AND THE BOTTOM OF AN UNPROTECTED WOOD OR METAL CABINET OR 24 MINIMUM WHEN BOTTOM OF WOOD OR METAL CABINET IS PROTECTED BY NOT LESS THAN 1 4 FLAME RETARDANT MILLBOARD COVERED WITH ...

Page 2: ...nstructions Important Safety Warning To reduce the riskoftippingof the range the range mustbe secured to the floorbyproperlyinstalledanti tipbracketand screws packed with the range Failure to installthe anti tip bracketwill allow the range to tip over ifexcessive weight is placed on an open dooror if a child climbsupon it Serious injury might resultfrom spilledhot liquidsor from the range itself I...

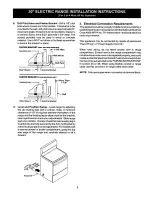
Page 3: ...Hard Wiring or Power Supply Cord Kit When hard wiring do not leave excess wire in range compartment Excess wire in the range compartment may not allow the access cover to be replaced properly andcould create a potential electrical hazard if wires become pinched Connect only as instructed under WIRING INSTRUCTIONS in section 4A or 4B When using flexible conduit or range cable use flex connector or ...

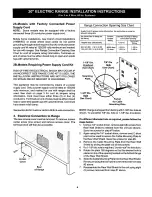
Page 4: ... remove access cover The terminal blockwill then be accessible Cover Rear of Range Range Connection Opening Size Chart Supply Cord Kit ampere rating information See serial plate on range for kilowatt rating data See Serial Plate on Range for KW Rating 120 240 Volts 120 208 Volts 8 8 16 5 KW 7 9 12 5 KW 16 6 22 5 KW 12 6 18 5 KW Cord Kit Diameter inches of Range Ampere connection Opening Rating Per...

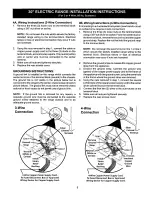
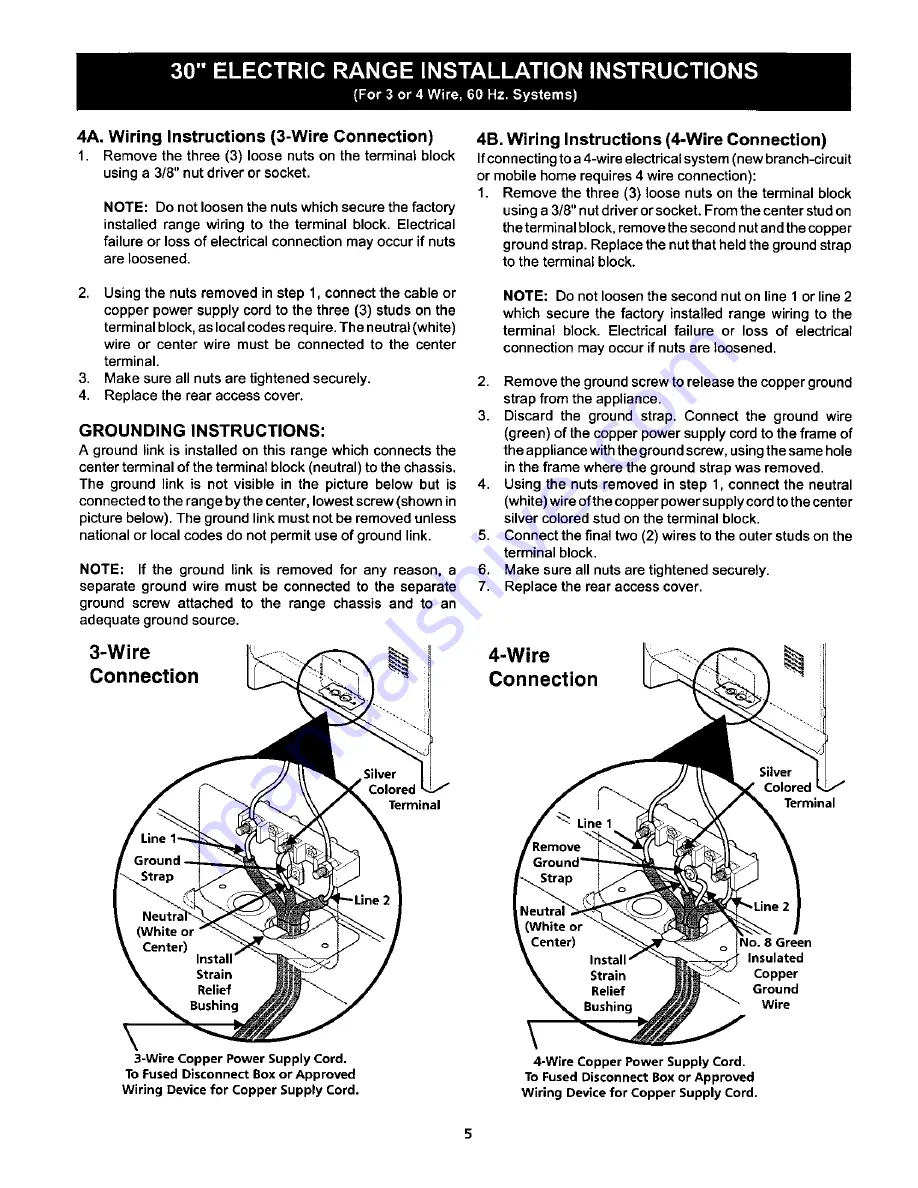
Page 5: ... Connection Ifconnectingto a 4 wireelectricalsystem new branch circuit or mobilehome requires 4 wire connection 1 Remove the three 3 loose nutson the terminal block usinga 3 8 nutdriverorsocket Fromthe center studon the terminalblock removethe secondnutandthe copper groundstrap Replace the nutthat held the groundstrap to the terminal block NOTE Do not loosenthe second nut on line 1 or line 2 which...

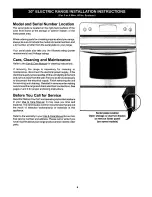
Page 6: ...ssible liftthe unit slighUyat the front and pull out away from the wall Pull only as far as necessary to disconnect the electrical supply Finish removing the unit for servicingandcleaning Reinstallinreverseordermaking sure to level the range and check electrical connections See pages 2 and 3 for proper anchoring instructions Before You Call for Service Readthe Before YouCall and operating instruct...

Reviews: