background image

7

ENGLISH

Setting Surface Controls

Models with Ceramic Glass Cooktop 

(Some models)

About the Ceramic Glass Cooktop

The ceramic cooktop has radiant surface elements located below the surface of the glass. The design of the ceramic
cooktop outlines the area of the surface element underneath. 

Be sure

 to match the pan size with the diameter of the

element outline on the cooktop. Heat is transferred up through the surface of the cooktop to the cookware. Only flat-
bottomed cookware should be used.

The type and size of cookware, the number of surface elements in use and their settings, are all factors that will affect the
amount of heat that will spread to areas beyond the surface elements. The areas surrounding the elements may become

hot enough to cause burns.

The cooktop should not be used as a cutting board or work surface. Dropping heavy or hard objects on the cooktop may crack
it. Pans with rough bottoms may scratch the cooktop surface. Placing foods directly on the smoothtop surface (without cooking
utensils) is not recommended as difficult cleaning will result and foods may smoke and cause a potential fire hazard.

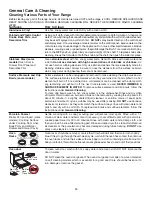
Element On & Hot Surface Indicator Lights

Your model may be equipped with two different types of radiant surface
control indicator lights that will glow on your range— the 

ELEMENT ON

indicator light and the 

HOT SURFACE

 indicator lights (See illustration at

left).
The 

Element On indicator lights 

are located on the control panel above and

between two element control knobs and will glow when a surface element is
turned ON. A quick glance at this indicator light after cooking is an easy check
to be sure ALL surface controls are turned OFF. The 

Hot Surface indicator

light

 located on the control panel above each control knob will glow when the

surface cooking area heats up and will REMAIN ON until the glass cooktop
has cooled to a MODERATE level.

If your model has only the 

Hot Surface Indicator light

 (one over each control

knob the light will glow when the element is turned ON and will REMAIN ON
until the glass cooktop has cooled to a MODERATE level even if the element is
turned OFF.

NOTE

: Radiant elements have a limiter that allows the element to cycle ON

and OFF, even at the HI setting. This helps to prevent damage to the ce-
ramic smoothtop. Cycling at the HI setting is normal and will occur more
often if the cookware  is too small for the radiant element or if the cookware
bottom is not flat.

NOTE

:  Please read detailed instructions for ceramic glass cooktop cleaning in the 

General Care & Cleaning

 and 

Before

You Call

 checklist sections of this Use & Care Guide.

NOTE

: Radiant elements have a limiter that allows the element to cycle ON and OFF, even at the HI setting. This helps

to prevent damage to the ceramic smooth top. Cycling at the HI setting is normal and will occur more often if the cookware
is too small for the radiant element or if the cookware bottom is not flat.

NOTE

:  Due to the high intensity of heat generated by the surface elements, the glass surface will turn green when the

element will be turned off. This phenomenon is normal and the glass will come back to its original white color after it has
completely cooled down. (White glass cooktops only).

About the Radiant Surface
Elements

The element temperature rises gradually and
evenly. As the temperature rises, the element
will glow red. To maintain the selected setting,
the element will cycle on and off. The heating
element retains enough heat to provide a uniform
and consistent heat during the off cycle.

For efficient cooking, turn off the element several
minutes before cooking is complete. This will
allow residual heat to complete the cooking
process.

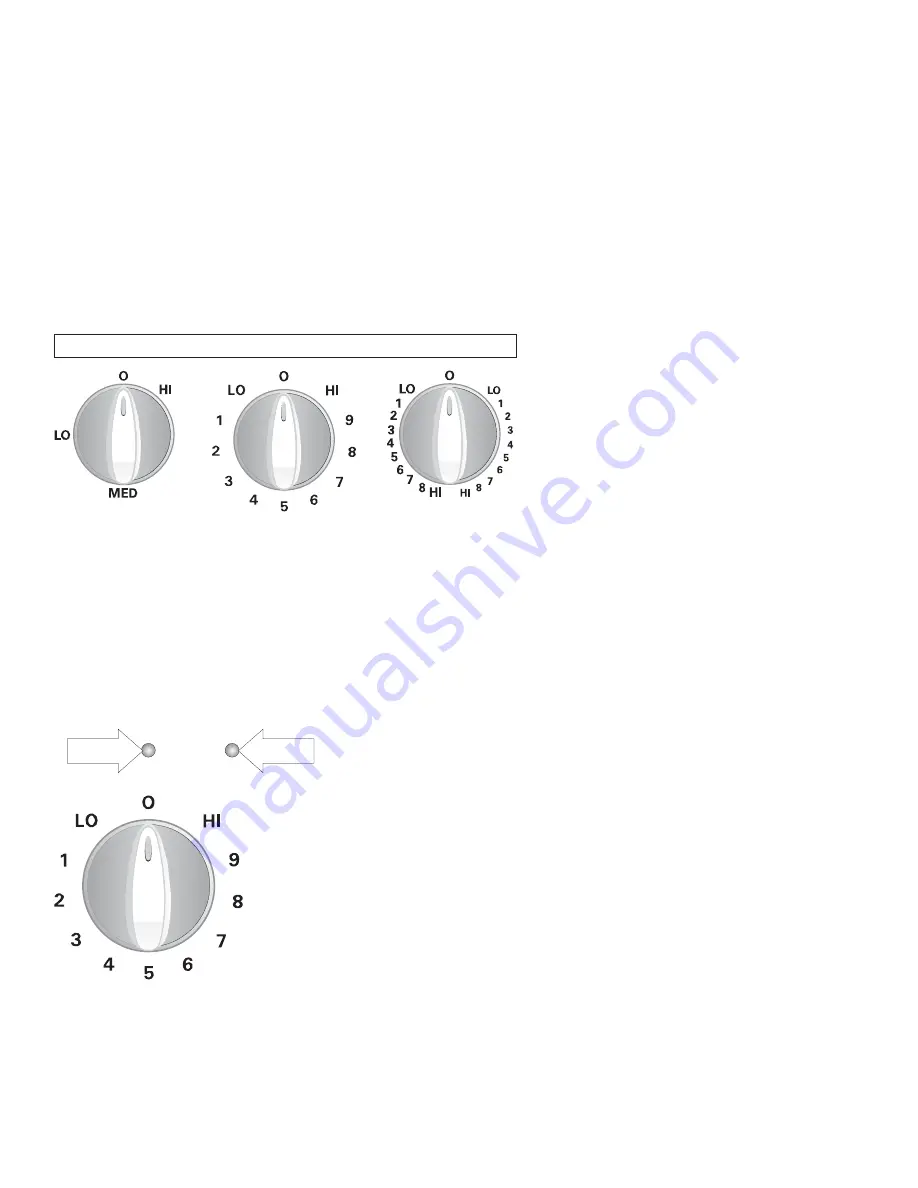
Warmer Zone

Surface Control

(some models)

Single Radiant

Surface Control

(some models)

 Dual Radiant

Surface Control


(some models)

NOTE:  All knobs shown in this owner's Guide are typical only.

E

L

EMENT ON

HOT SURFACE

HOT SURFACE

INDICATOR 

L

IGHT

E

L

EMENT ON

INDICATOR 

L

IGHT

Summary of Contents for C970-575121

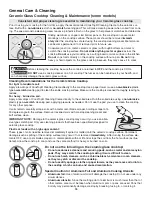
Page 1: ...Sears Canada Inc Toronto Ontario Canada M5B 2B8 Visit our website www sears ca 318200444 0711 Rev B Electric Range Use Care Guide ENGLISH ...

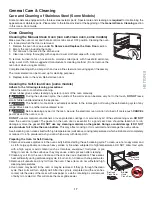
Page 2: ...ever used for other than private family purposes This warranty covers only defects in material and workmanship Sears will NOT pay for 1 Cracks in a ceramic glass cooktop that are not a result of thermal shock 2 Stains and scratches on a ceramic glass cooktop resulting from accident or improper operation or maintenance 3 Expendable items that can wear out from normal use including but not limited t...

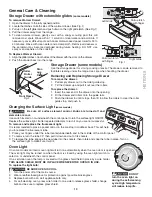
Page 3: ...e your appliance is properly installed and grounded by a qualified technician in accordance with CSA C22 1 PART 1 latest edition and local code requirements Install only per installation instructions provided in the literature package for this range Ask your dealer to recommend a qualified technician and an authorized repair service Know how to dis connect the electrical power to the range at the ...

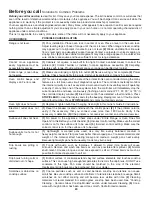
Page 4: ... food in the oven Keep Oven Vent Ducts Unobstructed The oven is vented between the cooktop and the backguard Touching the surfaces in this area when the oven is operating may cause severe burns Also do not place plastic or heat sensitive items on or near the oven vent These items could melt or ignite Placement of Oven Racks Always place oven racks in desired location while oven is cool Remove all ...

Page 5: ... wood or metal cabinet is protected by not less than 0 64 cm flame retardant millboard covered with not less than 0 038 cm 0 015 stainless steel 0 061 cm 0 024 aluminum or 0 051 cm 0 020 copper 1 3 cm clearance is minimum for the rear and sides of the range Follow all dimen sions requirements provided above to prevent property damage potential fire hazard and incorrect countertop and cabinet cuts ...

Page 6: ...r best cooking results Setting Type of Cooking HI MAX Start most foods bring water to a boil pan broiling 5 MED Maintain a slow boil thicken sauces and gravies steam vegetables 2 4 MED LOW Keep food cooking poach stew LO MIN Keep warm melt simmer NOTE All knobs shown in this owner s Guide are typical only The suggested settings found in the chart above are based on cooking in medium thickness alum...

Page 7: ...to a MODERATE level If your model has only the Hot Surface Indicator light one over each control knob the light will glow when the element is turned ON and will REMAIN ON until the glass cooktop has cooled to a MODERATE level even if the element is turned OFF NOTE Radiant elements have a limiter that allows the element to cycle ON and OFF even at the HI setting This helps to prevent damage to the ...

Page 8: ...rface elements The suggested settings found in the table below are based on cooking in medium weight aluminum pans with lids Settings may vary when using other types of pans STANDARD SETTING FOR SURFACE ELEMENTS Setting Type of Cooking HIGH HI 9 Start most foods bring water to a boil pan broiling MEDIUM HIGH 7 8 Continue a rapid boil fry deep fat fry MEDIUM 5 6 Maintainaslowboil thickensaucesandgr...

Page 9: ...kept at serving temperatures by using the medium level Note UsetheWarmerZonetokeepcookedfoodshotsuchas vegetables gravies casseroles soups stews breads pastries and oven safe dinner plates Warmer Zone Recommended Food Settings Table Food Item Heating Level Breads Pastries LO Casseroles LO Dinner Plates with Food LO Eggs LO Gravies LO Meats MED Sauces MED Soups cream MED Stews MED Vegetables MED Fr...

Page 10: ... that make good contact with the entire surface heating element Check for flatness by rotating a ruler across the bottomofthecookware SeeFigure5 Besuretofollowtherecommendations for using cookware as shown in Figure 4 Note The size and type of cookware used will influence the setting needed for best cooking results Cookware Material types Thecookwarematerialdetermineshowevenlyandquicklyheatistrans...

Page 11: ...N THE OVEN IS COOL PRIOR TO OPERATING THE OVEN Always use oven mitts when the oven is hot This range has a fan that will turn ON and OFF by itself to keep the electronics cool It may continue to run after the range has been turned OFF but may also stop immediately and then turn ON after a while Rack positions Oven Vent Location Oven Vent Location RECOMMENDED RACK POSITIONS FOR BROILING BAKING ROAS...

Page 12: ...tion for baking needs Set oven temperature 25 F 12 C lower than recom mended Set oven temperature 25 F 12 C lower than recom mended Use pan size suggested in recipe Use proper rack position and place pan so there is 5 1 cm to 10 2 cm 2 to 4 of space on all sides of pan Place a marked glass measuring cup filled with water on the center of the oven rack If the water level is un even refer to the ins...

Page 13: ...d The first side usually requires a few minutes longer than the second Frozen meats also require additional time Broiling Tips some models Broiler pan and its grid allow dripping grease to drain and be kept away from the high heat of the broiler DO NOT use the pan without its grid DO NOT cover the grid with foil The exposed grease could ignite Should an oven fire occur close the oven door and turn...

Page 14: ...ENT IN WATER To remove surface element and drip bowls follow the instructions under General Cleaning To clean drip bowls wash in hot soapy water or in the dishwasher Rinse and dry while still warm Hard to remove burned on soils can be removed by soaking the drip bowls for about 20 minute in a slightly diluted liquid cleanser or solution made of equal parts ammonia and water A nylon scrubber may be...

Page 15: ...nd can chemically damage the cooking surface Before cleaning the surface cooktop be sure the controls are turned to OFF and the cooktop is cool DO NOT use commercial oven cleaners on the exterior surfaces including rangetop and door frame Correct and consistent cleaning is essential to maintaining your porcelain enamel cooktop If food spills and grease spatters are not removed they may burn onto t...

Page 16: ... soil Apply a few drops of CookTop Cleaning Creme directly to the soiled area Rub the soiled area using a non abrasive plastic type no scratch cleaning pad applying pressure as needed Do not use the pad you use to clean the cooktop for any other purpose If soils remain carefully scrape soils with a metal razor blade scraper holding scraper at a 30 degree angle to the surface Remove loosened soils ...

Page 17: ... part of the oven be sure the electronic oven control is turned off or else push CANCEL pad Wait until the oven is cool DO NOT use commercial oven cleaners or oven protective coatings in or around any art of the self cleaning oven DO NOT clean the oven door gasket The gasket on the oven door is essential for a good seal Care should be taken not to rub damage or move the gasket DO NOT use any clean...

Page 18: ...gage the hinge supports Keep pulling the bottom of the door toward you while rotating the top of the door toward the range to completely disengage the hinge support Figure 2 4 To clean oven door follow the instructions provided in the Cleaning Chart To Replace Oven Door 1 Grab the door by the sides place the hinge support in the hinge slot Open the door to the fully opened position 2 Disengage the...

Page 19: ...and in the middle of the control panel 2 To remove turn the tube 90 then pull it down and out of its sockets 3 To replace the tube engage the new tube into the sockets then rotate and snap the tube in place Turn on the surface light to make sure it will lit Oven Light On some models an interior oven light will turn on automatically when the oven door is opened The oven light may be turned on when ...

Page 20: ...o be used 1 Lightweight or warped pans used Use only flat evenly balanced medium or heavyweight cookware Flat pans heat better than warped pans Cookware materials and weight of the material affect heating Heavy and medium weight pans heat evenly Because lightweight pans heat unevenly foods may burn easily 1 Foods with acids such as tomatoes if allowed to stand in on bowls will cause corrosion Remo...

Page 21: ...tronic Oven Control guide 1 Control s not set properly Follow instructions under Setting Oven Controls 2 Make sure oven is opened to Broil Stop Position 3 Meat too close to the element Reposition the rack to provide proper clearance between the meat and the element Preheat broil element 4 Grid on broiler pan wrong side up and grease not draining Always place grid on broiler pan with ribs up and sl...

Page 22: ...22 Notes ...
Page 23: ... C est pourquoi un contrat de protection principal peut vous permettre d épargner de l argent et vous éviter des problèmes Le contrat de protection principal contribue également à prolonger la durée de vie de votre nouvel appareil Voici ce que couvre le contrat Les pièces et la main d oeuvre requises pour le fonctionnement adéquat de l appareil dans des conditions d utilisation normales pas seulem...

Page 24: ...that you need to do it yourself For Sears professional installation of home appliances and items like garage door openers and water heaters 1 800 4 MY HOME 1 800 469 4663 Call anytime day or night U S A and Canada www sears com www sears ca Our Home For repair of carry in items like vacuums lawn equipment and electronics call anytime for the location of your nearest Sears Parts Repair Service Cent...

Reviews: