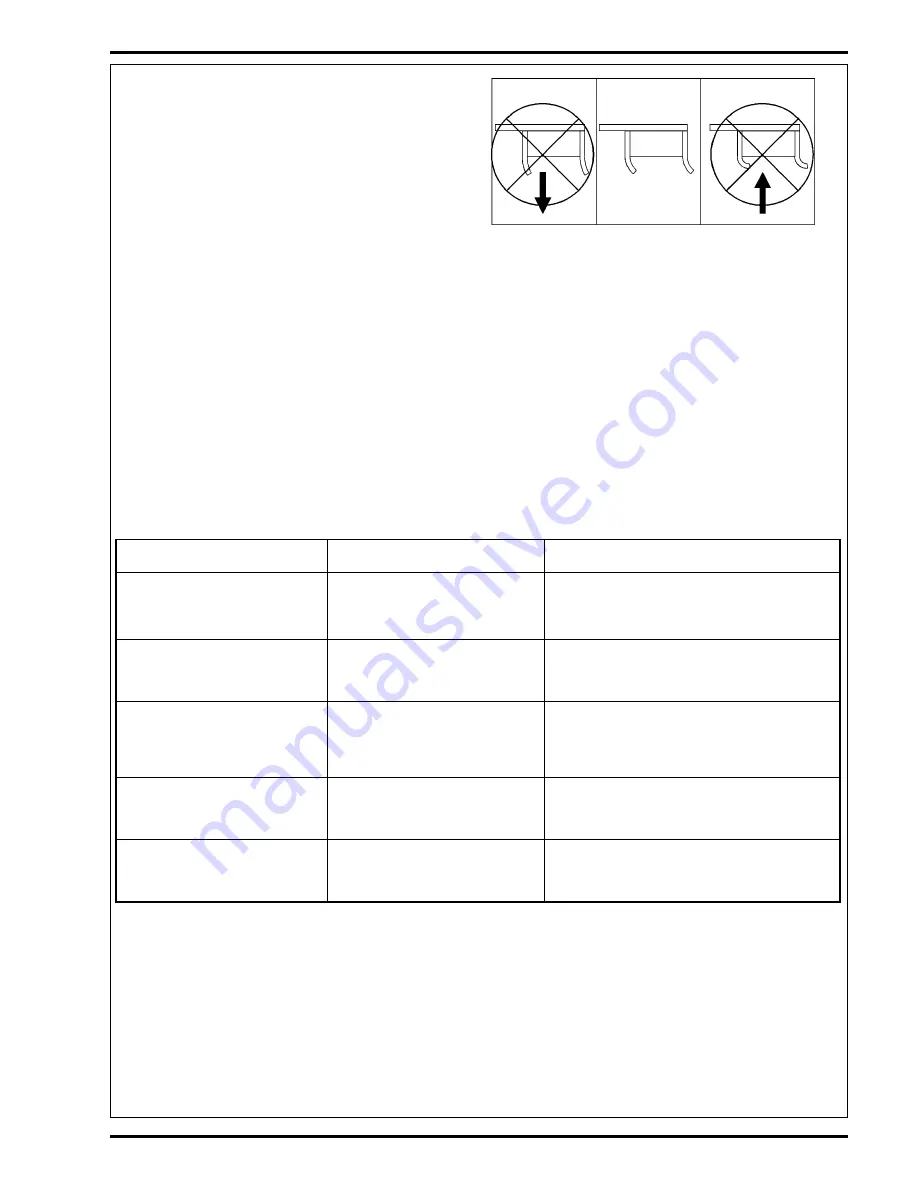
FORM NO. 56041439 / SelectScrub 20B/20BT/26BT -
9
TROUBLE SHOOTING GUIDE
CAUSE
1. Keylock is not in the “ON” poosition
2. Battery condition low.
3. Speed set too low.
1. Battery condition low.
2. Circuit breaker tripped.
3. Brush head not lowered.
1. Debris lodged under squeegee.
2. Squeegee in need of adjustment.
3. Worn squeegee blades.
4. Insufficient water flow.
1. Clogged pickup tube.
2. Lint filter dirty.
3. Clogged elbow entering recovery tank.
1. Battery charge condition very low.
2. Corroded wires or connectors.
3. Bad Battery.
SOLUTION
1. Turn keylock to the “ON” position.
2. Check batteries and charge or replace.
3. Adjust speed control knob as needed.
1. Check batteries and charge or replace.
2. Reset by pushing circuit breaker button.
3. Lower the brush head.
1. Raise and clean squeegee blades.
2. Adjust squeegee as needed.
3. Reverse or replace blades.
4. Clean screens, or increase flow.
1. Remove accumulation.
2. Clean lint filter.
3. Remove and clean elbow.
1. Fully recharge batteries.
2. Clean thoroughly.
3. Replace defective battery.
PROBLEM
Machine will not move
Brush drive motor will not start
Machine streaking a cleaned floor
Poor solution recovery
Short operating time
ANY ELECTRICAL SERVICING MUST BE PERFORMED BY THE DEALER FROM WHICH THE MACHINE WAS PURCHASED OR AN AUTHORIZED
SERVICE STATION.
SQUEEGEE ADJUSTMENT
HEIGHT
Height refers to the amount of contact on the floor. When traveling forward, the
squeegee should flare back so the blade corner is contacting the floor.
To adjust, lower squeegee to floor and loosen the jam nut on the adjustment
screw. Turn screw clockwise to raise (decrease pressure), counterclockwise
to lower (increase pressure). Retighten jam nut when properly adjusted.
TILT
Tilt refers to pressure on each end of the squeegee. The front to rear tilt is correct if, as the machine is moved forward, there is an equal amount of squeegee flare
at the ends as compared to the center.
To adjust, turn the tilt adjustment knob clockwise to tilt ends upward, counterclockwise to tilt ends downward.
BLADE REVERSING
Worn blades leave streaks on the floor. The squeegee is designed to be reversed so all four corner edges can be used. To reverse blades, remove the squeegee
from the machine and remove the bolts that hold the squeegee assembly together. Reverse the blades, reassemble and reinstall squeegee on machine.
BLADE REPLACEMENT (FIGURE 8)
If blades have been reversed and are now worn on both edges, they will have to be replaced. To replace blades, remove the squeegee from the machine and remove
the bolts that hold the squeegee assembly together. Replace the blades, reassemble and reinstall squeegee on machine.
OPTIONAL ACCESSORIES
For a complete list of all available accessories and ordering information, contact your local equipment dealer or the dealer from which the machine was purchased.
revised 9-02
https://harrissupplyind.com - To Order Parts Call 608-268-8080


