background image

25 Litre Stainless Steel Combination Microwave
K25CS14

instruction manual

K25CS14_IB_140430_grace.indd   1

30/4/14   4:12 pm

Summary of Contents for K25CS14

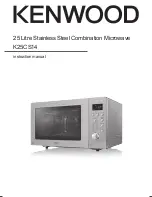
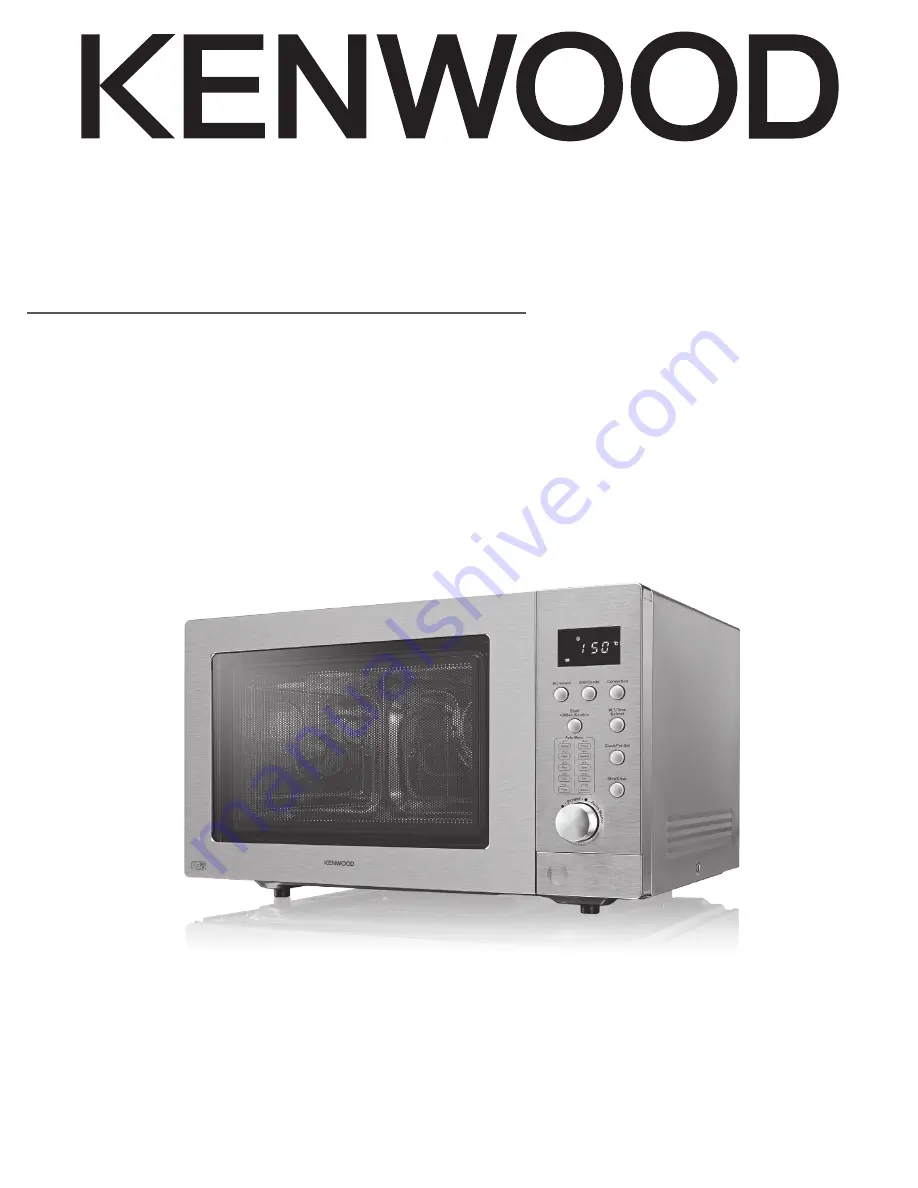
Page 1: ...25 Litre Stainless Steel Combination Microwave K25CS14 instruction manual ...

Page 2: ......

Page 3: ...your microwave 19 clock setting 20 delay start cooking programme set in advance 21 setting the child lock 21 microwave cooking 22 grill or combination cooking 23 convection cooking with preheating 24 convection cooking without preheating 25 express or quick cooking 25 multi stage cooking 26 auto cooking 27 auto cook menu 27 meat menu 27 auto cook menu table 28 defrosting 29 defrost by weight 29 de...

Page 4: ... been dropped or damaged to ensure it is safe to use This appliance can be used by children aged from 8 years and above and persons with reduced physical sensory or mental capabilities or lack of experience and knowledge if they have been given supervision or instruction concerning use of the appliance in safe way and understand the hazards involved Children shall not play with the appliance Clean...

Page 5: ...orage which may lead to risk of injury ignition or fire This microwave must be used indoors in a dry well ventilated area Do not place the microwave in a cabinet Install or locate this oven only in accordance with the installation instructions provided The appliance is not intended to be operated by means of an external timer or separate remote control system The microwave should not be left unatt...

Page 6: ... twist ties and metal handles from paper or plastic containers bags before placing them in the oven convection use During use the appliance becomes hot Care should be taken to avoid touching the hot surfaces Keep children away Switch the appliance off and unplug after use Switch off the appliance unplug and allow to cool before cleaning and maintenance To avoid an accident ensure that the turntabl...

Page 7: ...ed vapours may be present Make sure that if using cling film or plastic or similar materials in the unit that they are microwave safe and suitable for the chosen function If in doubt do NOT use such materials warning Only allow children to use the microwave without supervision when adequate instructions have been given so that the child is able to use the microwave in a safe way and understands th...

Page 8: ...ave The microwave energy cannot pass through metal so it bounces off and sparks against the inside of the microwave Stop the microwave straight away if any equipment is causing sparks Remember that some crockery has a metal trim around the edge Even this trim can cause sparks containers warning Pressure will build up in sealed containers and can cause them to explode Therefore do not use the follo...

Page 9: ...perature before feeding it to the baby When using a baby bottle ensure the teat is removed before heating When warming baby food or milk ensure the food is thoroughly stirred and at a safe consumable temperature caution hot surface During cooking the outer surface will become hot Do not touch the outer casing of the microwave Care should be taken not to store any items on top of your microwave ear...

Page 10: ... appliance is not intended to be operated by means of an external timer or separate remote control system CAUTION RISK OF ELECTRIC SHOCK DO NOT OPEN The lightning flash with arrowhead symbol within an equilateral triangle is intended to alert the user to the presence of uninsulated dangerous voltage within the unit s enclosure that may be of sufficient magnitude to constitute a risk of electric sh...

Page 11: ...o cooking If items are missing or damaged please contact Partmaster UK only Tel 0844 800 3456 for assistance Thank you for purchasing your new Kenwood Microwave These operating instructions will help you use it properly and safely We recommend that you spend some time reading this instruction manual in order that you fully understand all the operational features it offers Read all the safety instr...

Page 12: ...t The turntable support is shaped to sit securely on the spindle You must always use the turntable plate and support whenever you use the microwave getting ready This microwave is designed for home use only It should not be used for commercial catering 1 After unpacking your microwave check that it has not been damaged whilst in the box Make sure there are no dents and the door closes properly A d...

Page 13: ...food This page gives some of the basic guidelines for microwave cooking If you are unfamiliar with using a microwave there is more information at the back of this instruction manual cooking with a microwave If you are unsure how long the food should cook begin cooking at the lowest recommended time then add more time if necessary The moisture content of food can vary Ensure food is thoroughly cook...

Page 14: ...iner has a lid or film cover Always use the glass turntable plate Use shallow containers with a large surface area Do not use containers that are more than 1 25in 3 5cm deep Use gloves when handling any aluminium foil Do not completely cover food with aluminium foil The microwave energy cannot pass through the aluminium foil so the food will not cook Do not let aluminium foil touch the inside of t...

Page 15: ... Do not use cracked or chipped dishes Oven cooking bags Follow the manufacturer s instructions Do not close with metal tie Make slits to allow steam to escape Paper plates and cups Use for short term cooking warming only Do not leave oven unattended while cooking Paper towels Use to cover food for reheating and absorbing fat Use with supervision for short term cooking only Greaseproof paper Use as...

Page 16: ... heating category and output power of the oven Microwave ready meals weighing up to 500g 1lb 2oz should have cooking instructions for heating categories A to E Follow the instructions for the letter that corresponds to the heating category of the oven The higher the output power and heating category of the oven the less heating time is required This is shown in the diagrams below oven output power...

Page 17: ...e vents on the back of the microwave and from around the door condensation As the steam cools you may find that condensation gathers in small pools inside your microwave and on the work surface beneath the door and vents Always dry the microwave after cooking foods with a high moisture content Your microwave is designed to let steam escape from the vents and around the door without microwave energ...

Page 18: ...owave function and power level Grill Combi Button Use this button to select the function of grill microwave and convection combination W T Time Defrost Use this button to defrost the food by weight or time LED Display Shows the clock cooking time and setting Time Power Auto Menu Dial Use this dial to set time select options and to choose auto cook menu programmes Clock Pre Set Button Use this butt...

Page 19: ...rt a simple 30 second microwave cooking cycle that allows you to check the operation of the microwave 6 When the cooking cycle has finished the water should be hot be careful when you take the cup out of the microwave 7 Press the Stop Clear button to clear any settings checking your microwave Check your microwave after unpacking For your safety the microwave stops if the door is opened during cook...

Page 20: ...e Power Auto Menu dial to set the hour 3 Press the Clock Pre Set button to confirm the hour The minute digits will also begin flashing 4 Turn the Time Power Auto Menu dial to set the minutes 5 Press the Clock Pre Set button to confirm the minutes 6 will flash While setting the clock if you press the Stop Clear button or if there is no operation within 5 minutes the microwave will return to its pre...

Page 21: ...tart cooking automatically delay start cooking programme set in advance This feature allows you to delay the start time of the cooking setting the child lock This feature prevents the microwave from operating by locking the control panel until you cancel the lock Please follow the steps below to set the Child Lock 1 When the microwave is not in use Press the Stop Clear button for 3 seconds or more...

Page 22: ...crowave cooking please follow the steps below For instance If you want to use 80 microwave power to cook for 20 minutes 1 Press the Microwave button once The LED display will show P100 2 Press the Microwave button again to select 80 microwave power P80 Alternatively after you press the Microwave button once you can turn the Time Power Auto Menu dial until the LED display shows P80 The default micr...

Page 23: ...Press the Start 30Sec Confirm button to start cooking 5 Press the Stop Clear button to pause the cooking Press the Stop Clear button again to cancel the setting Grill Combo Button Control press order LED display microwave power grill power convection power 1 G 1 3 2 C 1 3 3 3 C 2 3 3 4 C 3 3 3 5 C 4 3 3 3 grill or combination cooking For Grilling please follow the steps below We recommend that you...

Page 24: ...use the supplied grill rack Place your food on the grill rack then place on top of the glass turntable It is recommended to preheat the microwave to the appropriate temperature before placing the food in the microwave 1 Press the Convection button once The LED will display 150 C 2 Press the Convection button repeatedly until the LED displays your preferred temperature Each press of the button will...

Page 25: ...al to adjust the cooking time The maximum time setting is 95 minutes 5 Press the Start 30Sec Confirm button to confirm and start cooking 6 Press the Stop Clear button once to stop the cooking Press the Stop Clear button again to cancel the setting Alternatively after you press the Convection button once you can turn the Time Power Auto Menu dial to change the temperature setting 6 4 1 2 express or...

Page 26: ...o confirm 3 Turn the Time Power Auto Menu dial to input cooking time of 7 minutes 4 Press the Grill Combi button once 5 Press the Start 30Sec Confirm button to confirm 6 Turn the Time Power Auto Menu dial to input grilling time of 5 minutes 7 Press the Start 30Sec Confirm button to start cooking You can set a maximum of 2 stages for Multi Stage Cooking If defrosting is among one of the stages then...

Page 27: ...elect the Auto Menu programme to A3 2 Press the Start 30Sec Confirm button to confirm the setting 3 Turn the Time Power Auto Menu dial to select 600g The LED display will light up g at the same time 4 Press the Start 30Sec Confirm button to start cooking 1 3 When using the auto cook menu it is not necessary to programme the food time or the cooking power Indicating the food type and weight is suff...

Page 28: ...7 Soup A7 200ml 2 00 Microwave Only use suitable microwavable containers and cling film in the microwave Pierce the film with a fork before cooking Check regularly to ensure the water does not boil over 400ml 3 30 600ml 5 00 A8 Cake A8 475g After preheating to 160 C baking will take approx 45 00 Convection For best results we recommend using cake mix Use a tin no larger than 8 inches and the micro...

Page 29: ...nd the LED display will show dEF 2 2 Turn the Time Power Auto Menu dial to set the defrosting leadtime 3 Press the Start 30Sec Confirm button to start defrosting 4 Press the Stop Clear button to stop defrosting Press the Stop Clear button to cancel the setting 2 1 4 Large items may be frozen in the centre Therefore to ensure even thawing turn them over from time to time and break them into smaller...

Page 30: ...ck the current time It will last for 2 3 seconds then return to its original display if you have previously set the clock If you have not set the clock no time will be displayed 2 While the microwave is in operation press the Microwave or Grill Combi or Convection button to display the current cooking setting It will last for 2 3 seconds then return to its original display 1 2 This function does n...

Page 31: ... keep the cover clean in the same manner as the inside of the microwave If grease is left to accumulate it can smoke and even catch fire 6 Keep the inside of the door clean with a damp cloth Use warm soapy water for stubborn marks and dry thoroughly The inside of the door has a special coating and must not be cleaned with abrasive pads or cleaning powders 7 Clean behind the door ledge 8 Use warm s...

Page 32: ...od has been cooked properly Why do I get condensation on the inside of the door Condensation is perfectly normal especially when you are cooking food with a high moisture content such as potatoes Does the microwave energy get through the window on the door No The door has a special metal screen with holes that lets you see inside but stops microwave energy from getting out Steam comes out of the s...

Page 33: ...imensions height x depth x width 306 2 mm x 466 mm x 513 mm power consumption microwave input 1450 1500 W grill input 1300 1400 W convection input 2250 2400 W Complies with EC directives 2004 108 EC and 2006 95 EC We continually strive to improve our products Features and specifications may change without prior notice ...

Page 34: ......

Page 35: ......

Page 36: ...edgebank or call 0344 5611234 The symbol on the product or its packaging indicates that this product must not be disposed of with your other household waste Instead it is your responsibility to dispose of your waste equipment by handing it over to a designated collection point for the recycling of waste electrical and electronic equipment The separate collection and recycling of your waste equipme...

Reviews: