background image

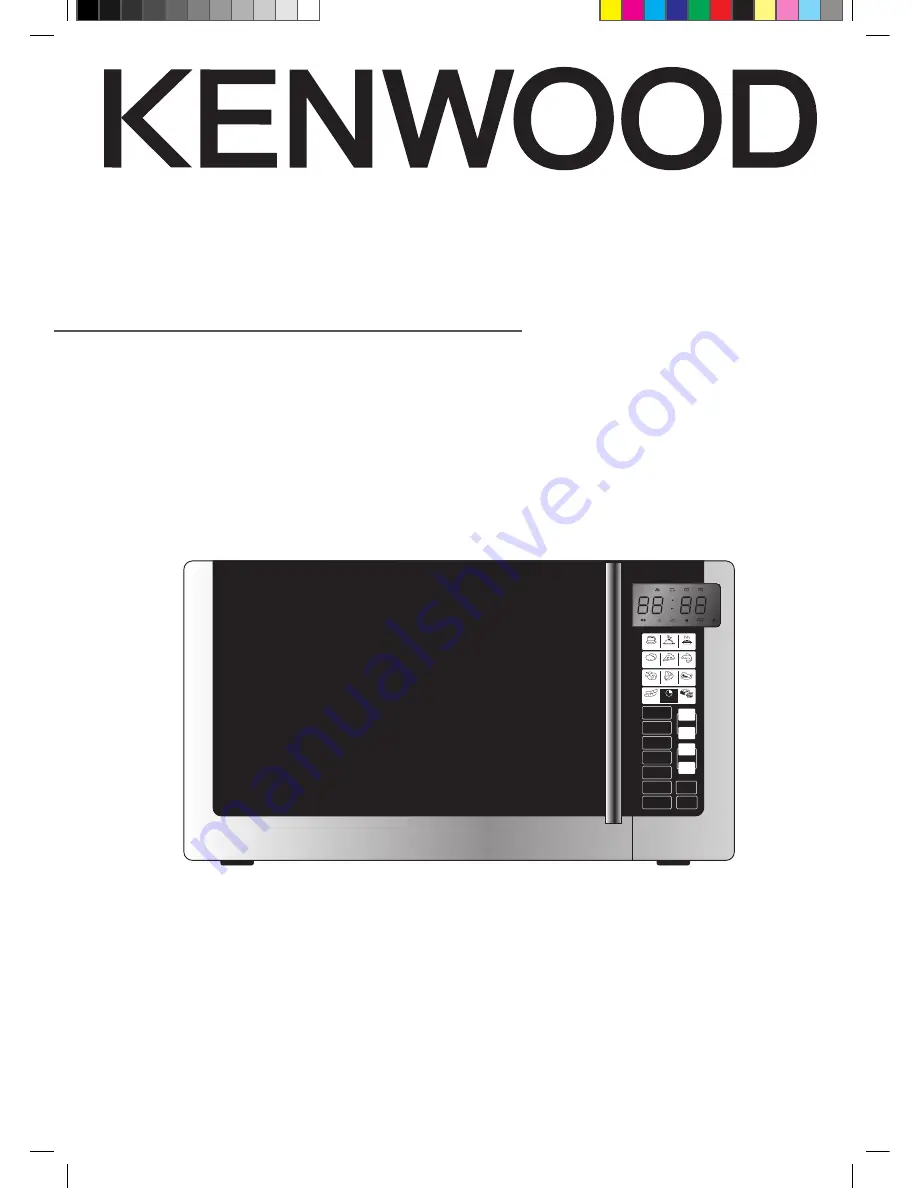
30 Litre Stainless Steel Microwave with Grill
K30GSS12

instruction manual

beverage

reheat

dinner entree

potato

pizza

fish

chicken vegetable beef/mutton

sausage

clock

pork

power

level

grill/

combination

memory

preset

jet

defrost

weight

defrost

stop/

cancel

quick

start

start

10

1

minute

10

1

second

LOCK

%

G

AUTO

K30GSS12_IB_ready120514.indd   1

14/05/2012   3:11 PM

Summary of Contents for K30GSS12

Page 1: ...rage reheat dinner entree potato pizza fish chicken vegetable beef mutton sausage clock pork power level grill combination memory preset jet defrost weight defrost stop cancel quick start start 10 1 minute 10 1 second LOCK G AUTO K30GSS12_IB_ready120514 indd 1 14 05 2012 3 11 PM ...

Page 2: ...K30GSS12_IB_ready120514 indd 2 14 05 2012 3 11 PM ...

Page 3: ...l 11 checking your microwave 12 clock setting 13 setting the child lock 14 microwave cooking 15 grill or combination cooking 16 multi stage cooking 18 auto cooking 19 auto cook menu 19 auto cook menu table 20 weight defrost 21 jet defrost 22 preset cooking programme set in advance 23 quick start cooking 24 querying the cooking function 25 to find out the current cooking setting 25 cleaning your mi...

Page 4: ...e reheat dinner entree potato pizza fish chicken vegetable beef mutton sausage clock pork power level grill combination memory preset jet defrost weight defrost stop cancel quick start start 10 1 minute 10 1 second LOCK G AUTO Glass Turntable Plate x 1 P N XGALK30GSS12P12 Turntable Support x 1 P N XGALK30GSS12P11 Grill Rack x 1 P N XGALK30GSS12P41 If items are missing or damaged please contact Par...

Page 5: ...ldren 3 Plug your microwave into a standard household electrical socket 230 volt 13 amp rated Avoid using a socket that also has an adaptor and other equipment plugged in Do not use a multi adaptor 4 Put the turntable support inside the microwave and place the glass turntable plate on top of the support The turntable support is shaped to sit securely on the spindle You must always use the turntabl...

Page 6: ...c guidelines for microwave cooking If you are unfamiliar with using a microwave there is more information at the back of this instruction manual cooking with a microwave If you are unsure how long the food should cook for begin cooking at the lowest recommended time then add more time if necessary The moisture content of food can vary Ensure food is thoroughly cooked all the way to the centre befo...

Page 7: ...e the glass turntable plate Use shallow containers with a large surface area Do not use containers that are more than 1 25in 3 5cm deep Use gloves when handling hot aluminium foil containers Do not completely cover food with aluminium foil The microwave energy cannot pass through the aluminium foil so the food will not cook Do not let aluminium foil touch the inside of the microwave Do not use mor...

Page 8: ...shes Oven cooking bags Follow manufacturer s instructions Do not close with metal tie Make slits to allow steam to escape Paper plates and cups Use for short term cooking warming only Do not leave oven unattended while cooking Paper towels Use to cover food for reheating and absorbing fat Use with supervision for a short term cooking only Greaseproof paper Use as a cover to prevent splattering or ...

Page 9: ...d output power of the oven Microwave ready meals weighing up to 500g 1lb 2oz should have cooking instructions for heating categories A to E Follow the instructions for the letter that corresponds to the heating category of the oven The higher the output power and heating category of the oven the less heating time is required This is shown in the diagrams below oven output power Less heating time r...

Page 10: ...ools inside your microwave and on the work surface beneath the door and vents Always dry the microwave after cooking foods with a high moisture content Your microwave is designed to let steam escape from the vents and around the door without microwave energy escaping There is no danger of microwave energy escaping with the steam beverage reheat dinner entree potato pizza fish chicken vegetable bee...

Page 11: ...nute and 10 1 second buttons Use these buttons to enter the cooking time and weight They can also set the time quick start button Use this button to quick start cooking by increments of 30 seconds Each press adds 30 seconds start button Use this button to start cooking power level button Use this button to select the microwave power combination button Use this button to select the grill combinatio...

Page 12: ... cancel button to clear any settings that have already been made 5 Press the quick start button to start a simple 30 second microwave cooking cycle and that allows you to check the operation of the microwave 6 When the cooking cycle has finished the water should be hot be careful when you take the cup out of the microwave 7 Press the stop cancel button to clear any settings checking your microwave...

Page 13: ...will show 1 30 In 24 hour setting you need to press the 10 minute button once 1 minute button three times and then press the 10 second button three times The LED display will show 13 30 3 Press the clock button again to complete the clock setting will stop flashing and to confirm that the clock setting is complete beverage reheat dinner entree potato pizza fish chicken vegetable beef mutton sausag...

Page 14: ...el until you cancel it Please follow the steps below to set the child lock 1 Press the stop cancel button for 3 seconds and a beep will sound The child lock indicator LOCK will illuminate on the LED display to indicate that the microwave has set the child lock 2 To release the child lock press the stop cancel button again for 3 seconds and a beep will sound The child lock indicator LOCK will disap...

Page 15: ...ooking Press the stop cancel button again to cancel the setting microwave button control press order microwave power 1 100 2 80 3 60 4 40 5 20 6 00 When 00 is selected no microwave power will be present This setting is for deodorising purposes only Stop the microwave before removing food Operating the microwave without food in it can result in overheating and damage the magnetron beverage reheat d...

Page 16: ... 3 times and the LED display will show 2 Press the numeric buttons to enter the cooking time 3 Press the start button to confirm and start cooking 4 Press the stop cancel button to pause the cooking Press the stop cancel button again to cancel the setting grill or combination cooking For grilling follow the steps below We recommend that you use the supplied grill racks Place your food on the grill...

Page 17: ...er the cooking time The LED display will show 10 00 3 Press the start button to confirm and start cooking 4 Press the stop cancel button to pause the cooking Press the stop cancel button again to cancel the setting beverage reheat dinner entree potato pizza fish chicken vegetable beef mutton sausage clock pork power level grill combination memory preset jet defrost weight defrost stop cancel quick...

Page 18: ...t defrost button once to initiate the multi stage cooking with time defrost as the first stage The LED display will show 2 Press the numeric buttons to enter the defrosting time For example to input 5 minutes you need to press the 1 minute button five times The LED display will show 5 00 Then press the memory button You can set a maximum of 3 stages for Multi Stage Cooking If defrosting is among o...

Page 19: ... 2 Press the start button to confirm and start cooking 3 Press the stop cancel button to pause the cooking Press the stop cancel button to cancel the setting beverage reheat dinner entree potato pizza fish chicken vegetable beef mutton sausage clock pork power level grill combination memory preset jet defrost weight defrost stop cancel quick start start 10 1 minute 10 1 second LOCK G AUTO 2 3 1 If...

Page 20: ...ce the potato s skin before cooking Once the potato is cooked wrap it in aluminium foil for at least 5 minutes to ensure it is cooked thoroughly The density and thickness of food can affect its cooking time Ensure all food is piping hot and cooked thoroughly before serving It is essential that food is checked during and after the recommended cooking time even if auto menu was used menu weight disp...

Page 21: ...mum weight LED display meat 2300g d1 poultry 4000g d2 seafood 900g d3 beverage reheat dinner entree potato pizza fish chicken vegetable beef mutton sausage clock pork power level grill combination memory preset jet defrost weight defrost stop cancel quick start start 10 1 minute 10 1 second LOCK G AUTO 3 4 1 Large items may be frozen in the centre To ensure even thawing turn them over from time to...

Page 22: ...again to cancel the setting beverage reheat dinner entree potato pizza fish chicken vegetable beef mutton sausage clock pork power level grill combination memory preset jet defrost weight defrost stop cancel quick start start 10 1 minute 10 1 second LOCK G AUTO 2 3 1 1 Large items may be frozen in the centre To ensure even thawing turn them over from time to time and break them into smaller pieces...

Page 23: ... afternoon In 12 hour setting you need to press the 1 minute button once and then press the 10 second button three times The LED display will show 1 30 In 24 hour setting you need to press the 10 minute button once 1 minute button three times and then press the 10 second button three times The LED display will show 13 30 4 Press the start button to complete the setting and PRE will flash The micro...

Page 24: ... cancel button once to stop the cooking Press the stop cancel button again to cancel the setting beverage reheat dinner entree potato pizza fish chicken vegetable beef mutton sausage clock pork power level grill combination memory preset jet defrost weight defrost stop cancel quick start start 10 1 minute 10 1 second LOCK G AUTO 1 2 This feature is also applicable during microwave grill combinatio...

Page 25: ...the current cooking power while the microwave is cooking It will last for 2 3 seconds and then return to its original display beverage reheat dinner entree potato pizza fish chicken vegetable beef mutton sausage clock pork power level grill combination memory preset jet defrost weight defrost stop cancel quick start start 10 1 minute 10 1 second LOCK G AUTO 1 K30GSS12_IB_ready120514 indd 25 14 05 ...

Page 26: ... as the inside of the microwave If grease is left to accumulate it can smoke and even catch fire 5 Keep the inside of the door clean with a damp cloth Use warm soapy water for stubborn marks and dry thoroughly The inside of the door has a special coating and must not be cleaned with abrasive pads or cleaning powders 6 Clean behind the door ledge 7 Treat the glass turntable plate as you would any g...

Page 27: ... on the inside of the door Condensation is perfectly normal especially when you are cooking food with a high moisture content such as potatoes Does the microwave energy get through the window on the door No The door has a special metal screen with holes in that lets you see inside but stops microwave energy from getting out Steam comes out of the side of the door and vents Can microwave energy get...

Page 28: ...width x deep x height 539mm x 446mm x 300mm power consumption microwave input 1350 1400 Watts grill input 1000 1100 Watts Complies with EC directives 2004 108 EC and 2006 95 EC We continually strive to improve our products Features and specifications may change without prior notice K30GSS12_IB_ready120514 indd 28 14 05 2012 3 12 PM ...

Page 29: ...ection against exposure to microwave energy warning If the door or door seals are damaged the microwave must not be operated until it has been repaired by a qualified technician If smoke is observed switch off or unplug the microwave and keep the door closed in order to stifle any flames If the mains cord is damaged it must be replaced by a service agent or a qualified technician If you have a pac...

Page 30: ...nd food deposits removed Failure to maintain the microwave in a clean condition can affect the life of the microwave and possibly result in a hazardous situation See cleaning your microwave do not use these in your microwave Metal objects are not to be used in the microwave These include Metal cooking utensils Metal plates or trays Wine twist ties Crockery with metal trims Meat thermometer Never u...

Page 31: ... is installed and earthed in accordance with all local standards and requirements warning Improper connection of the appliance earthing conductor can result in a risk of an electric shock Check with a qualified electrician or service representative if you are in doubt whether the appliance is properly earthed Never modify the plug provided with the appliance If the plug does not fit properly in th...

Page 32: ...e There are separate collection systems for recycling in the EU For more information please contact the local authority or your retailer where you purchased the product P N XGALK30GSS12 001 Visit Partmaster co uk today for the easiest way to buy electrical spares and accessories With over 1 million spares and accessories available we can deliver direct to your door the very next day Visit www part...

Reviews: