30
English
English
31
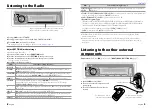
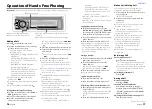
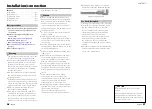
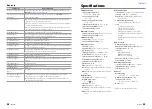
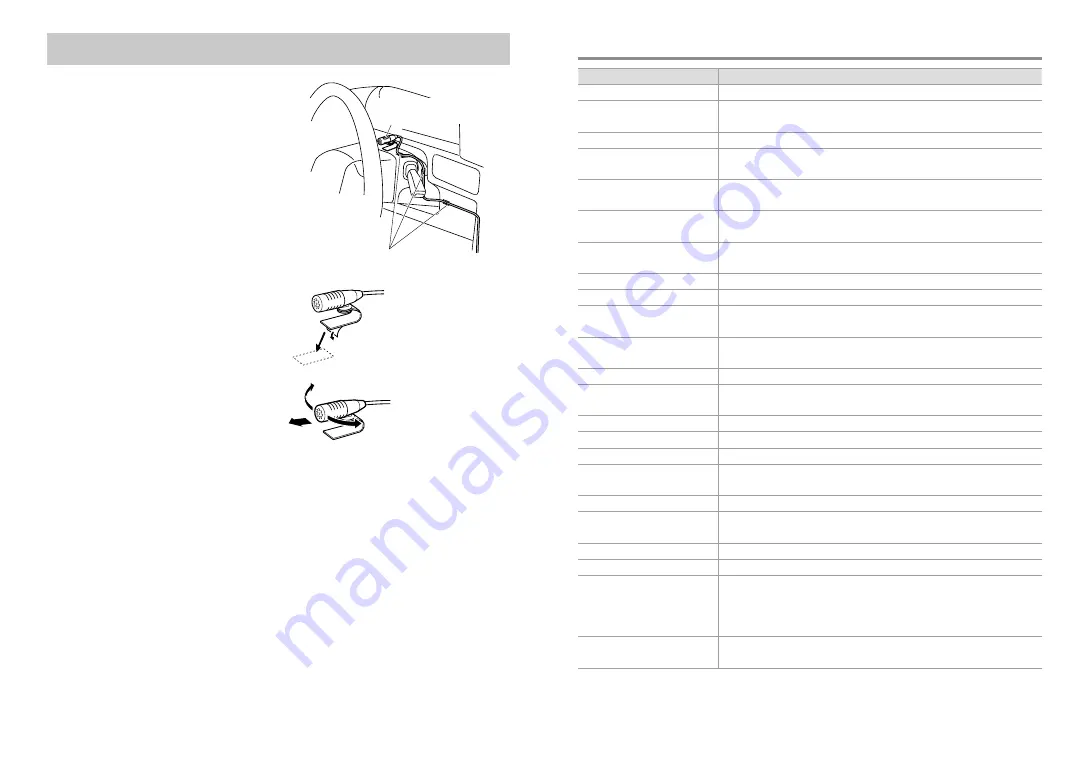
Installing the Microphone Unit (KCA-MC10 ; optional accessory)
(KDC-BT42U only)
1
Check the installation position of the
microphone.
2
Remove oil and other dirt from the
installation surface.
3
Install the microphone.
4
Wire the microphone cable up to the
hands-free box with it secured at several
positions using tape or the like.
■
■
Install the microphone as far away as
possible from the cell-phone.
Select the external microphone
Set ”SETTINGS” > “DETAILED SET” > “MIC
SELECT” to “EXT” in BT mode. (
)
KCA-MC10
(optional accessory)
Fix a cable with a commercial
item of tape.
Peel off the release
coated paper of
double-face adhesive
tape to secure the
microphone on the
place shown above.
Turn the microphone
toward the driver.
Continued to next page
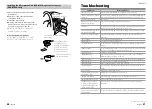
Troubleshooting
Symptom
Remedy/Cause
Sound cannot be heard.
Adjust the volume to the optimum level. / Check the cords and connections.
“PROTECT” appears and no operations
can be done.
Check to be sure the terminals of the speaker leads are covered with insulating tape properly,
then reset the unit. If “PROTECT” does not disappear, consult your nearest service center.
The unit does not work at all.
Reset the unit.
Radio reception is poor. / Static noise
while listening to the radio.
Connect the antenna firmly. / Pull the antenna out all the way.
“IN” flashes.
The CD player is not operating properly. Reinsert the disc properly. If the condition did not
improve, turn off the unit and consult your nearest service center.
CD-R/CD-RW cannot be played back
and tracks cannot be skipped.
Insert a finalized CD-R/CD-RW (finalize with the component which you used for recording).
Disc sound is sometimes interrupted. Stop playback while driving on rough roads. / Change the disc. / Check the cords and
connections.
“NA FILE” appears.
The unit is playing an unsupported audio file.
“NO DISC” appears.
Insert a playable disc into the loading slot.
“TOC ERROR” appears.
The CD is quite dirty. / The CD is upside-down. / The CD is scratched a lot. Try another disc
instead.
“ERROR 99” appears.
The unit is malfunctioning for some reason. Press the reset button on the unit. If the “ERROR
99” code does not disappear, consult your nearest service center.
“COPY PRO” appears.
A copy-protected file is played.
“READ ERROR” appears.
Copy the files and folders for the USB device again. If the error message is still displayed,
initialize the USB device or use other USB devices.
“NO DEVICE” appears.
No USB device is connected. Connect a USB device, and change the source to USB again.
“NO MUSIC” appears.
The connected USB device contains no playable audio file.
“NA DEVICE” appears.
Connect a supported USB device, and check the connections.
“iPod ERROR” appears.
Reconnect the iPod. / Confirm that the software for the iPod is the latest version. / Reset
the iPod.
Noise is generated.
Skip to another track or change the disc.
Tracks cannot play back as you have
intended them to play.
Playback order is determined when files are recorded.
“READING” keeps flashing.
Longer readout time is required. Do not use too many hierarchies and folders.
Elapsed playing time is not correct.
This is caused by how the tracks are recorded.
The number of songs contained
in “SONGS” category of this unit
is different from that contained in
“SONGS” category of iPod.
Podcast files are not counted in this unit as this unit does not support the playback of
podcast files.
Correct characters are not displayed
(e.g. album name).
This unit can only display letters (upper case), numbers, and a limited number of symbols.

