background image

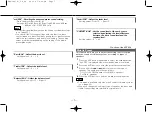
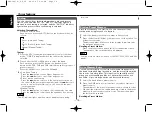
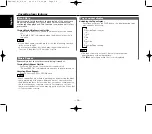
Adjust various parameters of sound quality.

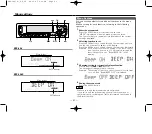
Press the AUD button to enter the control mode.

Selecting mode

Press either the FM or AM button.
Each time the button is pressed, the adjustment mode will
change.
Please refer to the following for the contents of the adjustment
modes.

Source tone memory

Each source ( tape, FM, AM and disc changer ) has its own
memory in which to store the bass and treble tone settings.
The settings made for a particular source are recalled
automatically whenever you use that source ( for example, FM
mode uses the tone settings made for FM, AM for AM, etc.).

Adjust each mode

Press the 

4

/

¢

button.

Please refer to the following for the adjusting values.

Press the AUD button to end the control mode.

4

3

NOTE

2

1

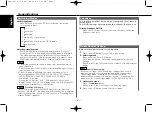
Audio Control Setting

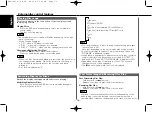
This function amplifies low and high tones when the volume is
turned down.
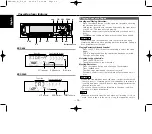
The LOUD indicator lights up when the loudness function is on.

Turning Loudness On/Off:

Press the LOUD button for at least one second to switch the
loudness on and off.

Loudness

General features

— 6 —

English

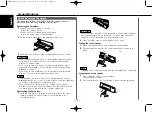
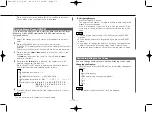
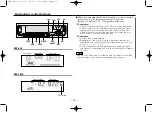
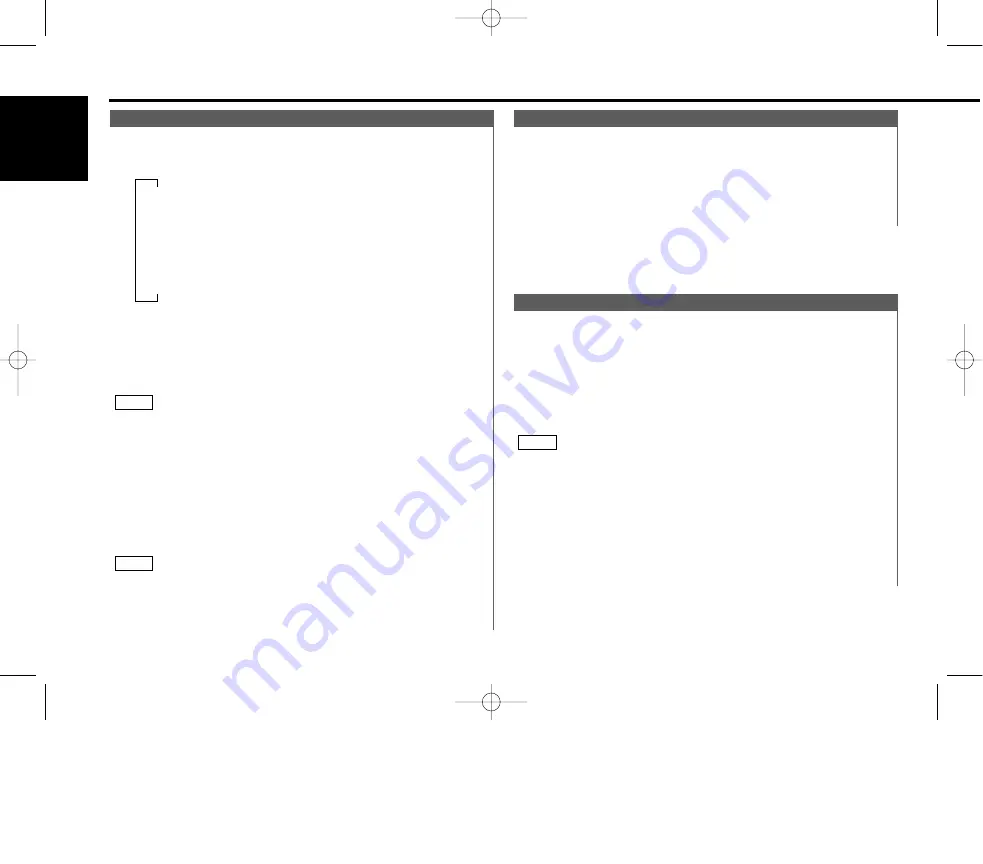
Switching Modes:

Each time you press the SRC (source) button, the mode
switches as follows:

Selecting standby mode:

Press the SRC button repeatedly and switch to "ALL OFF" .
When "ALL OFF" is displayed, the standby mode is activated.
The standby mode turns all functions off while leaving the
power to the unit on. Use this mode when you want to have
the display illuminated but don't want to listen to anything.

• The mode switches to the next mode from any mode which

cannot be used.

• The external disc control mode will differ depending on the unit

that is connected.

• The AUX mode is available only when the changer / AUX

switching adapter (KCA-S210A or CA-C1AX) or CD changer
(KDC-CPS85, KDC-CX85, KDC-CPS82 or KDC-CX82) is
connected to this unit.
During the AUX mode, "AUX" / AUX-name will show in the
display. When the CA-C1AX is being used, the AUX Mode will
replace the External Disc Control Mode.

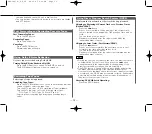
Presetting AUX-name 

In the AUX mode, press the NAME.S button for at least two
seconds. "NAME SET" is display and AUX-name mode is entered.
Input the characters, referring to the section on "Presetting Disc
Names (DNPS)" (page 20).

NOTE

NOTE

Tuner mode

Tape mode

External disc control mode 1

External disc control mode 2/AUX mode 

Standby mode

Switching Modes

KRC-608(K)_U.S_r2  00.12.27 0:11 PM  Page 6

Summary of Contents for KRC-508S

Page 1: ... serial number found on the back of the unit in the spaces designated on the warranty card and in the space provided below Refer to the model and serial numbers whenever you call upon your KENWOOD dealer for information or service on the product Model KRC 608 508S Serial number CASSETTE RECEIVER INSTRUCTION MANUAL AMPLI TUNER LECTEUR DE CASSETTE MODE D EMPLOI RADIO CASSETTE MANUAL DE INSTRUCCIONES...

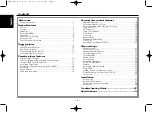
Page 2: ...ntrol features Playing Disc mode 16 Switching Display for Discs 16 Fast Forwarding and Reversing Disc Play 16 Track Search 17 Disc Search 17 Track Disc Repeat 17 Track Scan 18 Disc Scan 18 Random Play 18 Magazine Random Play 18 Text Scroll 19 Presetting Disc Names DNPS 20 Menu settings Menu System 21 Touch Sensor Tone 22 Manual Time Adjustment 22 Calendar Adjustment 22 Calendar Mode 22 Memo Mode 2...

Page 3: ...t set the removed faceplate or the faceplate case in areas exposed to direct sunlight excessive heat or humidity Also avoid places with too much dust or the possibility of water splashing To prevent deterioration do not touch the terminals of the unit or faceplate with your fingers Do not subject the faceplate to excessive shock as it is a piece of precision equipment When replacing a fuse only us...

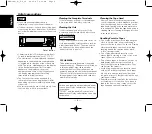
Page 4: ...oise and a deterioration in sound quality Clean the tape head using a cleaning tape or cleaning kit designed for use in car audio systems Handling Cassette Tapes Do not play a cassette whose tape has gone slack In such a case wind it tight using a pencil or the like in one of the spools Playing slack cassette tapes can result in the tape tangling around the capstan and or pinch rollers causing tro...

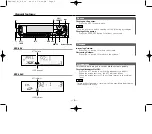
Page 5: ...tor LOUD indicator ATT indicator LOUD indicator Release button This function allows you to turn down the volume quickly Turning Attenuator On Off Press the ATT button to switch the attenuator on and off When the attenuator is on the ATT indicator blinks When the attenuator is off the volume returns to the original level Turning the volume up or turning it all the way down deactivates the attenuato...

Page 6: ...ch time you press the SRC source button the mode switches as follows Selecting standby mode Press the SRC button repeatedly and switch to ALL OFF When ALL OFF is displayed the standby mode is activated The standby mode turns all functions off while leaving the power to the unit on Use this mode when you want to have the display illuminated but don t want to listen to anything The mode switches to ...

Page 7: ...t V OFFSET VOS Set the sound level of the each source selected by adjusting the level difference between the basic sound level and the required level Setting values 8 0 Fader FAD Adjust the fader level Setting values Front 15 Rear 15 Balance BAL Adjust the balance level Setting values Left 15 Right 15 Treble TRE Adjust the treble level Setting values 8 8 Bass BAS Adjust the bass level Setting valu...

Page 8: ...er part of the faceplate pull it out Push back the bottom of the faceplate bracket until it locks Do not apply excessive force to the faceplate bracket without attaching the faceplate Doing so will cause the faceplate bracket to be deformed Do not touch the connector on the faceplate bracket after removing the faceplate Touching the connector may cause damage to the unit Do not touch two metal par...

Page 9: ...SP NAME S SCAN B NR B S RDM REP D SCN MTL M RDM DISC DISC DAB PROG 1 6 AM 4 SRC FM AUD AUTO AME DISP NAME S 38 KRC 608 KRC 508S ST indicator Frequency Preset station number Band display Preset station number Frequency Band display ST indicator AUTO indicator AUTO indicator KRC 608 K _U S_r2 00 12 27 0 11 PM Page 9 ...

Page 10: ...nds NOTE 2 1 Station Preset Memory received You can choose from three tuning modes auto seek preset station seek and manual The AUTO 1 indicator lights up when auto seek tuning is selected and the AUTO 2 indicator lights when preset station seek tuning is selected Selecting Tuning Mode Press the AUTO button Each time you press the AUTO button the mode switches as follows Tuning Press the SRC sourc...

Page 11: ...to 32 FM stations and 16 AM stations can be assigned names Adjust the frequency to the station whose name you want to enter Press the NAME S button for at least two seconds NAME SET is displayed once the station name preset mode is entered The cursor will blink in the position where letters are entered Press either the 4 or button to move the cursor to the desired position The 4 button moves the c...

Page 12: ...n the faceplate Press the 0 button The tape stops playing and the cassette ejects Push back the bottom of the faceplate with your hand until it locks When the faceplate has been slid open it might interfere with the shift lever or something else If this happens pay attention to safety and move the shift lever or take an appropriate action then operate the unit Do not use the unit with the faceplat...

Page 13: ...or less than four seconds or contains noise DPSS may not operate correctly Furthermore quiet intervals within a song are detected as blank spaces if they last for four seconds or more Canceling DPSS While It Is Operating Press the PROG button NOTE Using Direct Program Search System DPSS Select type of tape being played Switching Tape Types Press the MTL Metal button to switch the metal tape indica...

Page 14: ...s However when the blank space lasts for less than four seconds or contains noise this function may not operate correctly Furthermore sections that are recorded at low levels may trigger the function if they last for four seconds or more NOTE Music Repeat Automatically fast forwards to the beginning of the next track when long blank spaces 10 seconds or more are detected continuing tape playback T...

Page 15: ...ardless of the control unit the characters that can be registered with the Presetting Disc Names function are A Z 0 9 The disc name will be displayed when the name has been registered to the playing unit with the Presetting Disc Names function The CD text Presetting Disc Names and Disc Name Preset Play functions may not be operational depending on the unit NOTE External disc control features 15 EJ...

Page 16: ...Clock Disc name DNPS Disc title Units featuring CD text MD only Track title Units featuring CD text MD only Date Switch the display that appears while discs are playing Switching Display for Discs Each time you press the DISP button the display during disc play switches as follows Switching Display for Discs This function permits the connection of optional players and the playing of discs Playing ...

Page 17: ...is pressed the displayed disc number decreases by one Play starts at the beginning of the displayed disc Disc Search Search forward or backward through the tracks on the disc until you reach the one that you want to listen to Making a Reverse Track Search Press the 4 button to display the desired track number Press once to search back to the beginning of the current track twice to search back to t...

Page 18: ...you eject the disc NOTE 2 NOTE 1 Random Play Successively play the beginning of each disc on a changer until you find the one that you want to listen to Starting the disc scan Press the D SCN button D Scan DSCN ON is displayed and the first 10 seconds of each disc will be played in the order they are loaded on the changer The disc number currently being heard blinks in the display Stopping to List...

Page 19: ...y the disc title or the track title Pressing the DISP button for at least one second results in one scrolling display of the titles Please see the menu settings page 26 about switching between manual scrolling and automatic scrolling NOTE 2 1 Text Scroll To change the track being heard press the button Another disc track will be selected and played Magazine random play is canceled when you eject t...

Page 20: ...se the disc names stored in a disc changer NOTE 6 5 Store the names of discs to be displayed when played Play the disc whose name you want to preset This function is not available for disc changers that do not feature the Disc Name Preset function This procedure is not to be used to store the disc and track titles for MDs that you record The disc name preset function cannot be used when a disc tit...

Page 21: ... first search through the functions until you see Beep BEEP ON in the display Changing setting for currently displayed function Press either the 4 or button The setting will change for each function Example The setting of the touch sensor tone will switch from on to off and Beep BEEP OFF is displayed Ending the menu mode Press the MENU button Make sure to end the menu mode when finished If you fai...

Page 22: ...ate Press the FM or AM button The item of the date blinking in the display will change Press the MENU button to end the menu mode 5 4 3 2 1 Adjust the date for the unit so that you can use the calendar function Calendar Adjustment Adjust the time manually Display and setting Select the display Clock Adjust CLK ADJ during the selecting function in the menu system Press either the 4 or button for at...

Page 23: ... new text select the blank display Entering the month or day setting mode Press the 4 and button to enter the month or day setting mode The month display blinks when in month mode the day display blinks when in day setting mode Changing the month or day Press the FM and AM button Entering the text input mode Press the button to enter the text input mode The cursor blinks in the position where char...

Page 24: ...wer switch you cannot turn on the unit again unless the preset security code is input This function helps prevent theft You must follow steps 1 to 9 to be able to use the Security Code function Turning off the power during the procedure will deactivate the security code setting Once the security code function has been activated Security SECURITY disappears from the MENU system Note that it will no...

Page 25: ...the movement of graphic display on and off The initial setting is ON Display and setting Graphic GRAP ON The graphic display works Graphic GRAP OFF The graphic display does not work Switching Graphic Display Function of the KRC 608 You can dim the display The dimmer function is not available for units if the dimmer wire is not connected Display and setting Dimmer ON The dimmer setting is on Dimmer...

Page 26: ...u SCL MANU Manual scrolling Text Scroll Temporarily have reception switched from stereo to mono to reduce multi path noise when listening to the FM station The factory default for this function is ON Display and setting CRSC ON The CRSC is on CRSC OFF The CRSC is off Strong electrical fields such as from power lines may cause unstable sound quality when CRSC is turned on In such a situation turn i...

Page 27: ... with a constant voltage supply as with battery wires the battery may die If the console has a lid make sure to install the unit so that the faceplate will not hit the lid when closing and opening If the fuse blows first make sure the wires aren t touching to cause a short circuit then replace the old fuse with one with the same rating Do not let unconnected wires or terminals touch metal on the c...

Page 28: ...r To front right speaker To rear right speaker To rear left speaker Ignition wire Red Battery wire Yellow Ground wire Black To car chassis Ignition key switch Car fuse box Main fuse ACC Car fuse box Battery If no connections are made do not let the wire come out from the tab Front left output White Front right output Red Power control wire Blue White Motor antenna control wire Blue Dimmer control ...

Page 29: ... provided The use of different screws might result in damage to the main unit Damage may occur if a screwdriver or similar tool is used with excessive force during the installations 2CAUTION Refer to the section Removing the hard rubber frame P 30 and then remove the hard rubber frame Mount the J Car trim plate with the thick part at the bottom Align the holes in the unit two locations on each sid...

Page 30: ...own in the figure 2 1 Accessory6 Removing the Unit Push upward the removal tool toward the top and pull out the unit halfway whilst pressing towards the inside 4 Pull the unit all the way out with your hands being careful not to drop it 5 Be careful to avoid injury from the catch pins on the removal tool 2CAUTION Catch facing up Refer to the section Removing the hard rubber frame P 30 and then rem...

Page 31: ...plate which you have removed from the unit 2 1 Push back the bottom of the faceplate bracket unit it locks Refer to the section Theft Deterrent Faceplate page 8 and then reattaching the faceplate Never insert the taptite screws ø2 6 mm in any other screw holes than the one specified If you insert it in another hole it will contract and may cause damage to the mechanical parts inside the unit 2CAUT...

Page 32: ...speaker wires so that each output terminal is connected to a different speaker One of the speaker wires is being pinched by a screw in the car Check the speaker wiring The antenna control wire is not connected Connect the wire correctly referring to the section on Connecting Wires to Terminals Radio reception is poor The car antenna is not extended Pull the antenna out all the way The power does n...

Page 33: ...ng happens at the same place when the car is stopped something with the CD is wrong Clean the CD The display shows that the changer is being played but no sound can be heard The specified track will not play Random play or magazine random play has been selected Turn off random play or magazine random play SOLUTION POSSIBLE CAUSE PROBLEM If the following situations consult your nearest service cent...

Page 34: ...e does not disappear consult your nearest service center E 77 The protective circuit in the unit activates when the temperature inside the automatic disc changer exceeds 60 C 140 F stopping all operation Cool down the unit by opening the windows or turning on the air conditioner As the temperature falls below 60 C 140 F the disc will start playing again HOLD No disc has been loaded in the disc mag...

Page 35: ...d 4 76 cm sec Wow Flutter 0 08 WRMS Frequency response 3 dB 30 18 kHz 70 µs Separation 43 dB 1 kHz Signal to Noise ratio Dolby NR OFF 57 dB Dolby B NR ON 65 dB Audio section Preout Level mV Load 1800 mV 10 kΩ Preout Impedance 600 Ω Maximum output power 45 W x 4 Full Bandwidth Power at less than 1 THD 22 W x 4 Tone action Bass 100 Hz 10 dB Treble 10 kHz 10 dB General Operating voltage 11 16V allowa...

Page 36: ...KRC 608 K _U S_r2 00 12 27 0 12 PM Page 36 ...

Reviews: