39
EN
Application
section
Recording
Remote control unit only
1
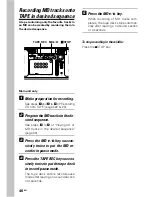
Make preparation for recording.
MD : See steps
1
to
3
of "Recording
CD onto MD" (page 20).
Tape : See steps
1
to
5
of "Recording
CD onto TAPE" (pages 22 & 23).
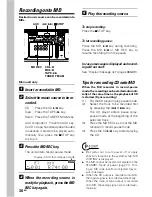
Make sure that the MD recorder and
tape deck are in stop mode.
2
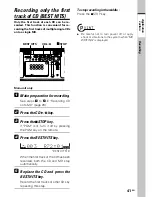
Program the CD tracks in the de-
sired sequence.
See steps
1
to
5
of "Playing CD or
MD tracks in the desired sequence"
(page 30).
Recording CD tracks onto
MD or TAPE in desired se-
quence
The tracks in a CD can be recorded by reor-
dering them in the desired sequence when
the recording speed is "CD
=
MD NORM".
Note that this function is not available when
the recording speed is "CD
=
MD HIGH".
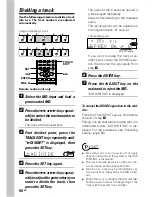
1
1
2 3
5
ナ
JKL
2
カ
ABC
8
ヤ
TUV
0
ワオン
QZ
6
ハ
MNO
3
サ
DEF
9
ラ
WXY
10
記号
4
タ
GHI
1
ア
7
マ
PRS
7
TRACK EDIT
REPEAT
TAPE
TAPE EQ.
VOLUME
ENTER
TITLE INPUT
POWER
PGM
CLEAR/DELETE
MUTE
CHARAC.
SPACE
MD
STOP
MD O.T.E.
AUTO/MANU
TUNING
DOWN
TUNING
UP
TAPE O.T.E.
DISPLAY TIME DISPLAY
P.CALL
SET
SOUND
TONE
TIMER
RANDOM
SLEEP
FM/AM
CD
7
STOP
MD O.T.E.
TAPE O.T.E.
3
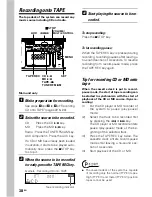
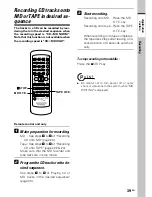
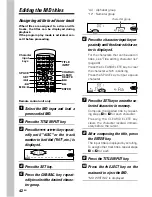
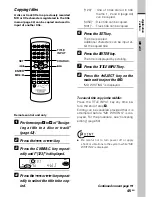
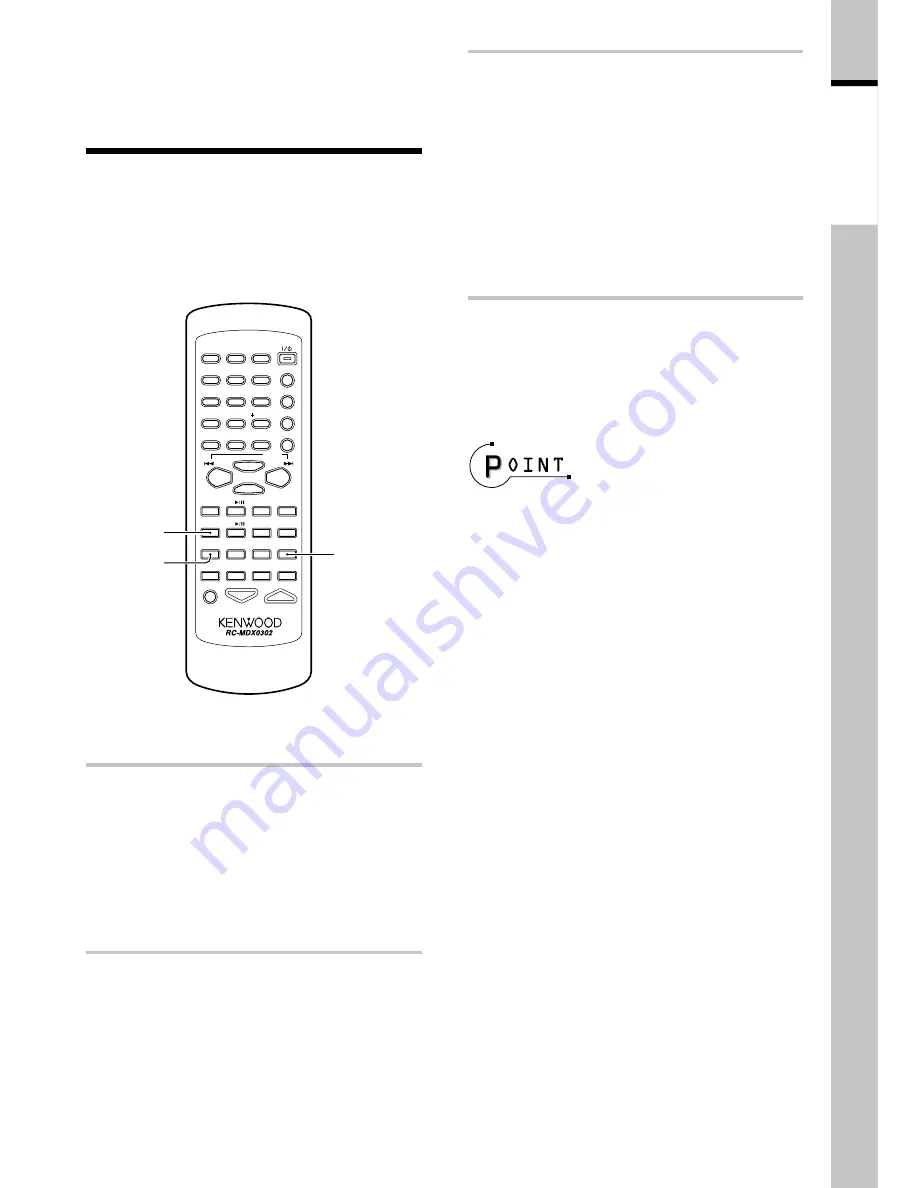
Start recording.
Recording onto MD : Press the MD
O.T.E. key.
Recording onto tape : Press the TAPE
O.T.E. key.
When recording onto tape completes,
the tape deck stops after leaving a no-
sound section of 4 seconds automati-
cally.
To stop recording in the middle :
Press the
7
STOP key.
÷
Be careful not to turn power off or apply
shock or vibrations to the system while "MD
WRITING" is displayed.

