RXD-A850DV/DV50/DV70
2
CONTENTS / ACCESSORIES / CAUTIONS
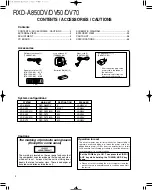
CONTENTS / ACCESSORIES / CAUTIONS ............. 2
EXTERNAL VIEW .......................................................3
ADJUSTMENT ............................................................4
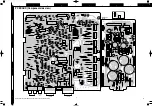
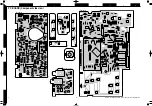
PC BOARD ................................................................ 5
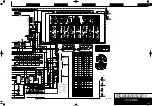
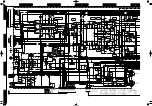
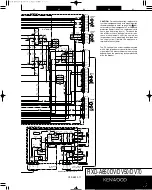
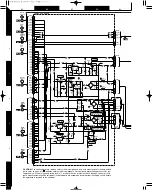
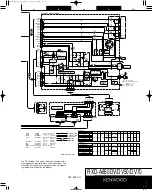
SCHEMATIC DIAGRAM .......................................... 13
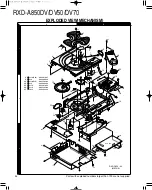
EXPLODED VIEW ....................................................26
PARTS LIST..............................................................28
SPECIFICATIONS ....................................................36
Contents
FM indoor antenna (1)
(T90-0881-08)
Loop antenna (1)
(T90-0882-08)
Remote control unit (1)
(A70-1533-08): ....KYX
(A70-1534-08): .....TE
(A70-1535-08): ....MM2
Batteries (R6/AA) (2)
*AC plug adaptor (1)
(E03-0115-05)
* Use to adapt the plug on the
power cord to the shape of
the wall outlet.
(Accessory only for regions
where use is necessary.)
/
Video cord (1)
(E30-7235-08)
The marking is located on the rear panel and says that
the component uses laser beams that have been clas-
sified as Class 1. It means that the unit is utilizing laser
beams that are of a weaker class. There is no danger of
hazardous radiation outside the unit.
The marking of products using lasers
(Except for some areas)
Accessories
SYSTEM
MAIN UNIT
DESTINATION
SPEAKER
XD-A850DV
RXD-A805DV
K
LS-N50V-H
XD-DV50
RXD-DV50
MXET
LS-N50V
XD-DV50(M2)
RXD-DV50(M2)
M2
LS-N50V
XD-DV60
RXD-DV70
MX
LS-N70V
XD-DV60(M2)
RXD-DV70(M2)
M2
LS-N70V
XD-DV70
RXD-DV70
MX
LS-N90V
Operation to reset
The microcomputer may fall into malfunction (impossibility to
operate, erroneous display, etc.) when the power cord is un-
plugged while power is ON or due to an external factor. In this
case, execute the following procedure to reset the microcom-
puter and return it to normal condition.
÷
Please note that resetting the microcomputer clears the
contents stored in and returns and to condition when it left
the factory.
Set the POWE key to ON. Then press the VIDEO/
down.
AUX key while holding the TUNING MODE key
System configurations
Cautions

