1
2
3
4
5
6
7
8
9
10
11
12
13
14
15
16
17
18
19
20
21
22
23
85
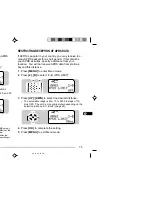
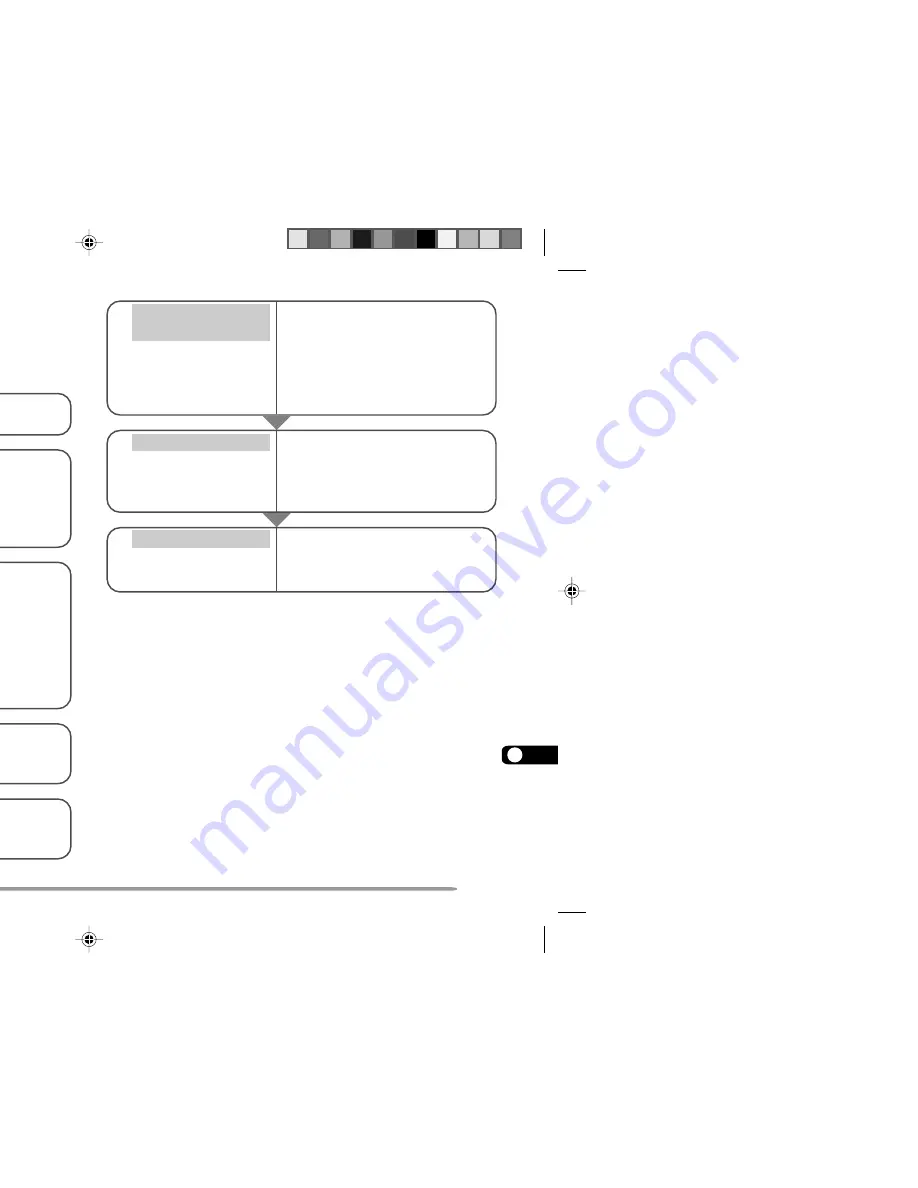
PREPARATION FLOW
The following steps should guide you to a good start of
Sky Command operation. First connect the Transporter
to the HF transceiver {page 84}.
y
On the Commander
and Transporter
u
On the Commander
i
On the Transporter
Access Menu 4–3 and select
the tone frequency {page 86}.
• Select the same tone frequency
on both transceivers.
• For the selectable frequencies,
see the table given on page 22.
Access Menu 4–4 and select
“COMMANDER”.
• “PUSH [ 0 ] KEY TO START
COMMANDER!!” appears.
Access Menu 4–4 and select
“TRANSPORTER”.
• “TRANSPORTER” appears.
Select the same VHF and UHF
frequencies.
Access Menu 4–1 to program
a call sign (9 digits max.) for
the Commander {page 86}.
• You may enter your exact call
sign; ex. WD6BQD.
Access Menu 4–1 to program
the same call sign as you
entered in step
w
{page 86}.
Access Menu 4–2 to program
the same call sign as you
entered in step
e
{page 86}.
q
On the Commander
and Transporter
e
On the Commander
w
On the Commander
r
On the Transporter
t
On the Transporter
Access Menu 4–2 to program
a call sign (9 digits max.) for
the Transporter {page 86}.
• This call sign must be different
from the one for the
Commander. So you may add
SSID characters; ex.
WD6BQD-1.
Now the Commander and Transporter are in Sky
Command mode. For operations in this mode, see
“CONTROL OPERATION” on page 87. First switch ON
the HF transceiver and press [SYNC] on the
Commander. To exit the Sky Command mode, access
Menu 4–4 and select “OFF”; press [F], [1] to switch the
Tone function OFF, and press [DUP] to exit Full Duplex
mode.
Note:
◆
Unless you program call signs, you cannot select “COMMANDER” or
“TRANSPORTER” using Menu 4–4 .
◆
On the HF transceiver, select 9600 bps and 1 stop bit (default) using
the Menu Setup function.
◆
Adjust the audio level on both the Transporter and HF transceiver.
TH-D7 E 83 Sky Command
98.12.4, 0:13 PM
85


