WARNING:
To eliminate the risk of burns from reaching over heated grill, cabinet storage space
located above the grill should be avoided. If cabinet storage is to be provided, the
risk can be reduced by installing a range hood that projects horizontally a minimum
of 5 inches beyond the bottom of the cabinets.
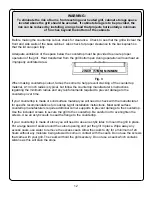
Before making the countertop cutout, check for clearance. Check to see that the grill will clear the
front and side walls of the base cabinet. Also check for proper clearance to the back splash so
that the lid can open fully.
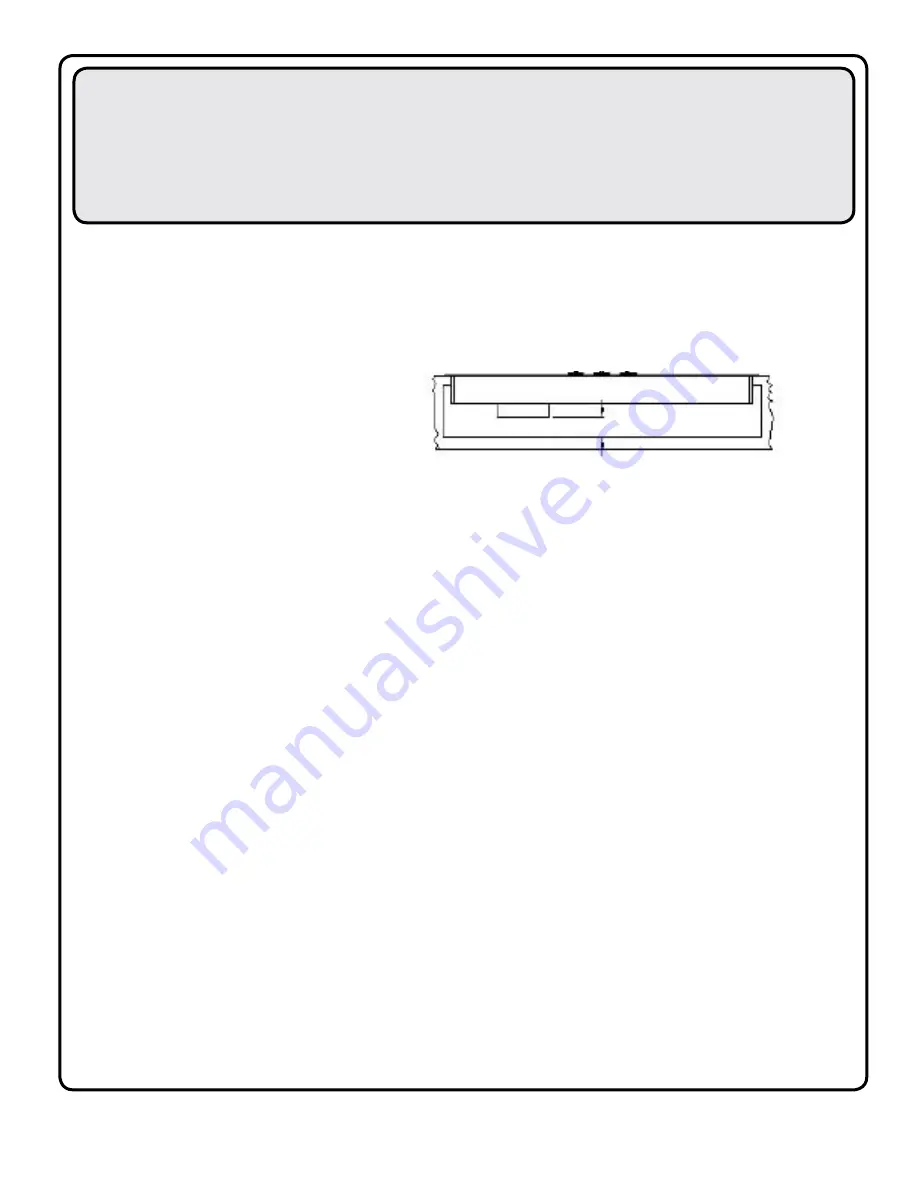
Adequate ventilation of the space below the countertop must be provided to ensure proper
operation of the grill. Heat transferred from the grill bottom pan during operation will overheat an
improperly ventilated area.
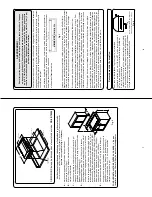
2 INCH (51MM) MINIMUM
Fig. 3
When making countertop cutout, radius the corner to help prevent cracking of the countertop
material. A 1/4 inch radius is typical, but follow the countertop manufacturer’s instructions
regarding the minimum radius and any reinforcements required to prevent damage to the
countertop over time.
If your countertop is made of solid surface material you will need to check with the manufacturer
for specific recommendations for cooktop & grill installation instructions. Most solid surface
countertop manufacturers require additional corner supports to prevent damage to the countertop.
Use the included screws to secure the grill to the countertop. Be careful not to over-tighten the
screws. Use an acrylic caulk to seal the flange to the countertop.
If your countertop is made of stone you will need to use an acrylic latex to mount the grill in place.
Put a large bead of caulk around the cutout opening and put the grill in place. Wipe away any
excess caulk, use water to remove the excess caulk. Allow the caulk to dry for a minimum of 24
hours without any moisture being allowed to come in contact with the caulk. Do not use the screws
that came with your grill. The caulk will hold the grill securely. Do not use a caulk which contains
silicone as this will stain the stone.
12
Summary of Contents for ALL SEASONS
Page 63: ......


