117
12.3.2.2 Printing Object Assignments with EasyWindow
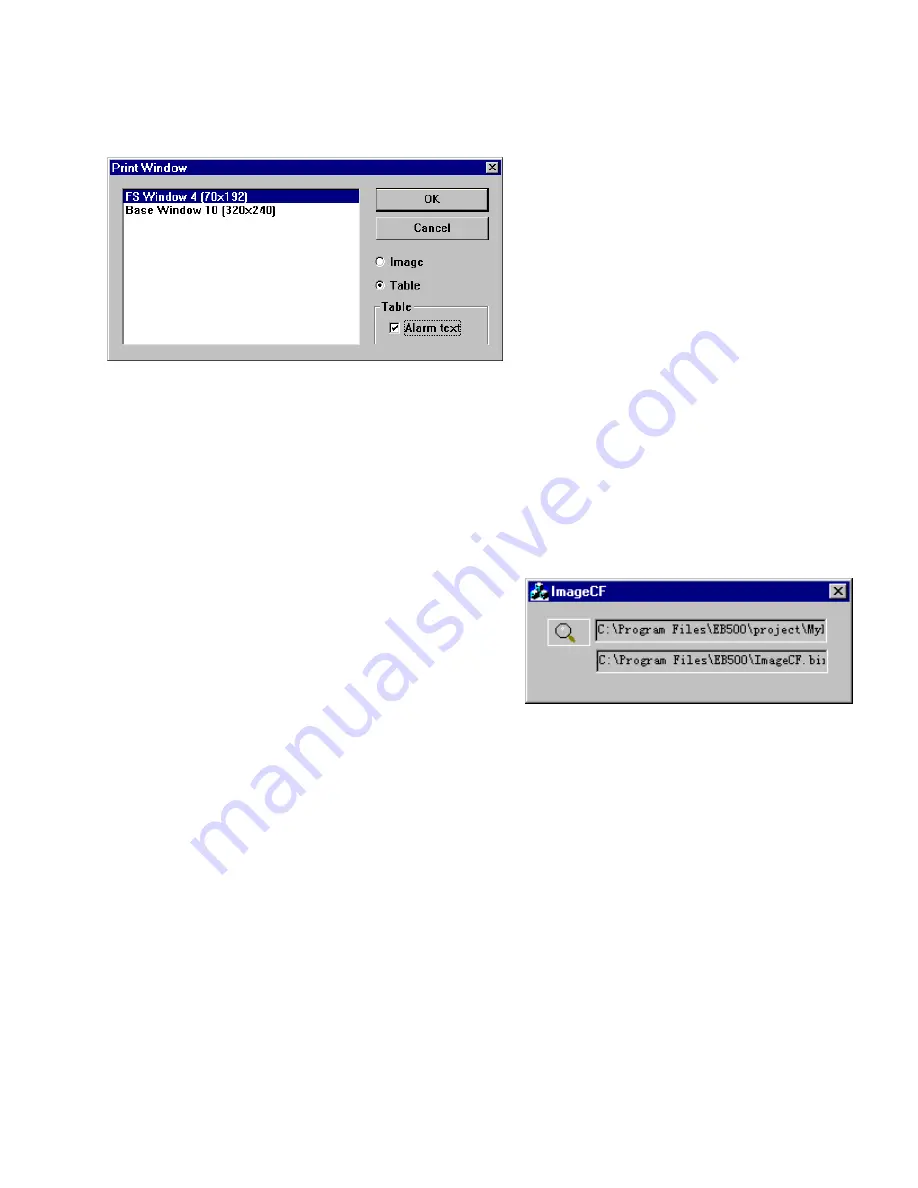
Select
Print Window, Print Window Preview
or
Print Window to File
from the menu. Select the
Image
radio button to
print the screen. Select the
Table
radio button to print a table of objects on the screen. Check the
Alarm text
box if you
would like active alarms printed with the Table. Click
OK
.
12.4 Using Compact Flash to transfer a project
Projects can be transferred to HMI units with Ethernet ports. These units have a compact flash slot that accepts
CompactFlash
TM
memory cards. Projects are stored to the CompactFlash
TM
memory cards, transported to the unit and
inserted, then transferred to the units flash memory. This is convenient for sending project updates to remote locations and
customer sites. It also allows the project to be transferred to the unit without the need of a portable PC or other external
equipment.
12.4.1 Transferring a project to CompactFlash
TM
memory
1. Compile the project as usual. This generates a project file with the EOB extension.
2. Run
the
ImageCF.exe
utility.
3. Use
the
ImageCF.exe
utility
to select the EOB file to convert to
CompactFlash
TM
compatible format. This is done by clicking on
the magnifying glass button in the ImageCF dialog. By default,
a file named ImageCF.bin is created in the folder where the
ImageCF.exe
utility is located.
4. Copy the ImageCF.bin to the CompactFlash
TM
memory card. A CompactFlash
TM
interface attached to your PC is
needed to do this. CompactFlash
TM
interfaces are available in most stores that sell computer hardware.
Note
: The CompactFlash
TM
memory card may be formatted as FAT16 or FAT32, do not give the CompactFlash
TM
memory card a volume label.
12.4.2 Transferring a project from CompactFlash
TM
to HMI
1. Remove the CompactFlash
TM
card from the CompactFlash
TM
interface and transport it to the site where the HMI is
located.
2. Power down the HMI unit. Put dipswitch 2 of the unit in the up (on) position. Insert the CompactFlash
TM
card into
the units CompactFlash
TM
slot.
3. Apply power to the MMI. The unit comes up in RDS mode. If the CompactFlash
TM
card is detected the screen
displays a button with the letters “CF” on it in the lower right corner. Press this button to transfer the project from the
CompactFlash
TM
memory card to the unit’s internal flash memory.
4. Once the screen stops scrolling text and indicates that the transfer is complete, remove power from the MMI. Put
dipswitch 2 back to the down (off) position, remove the CompactFlash
TM
memory card and apply power to the unit.
The transferred project is now the running application.
Summary of Contents for MMI-1500
Page 2: ...ii...


