144
Keypads and Pop-up Keypad Emulation
A default keypad is installed in Window 50 and called up in the common window of new projects. They may be deleted and
your own keypads implemented. This is a brief example of how to create a pop-up keypad for use in your applications.
How it works when finished:
You touch the displayed numeric value.
A keypad pops up.
You edit the value.
Press the enter key.
The keypad disappears.
The new value is displayed.
How to create it:
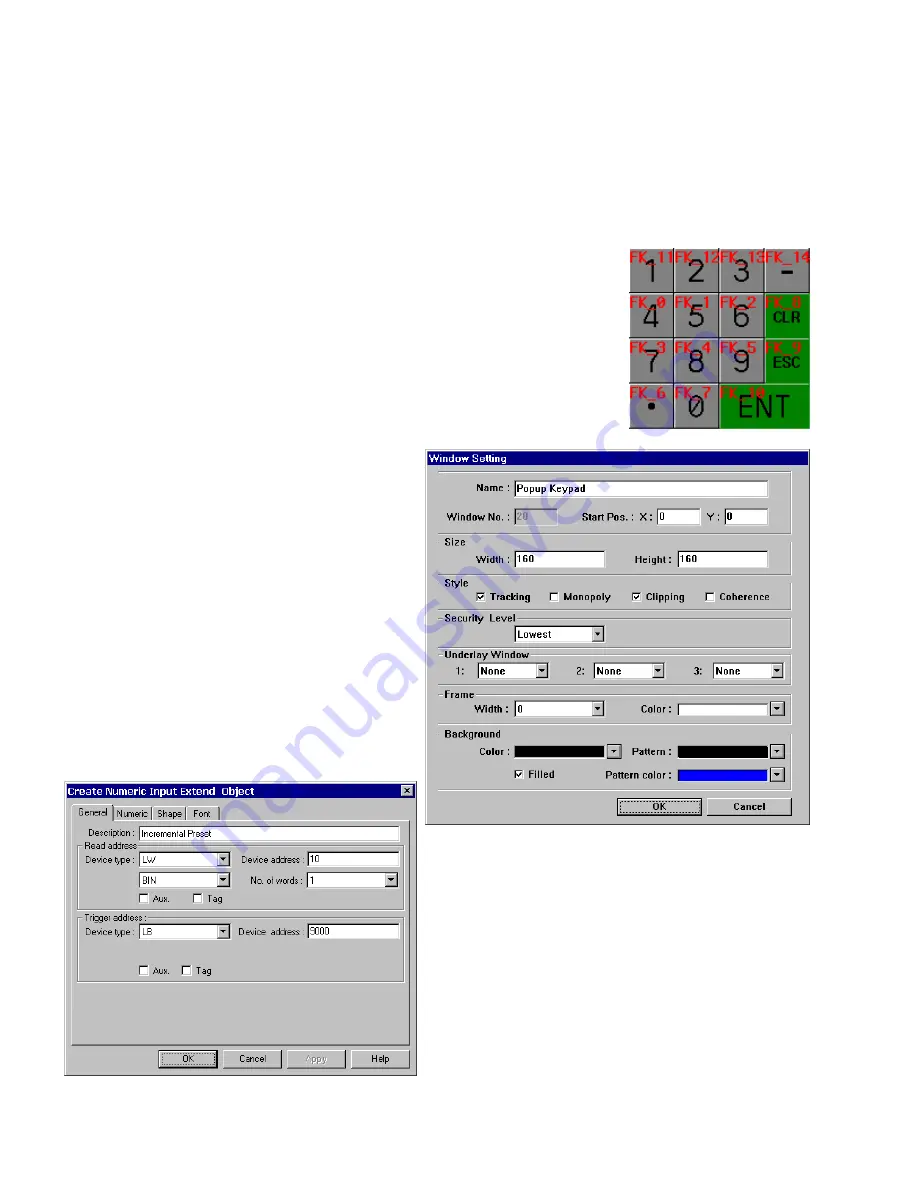
Step 1: Create the keypad with an Enter key and save it to a group library. Alternately you
can use one of the keypads already provided in the keypads.glb library. (Located in the
\library D-Subdirectory) The key is to group the keypad and find it’s over all dimensions.
This can be done easily by drawing a rectangle around the keypad then looking at its
Attributes’ Profile tab. For our example, we are using keypad 0 from the keypads.glb library.
The dimensions are 160W x 160H pixels.
Step 2: Create a window with overall dimensions that
match the dimensions of the keypad you are using. You
may have to factor in a border if you select one for the
window.
For Example, Use window 20. The dimensions are 160W
x 160H pixels. If using a Frame, add extra pixels as
needed. For this example, the Frame width is set to 0.
Step 3: Place keypad in this window.
Step 4: Create Numeric Input Extend objects on the window
you are developing for your project. Set the Trigger address
attribute to LB9000. Be sure to set the Input low and high
ranges on the numeric tab.
For our example, we are using Window 10 The input ranges
are set as 0 to 1000. The objects are shown as NI_0, NI_1 and
NI_2.
Summary of Contents for MMI-1500
Page 2: ...ii...


