71
7.6.4.5 Editing an Existing Group
First, place the group on a window.
Next, edit the group as desired.
Then, delete the cell that has the original group. There is no undo for this operation.
Finally, Save the edited group to the empty cell.
NOTE:
New and modified libraries are not saved to disk until the project is saved. Closing the project
without saving loses changed library data and new libraries!
7.6.5 System Libraries
There are 4 built in System Libraries. 2 Shape libraries and 2 bitmap libraries These Libraries are available for every project
and do not count towards the 10 library limit. The libraries are not stored in the \Library sub-Folder and cannot be
Unattached from a project. System shapes cannot be edited or deleted. New shapes cannot be added to these libraries.
Note:
Use System Shapes and Bitmaps to reduce the size of a project and to give it a consistent look.
7.6.6 Library Toolbar Functions
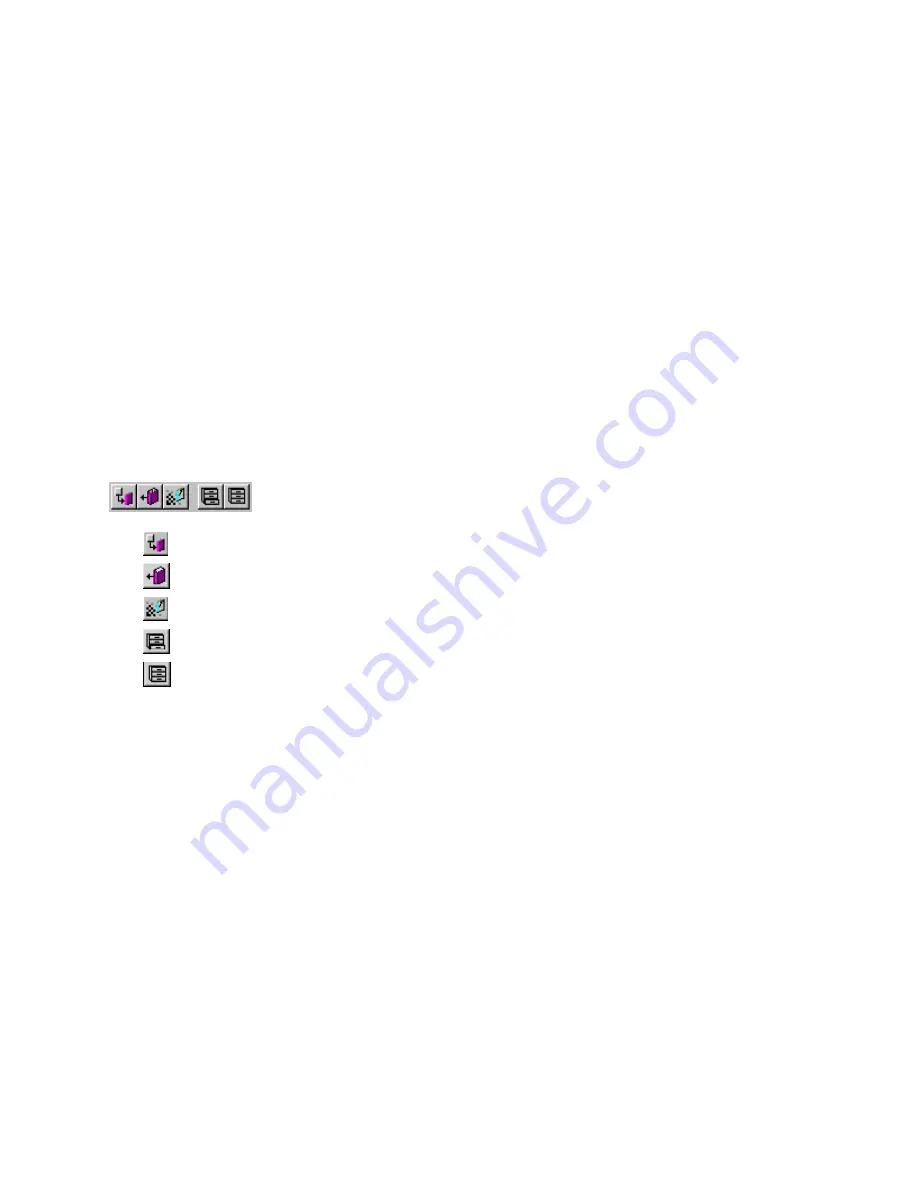
To call up an item from a library, either select one of the tool bar’s icons or use the pull down
menu’s [Library] command.
Save selected shape or bitmap to its respective library.
Call up a Shape library.
Call up a bitmap library.
Save group of objects to a Group library.
Call up a Group library.
7.6.7 Shortcut for changing a Part’s assigned Shape or Bitmap
Normally, a part is assigned a shape or bitmap when it is first edited, before placement on the window. The Shape or Bitmap
can then be changed by going to the Part’s attributes dialog, clicking on the Shape/Bitmap library button and then selecting
the shape/bitmap. All of the dialogs are then closed.
This process can be bypassed as follows.
1. Simply click on the Part so its handles are showing.
2. Then click on the library tool to call up the appropriate type of library,
3. Select the Library and Cell then click OK in the library dialog.
4. The dialog closes with the selected shape/bitmap automatically assigned to the part.
Summary of Contents for MMI-1500
Page 2: ...ii...


