4-8
BHK-MG (OPR) 032816
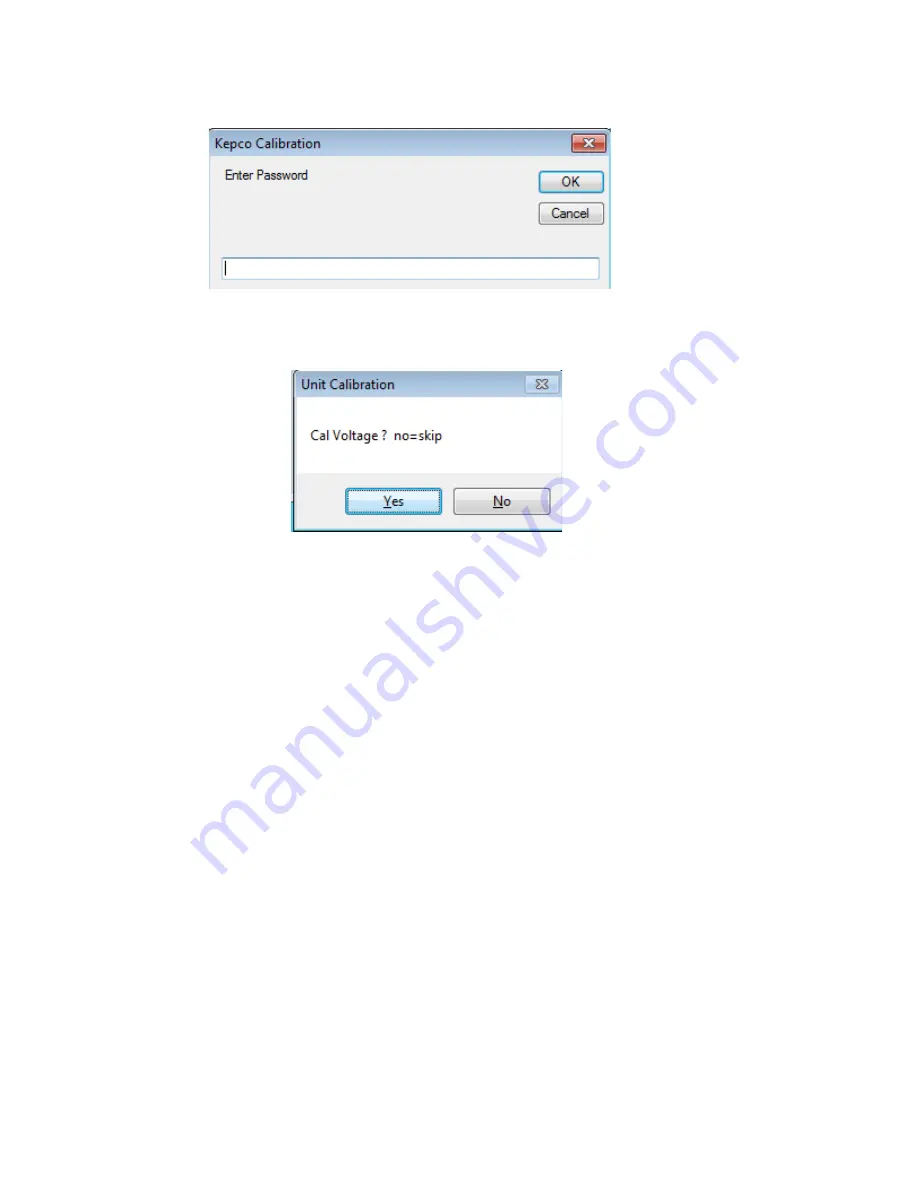
FIGURE 4-4. PASSWORD ENTRY
3. For Voltage Calibration, click
YES
button (see Figure 4-5).
FIGURE 4-5. VOLTAGE CALIBRATION
4. The text window reads
Connect DVM to Output Sense, Remove Shunt
. Remove any
connections bOUT and –OUT. Connect DVM (high) to +OUT and DVM (low) to
–OUT, then click
OK
button.
NOTE: Use external DVM for all measurements.
5. The text window reads
Vout ZERO adjust
. Using the
<
and
>
buttons (see PAR. 4.4.3),
adjust the output voltage until the DVM is as close to 0 as possible but slightly positive, then
click
OK
button.
6. The text window reads
Vout F.S.
Using the coarse
<<
and
>>
and fine
<
and
>
buttons
(see PAR. 4.4.3), adjust the output voltage until the DVM is as close as possible, but above,
the rated nominal voltage, then click
OK
button.
7. The text window reads
Cal Current High Range? no=skip.
Click
YES
button to per-
form high range current calibration.
8. The text window reads
Connect shunt across output
. Connect precision shunt resis-
tor (see PAR. 4.2) OUT and –OUT terminals. After connecting the shunt click
OK
button.
9. The text window reads
With shunt connected across output, connect DVM
across shunt
. Connect DVM (high) to the shunt sensing terminal that correlates to +OUT
and DVM (low) to the shunt sensing terminal that correlates to –OUT. Click
OK
button to
proceed to next step.
Summary of Contents for BHK 1000-0.2MG
Page 2: ......
Page 6: ......
Page 17: ...BHK MG032816 xi FIGURE 1 1 BHK MG SERIES PROGRAMMABLE POWER SUPPLY ...
Page 18: ...xii BHK MG032816 ...
Page 46: ......
Page 101: ...BHK MG OPR 032816 3 55 FIGURE 3 20 SERIES AUTOMATIC CONFIGURATION ...
Page 109: ...BHK MG OPR 032816 3 63 FIGURE 3 23 PARALLEL AUTOMATIC CONFIGURATION ...
Page 114: ...3 68 BHK MG OPR 032816 FIGURE 3 25 PARALLEL MASTER SLAVE CURRENT MODE CONFIGURATION ...
Page 116: ......
Page 154: ......


