25
Proceed as follows:
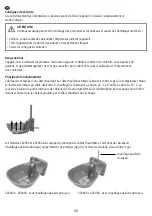
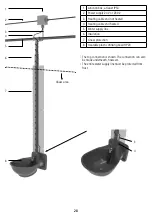
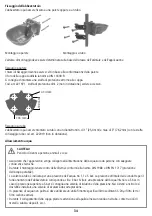
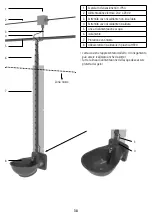
1. Screw the water inlet into the upper or lower 1/2“ connection and tighten it by hand.
2. Screw a sealing plug into the unused 1/2“ connection.
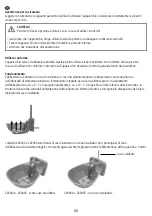
The drinking bowl is also suitable for use with circulating systems and can be connected simultaneously from
below and above.
3. Seal the upper and lower connection with a small quantity of sealing tape (recommendation: Loctite 55 pipe
sealing cord).
4. Bleed the water line thoroughly. Install any automatic bleed valve as required.
5. Flush the water line, pipe valve and drinking bowl thoroughly. Newly-laid pipelines can contain loose production
artefacts (metal filings, sand or deposits).
Routing and connecting the heating cable
CAUTION!
Danger of fire, short-circuits or electric shock!
• The electrical installation of the device must only be carried out by a qualified electrician.
• Always earth the water piping separately!
• Check the operating voltage and device type specified on the type plate. Only operate the device at the mains
voltage specified.
• Only operate device type 222045 and 222055 via a low-voltage transformer with fuse and at max. 24 Volt.
• A residual current circuit breaker (30 mA) is required to protect people, animals and installations. Protect feed
cables to the device or transformer separately. Comply with local regulations.
• With device types 222045 and 222055, fit the transformer out of the reach of animals.
• With device types 222050 and 222055, route the auxiliary pipe heating so that it does not overlap.
• Route all electrical supply cables so that they are protected against biting or gnawing. Only use gnaw-proof
materials.
• Do not allow electrical supply cables to come into contact with oil or sharp edges.
• Check the function of the entire electrical installation before the first frost.
• The temperature switch must not be covered or insulated.
Drinking bowls without auxiliary pipe heating (222040 and 222045)
Proceed as follows:
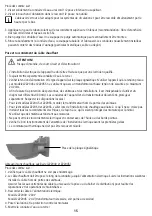
1. Check the heating cable for damage.
2. Route the heating cable along the pipe towards the power supply. As you do so, note the following instructions:
- Route the cables so that they are out of the reach of animals.
- Cable ends (at plugs or junction boxes) must be easily accessible for repair and maintenance work.
3. Connect the heating cable to the power supply.
Device type 222040: 230 V
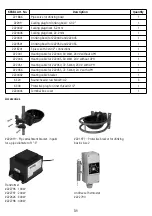
Device type 222045: 24 V (transformer required, see accessories)
4. Attach insulation and gnaw protection.
5. Earth water piping!
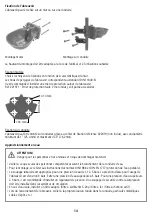
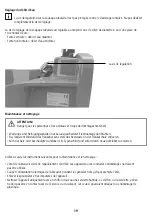
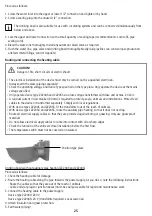
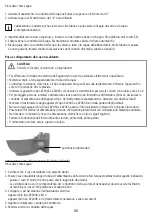
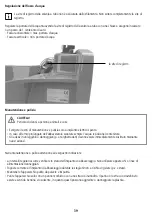
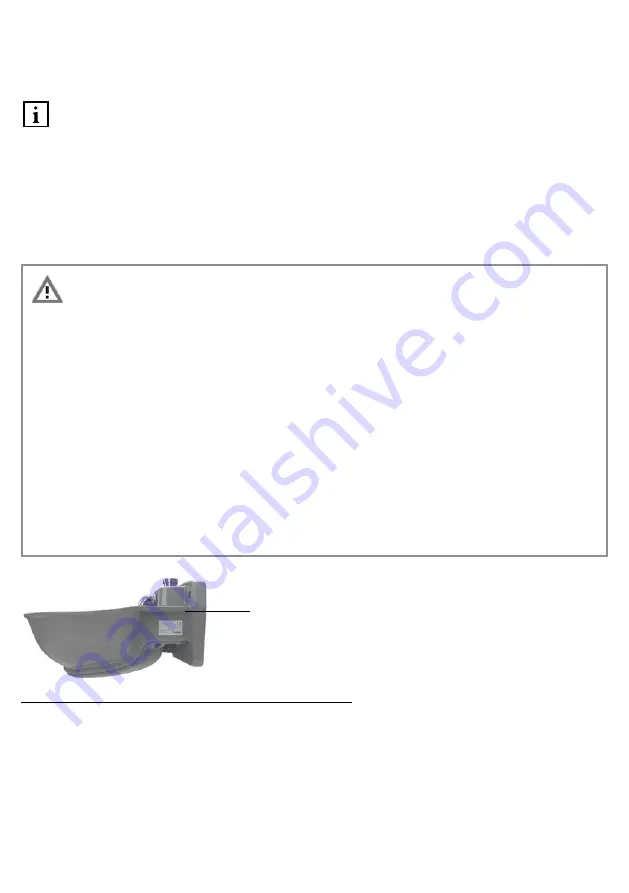
Position type plate


