5
EN – Instruction manual
Proper use
The radiator may only be used for heating in-
door areas and for drying textiles which were
washed in water.
Any other use is improper and is therefore pro-
hibited.
Improper use
The radiator is
not
suitable for use as a seat or
as a climbing or mounting aid.
Safety precautions
WARNING
Risk of burns!
The radiator surface can reach temperatures
of up to 110 °C.
Take care when touching the radiator.
Ź
CAUTION
Risk of scalding when bleeding due to hot
water spraying out!
Protect your hands.
Ź
Auxiliary electrical operation
Ensure that the return line is open. The wa-
ter volume increases during heating.
Close the thermostat head.
Maintenance
Bleed the radiator after commissioning and
after longer interruptions in operation.
Risk
of scalding!
Use a standard radiator bleeding key.
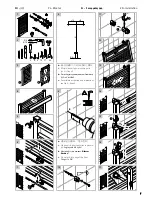
See Fig. 29, Page 8 for bleeding location.
Cleaning
Only use mild, non-scouring cleaning
agents.
Complaints
Contact your specialised tradesman.
Installation and repair
Installation and repair should only be per-
formed by a specialised tradesman so that
warranty claims remain valid.
Disposal
Take disused radiators with accessories to a
recycling centre or authorised waste man-
agement facility. Observe local regulations.
Accessories
See current sales information.
Ź
Ź
Ź
Ź
Ź
Ź
Ź
Ź
Ź
EN – Installation manual
Target group
The radiator may only be installed by a special-
ised tradesman.
Safety precautions
Thoroughly read this instruction and instal-
lation manual before installation/commis-
sioning.
After installation, hand over the
manual to
the end user.
DANGER
Danger to life!
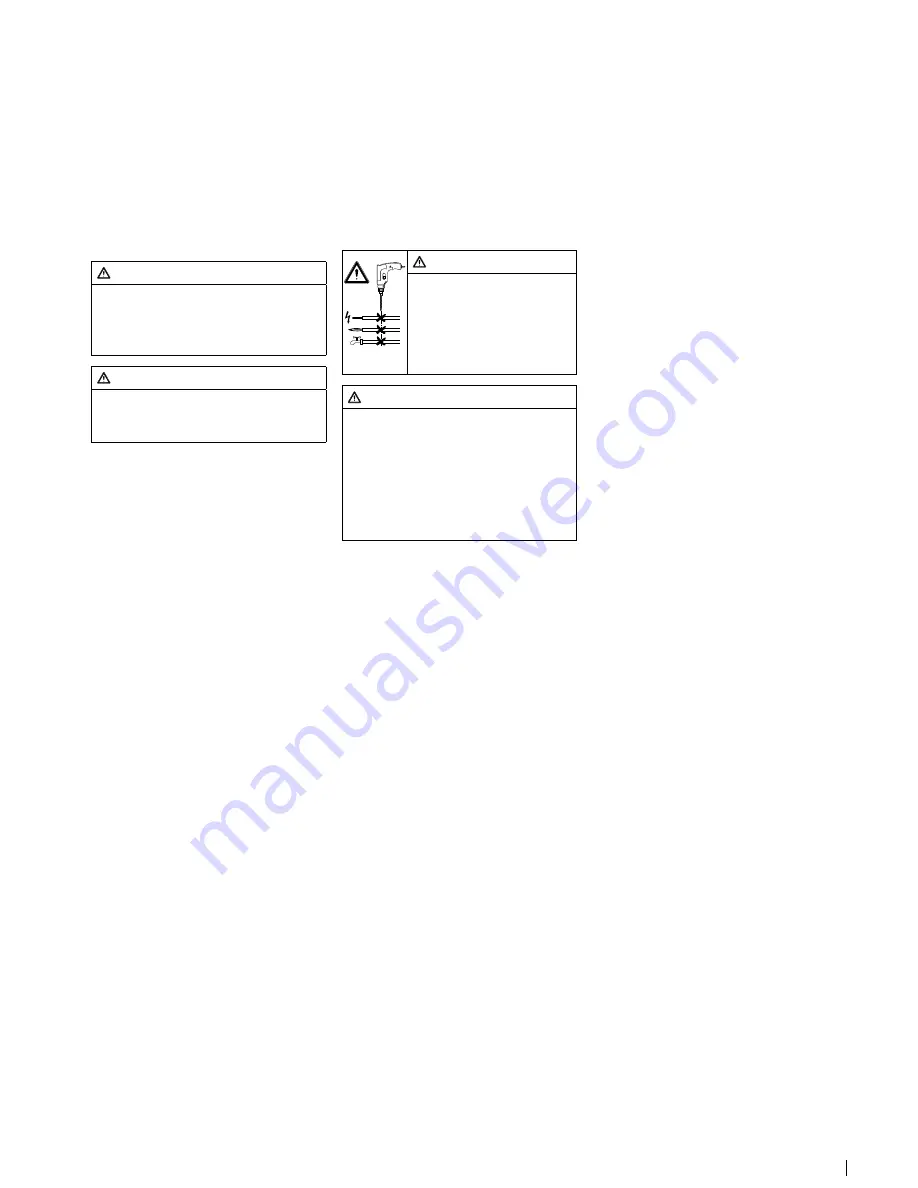
Check the location of the
supply lines (electricity, gas,
water).
Do not drill into any of the
lines.
Ź
Ź
WARNING
Damage to person and property!
Check the bearing surface for load-carry-
ing capacity. Take the weight of the
filled
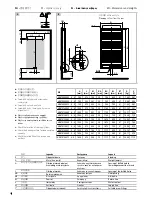
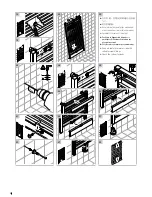
radiator into account (see Page 6).
Check the suitability of the screws and
anchors provided and substitute if nec-
essary. Observe requirements for public
buildings.
Ź
Ź
Follow local regulations on operating con-
ditions and water quality in order to avoid
damage to the heating system, e.g. from
limestone deposits.
Only use the radiator in closed heating sys-
tems.
Only transport and store the radiator in the
protective film.
Observe minimum spacing of radiator to
side wall/ceiling: 50 mm.
Bleed the radiator after commissioning.
Risk of scalding!
With auxiliary electrical operation:
Choose heat output of the heating element
according to the radiator type (see current
sales information).
Please note that electrical units may only be
installed in certain areas in rooms with bath
and shower facilities when choosing the in-
stallation site. Observe the corresponding
regulations as well as all the local regula-
tions.
Complaints
Contact the manufacturer.
Disposal
Take the packaging to a recycling centre or
authorised waste management facility. Ob-
serve the local regulations.
Ź
Ź
Ź
Ź
Ź
Ź
Ź
Ź
Ź
Ź
Ź
Accessories
Heating element for auxiliary electrical op-
eration.
xlink connection set for floor temperature
control auxiliary connection
See current sales information for further ac-
cessories and information.
Technical characteristics
Operating pressure:
max. 10 bar
When combined with xlink, max. 6 bar
Test pressure:
13 bar
Supply line:
Right or left side possible
When combined with xlink, left side
mandatory
Supply temperature:
Hot water up to 110 °C
With auxiliary electrical operation, up to
80 °C
When combined with xlink, up to 70 °C
Notes on installation
Suitable screw connections
Consider the available space behind the ori-
fice plate (see Fig. B, Page 6).
With heating element for auxiliary electrical
operation:
Follow the installation manual of the heat-
ing element.
When installing in a single-pipe heating
system:
Use screw connection with integrated, ad-
justable bypass.
•
•
Ź
•
–
–
•
–
•
–
–
•
–
–
–
Ź
Ź
Ź


