User Manual
1.5 First Test
Now that everything is connected and installed, it‘s time for the first test!
1. Start the airpiano application (Mac users: before opening, please right click the
application file, select „Get Info“ and make sure the application opens in 32-bit mode).
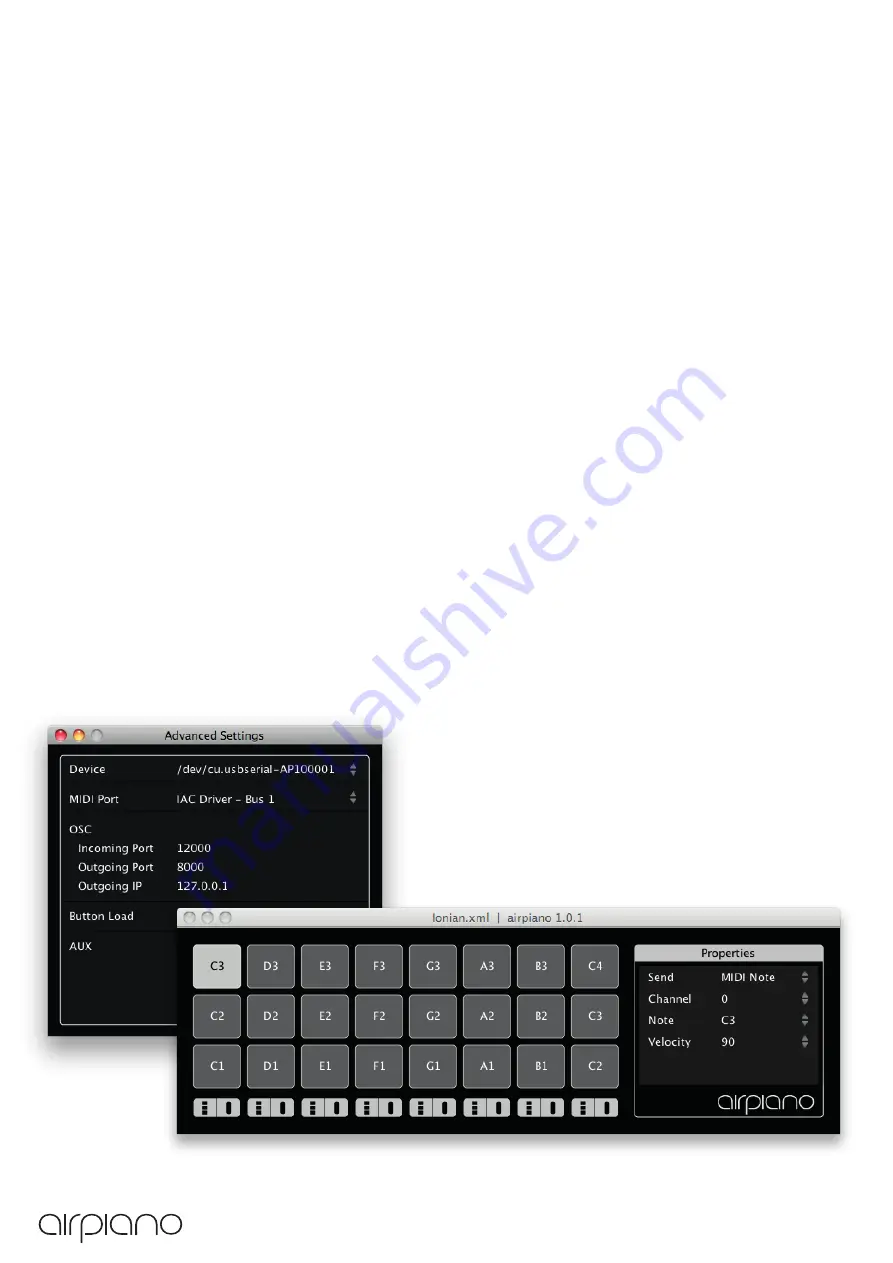
2. After the application loads, go to Options > Advance Settings
3. Next to „Device“ click on „No Connection“ to open a pop-up menu and choose your
device (on Macs you will see the serial number of your device, on windows you will need
to choose the right COM port). When the device is selected, the airpiano should restart
and the lights will go off and then on again. In case this doesn‘t happen, or if you cannot
see your device in the pop-up menu, please close the application, make sure that your
airpiano is connected to power as well as to the USB connector, then go back to step 1.
4. In the same way, choose the MIDI port (on Macs the IAC Bus and on Windows the
LoopBe1).
5. Close the Advanced Settings window
6. Move your hands above the airpiano. You should see keys triggered in the airpiano‘s
main application window. If not, please reffer to the troubleshooting section.
7. Succes! your airpiano is working properly with your system. To load a preset, choose
File > Open... from the menu bar and navigate to the preset folder.
8. Once you loaded a set, open your prefered music creation software (Ableton Live,
Garage Band, etc.), adjust its MIDI settings, choose a software instrument and play it with
the airpiano. Of course this is only a test, and there is more to learn in order to really play
well, but if all this worked, then you‘re ready to start learning your new instrument!
6
Summary of Contents for airpiano
Page 1: ...User Manual ...


