19
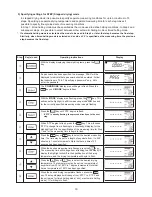
8. How to Conduct Measurements
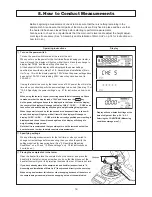
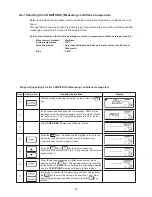
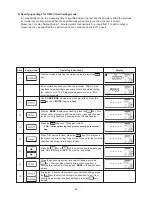
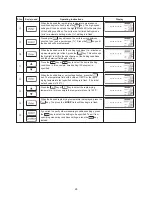
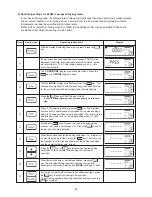
Before beginning a measurement, check to make sure that there is nothing remaining in the
sample dish. Also be sure that all parts of the main unit are firmly fixed in place and be sure that
the heater lid has been closed firmly before starting to perform measurements.
Also be sure to check on a regular basis that the main unit is level and readjust the height adjust-
ment legs if necessary. (See “6. Assembly and Installation of Main Unit” on p. 14 for instructions on
how to do so.)
Display
*
Display will show default settings at the
time of shipment. (See p. 24, “9-2-1
Selecting the CONDITIONS (Measuring
conditions storage area)”.)
Operating instructions
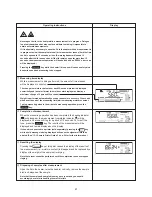
1
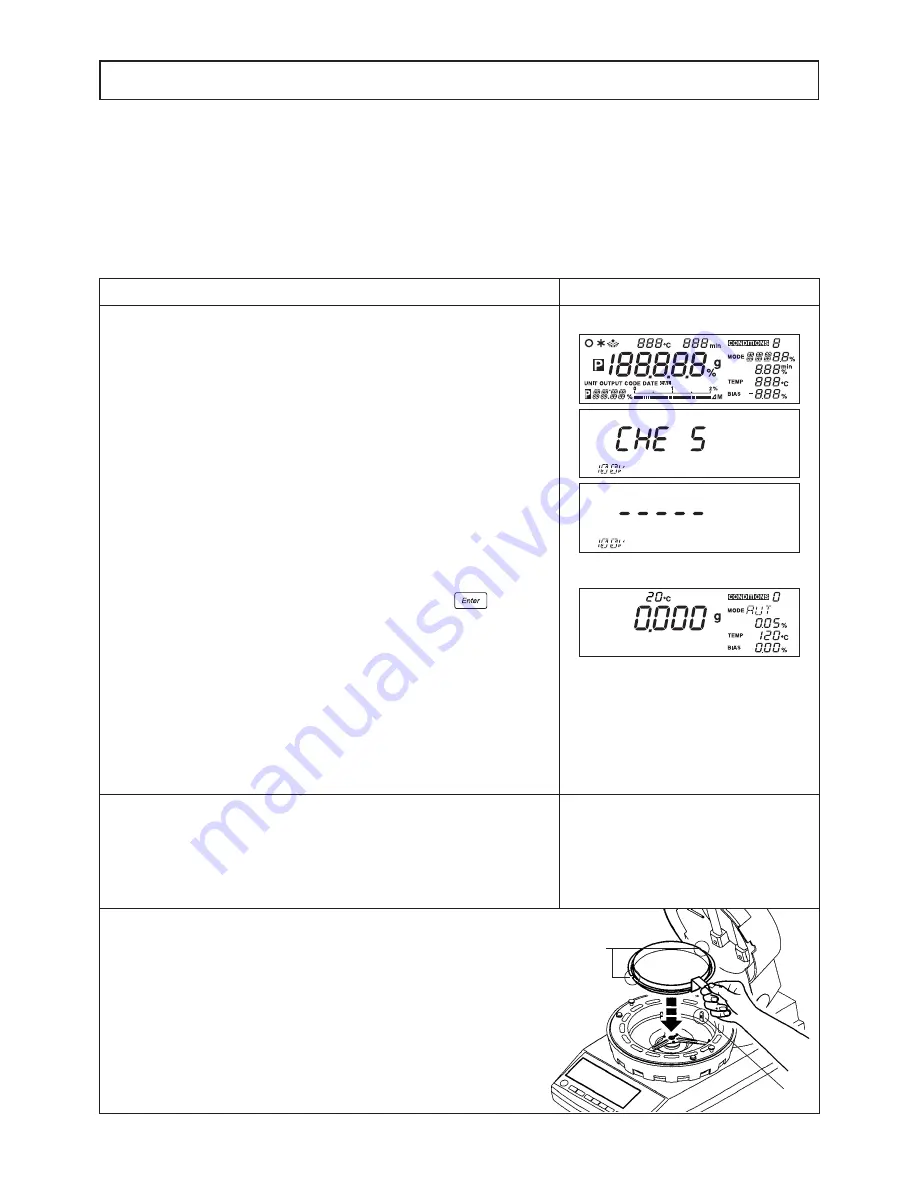
Turn on the power switch
Turn on the power switch located at the rear of the unit.
When you turn on the power for the first time after purchasing your tester, a
tone will sound, the display will light up with all items lit and then change to
display first ‘CHE5’ and then a string of dashes (i.e., ‘- - - - -’).
At the bottom left of the display will be displayed the power settings
specified (as described in step
4
of “6. Assembly and Installation of Main
Unit” on p. 14) with the display reading ‘100V’ when the power settings have
been set to 100~120V and reading ‘220V’ when they have been set to
220~240V.
If using the tester in a country that does not use 100V power, then this is the
time when you should specify the power settings to be used. (See step
3
of
“10-2-8 Specifying the power settings” on p. 47 for instruction on how to do
so.)
*
When using the tester in Japan, the settings should be left unchanged. Check
to make sure that the display reads ‘100V’ and then press the
key.
As the power setting continues to be displayed in the lower left of the display,
the center of the display will change to display ‘CHE4’, ‘CHE3’, … , ‘CHE0’ and a
tone will sound and the display will change to weight reading display mode.
*
When the power is turned on for the second or subsequent times, a tone will
sound, the display will light up with all items lit, the display will change to
display ‘CHE5’, ‘CHE4’, … , ‘CHE0’ while the currently specified power setting is
displayed, and then a tone will sound again and the display will change to
weight reading display mode.
*
Note that it is recommended that you always turn on the tester about half an
hour before use in order to obtain consistent measurements.
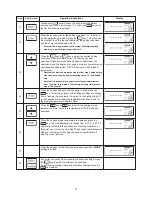
2
Specifying settings
When performing measurements for the first time, or when you wish to
change current settings before measuring, then you should specify the
settings required for measuring here. (See “9. Specifying Measuring
Conditions” on p. 23 and “10. Menu settings” on p. 36 for instructions on
how to do so.)
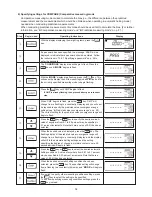
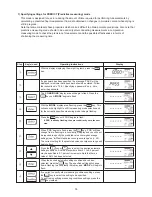
3
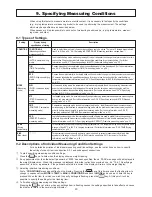
Placing the sample dish in the tester
Open the heater lid, place the sample dish on the handler, and place the
handler into the tester, being sure when you do so that the grooves of the
handler fit smoothly over the projection located at the rear of the wind shield.
*
If you have already placed the sample dish and handler (as described in “6.
Assembly and Installation of Main Unit”) then proceed directly to the next step.
*
When using an aluminum foil sheet or other wrapping because of the nature of
the sample being measured, place the wrapping on top of the sample dish.
.
.
.
Grooves
Stays
Summary of Contents for FD-720
Page 1: ...Infrared Moisture Determination Balance FD 720 Operating Manual ...
Page 2: ......
Page 66: ......
Page 67: ......
Page 68: ...0706 PA 0201 200 ...


