8
9
Menu controls
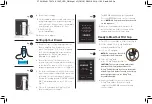
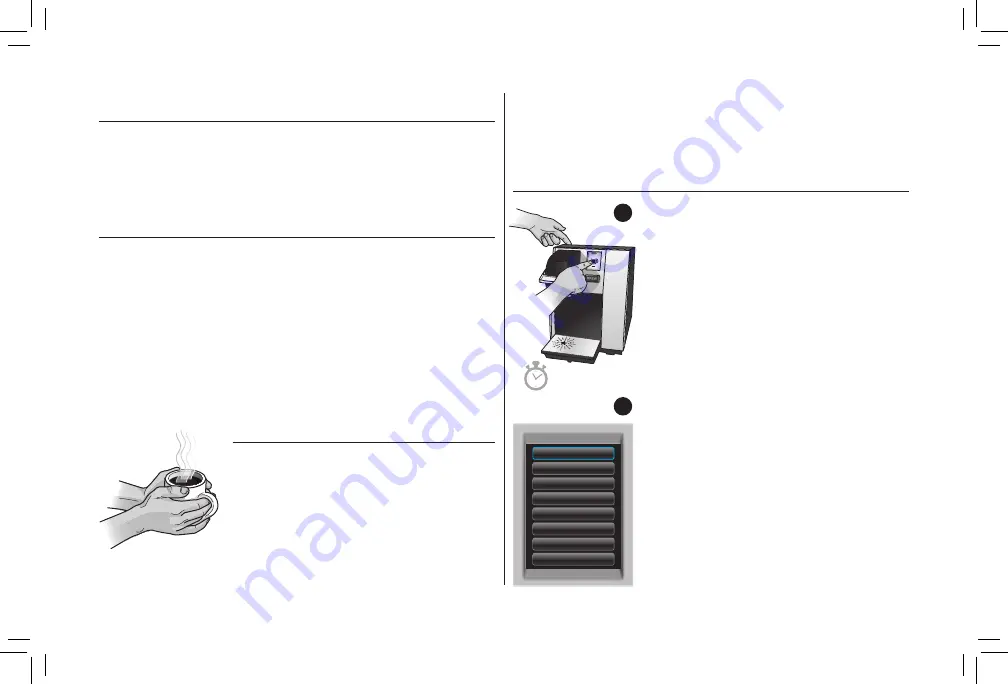
To enter the Menu Mode the brewer should
be plugged in and the power must be off.
Press and hold your finger on the display for
about 10 seconds while pressing and releasing
the Power Switch (fig. 13). Once the Menu Screen
appears (fig. 14) remove your finger.
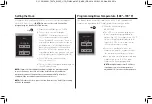
Press any line item to enter the set up for that
particular feature. Please reference the Menu
Navigation on page 10.
If you are experiencing any problems with your
brewer, please contact your Keurig Authorized
Distributor.
adding Water
Your brewer has been configured at the factory to be direct
plumbed, however, the brewer can also be converted into a pour
over model with a Cold Water Tank Spare Part. To order, please call
your Keurig Authorized Distributor.
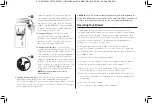
Brewing Iced Beverages
Your iced tea and iced coffee taste best when fresh-brewed hot over ice.
1.
Fill a 16 oz. mug (do not use glass) to the top with ice and place a K-Cup
®
pod into your brewer.
2.
Select your brew size, we recommend selecting a 6 oz. or 8 oz. brew.
Press the BREW Button.
3.
Stir and enjoy!
IMPORTANT:
Do not brew into a cup made of glass. Doing so may cause the
glass to crack or break.
Brewing hot Water
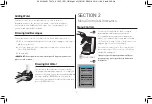
Your brewer is able to produce hot water for use
in cooking, making soups, oatmeal, etc. Simply lift
and lower the Handle on the brewer without adding
a K-Cup
®
pod. The BREW Button will flash. Be
sure to have a mug on the Drip Tray Plate and then
press the BREW Button.
Home
Auto OFF
Brew Temp
Language
Clock
ON/OFF Time
Brew Size(s)
Contact
SECTION 2
Menu Controls & Indicators
10 seconds
fig.
14
fig.
13
P9 20162461 T5274_K150P_UCG_FINAL.pdf 4C(CMYK) ZB2319 2016-11-02 Size:8.5X5.5in


