background image

17

EN

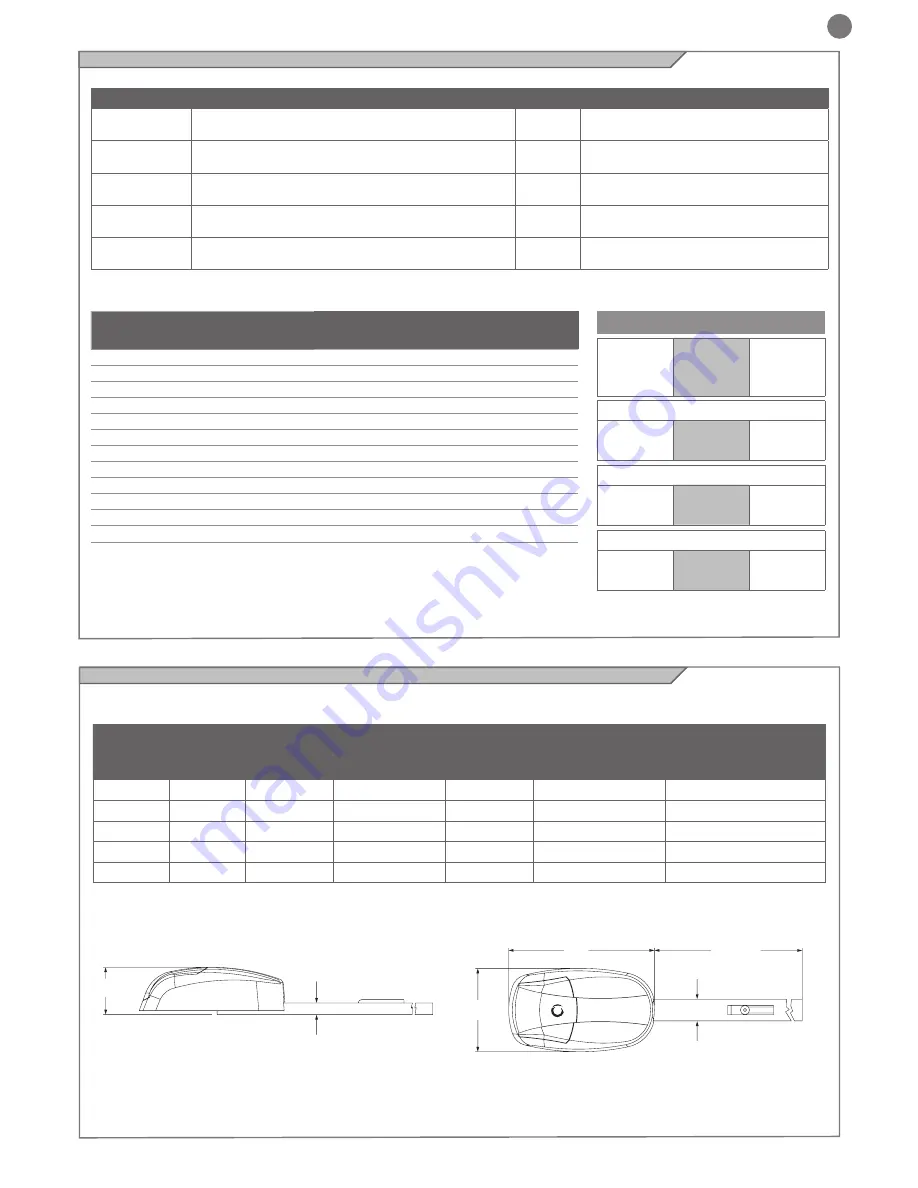
TECHNICAL DATA

SEZ7U/SEZ7

SEZ12U/SEZ12

SEZ124

 Power

 24 Vdc

 24 Vdc

 Consumption power

 100 W

 160 W

 Motor consumption

 4,16 A

 6,66 A

 Protection degree

 IP 43

 IP 43

 Torque

 700 N

 1200 N

 Speed

 11 cm/s

 11 cm/s

 Stroke

 2,8 m

 2,8/3,5 m

 Light 

  25 W (1x) E14

  25 W (1x) E14

 Max door size

 10


m

2

 16


m

2

 Working cycle 

 60 %

 60 %

 Working temperature

 -20° + 55° °C

 -20° + 55° °C

 Weight

 10,5 Kg

 11 Kg

2.3 

Models and characteristics

LIMITS OF USAGE

sectional

up and over non projecting 

up and over

SEZ7

H max=2,7m
m² max=10m²

H max=3m
m² max=9m

²

H max=2,5m
m² max=9m

²

SEZ12

H max=2,7m
m² max=16m

²

H max=3m
m² max=14m

²

H max=2,5m
m² max=14m²

Data may change depending on the door friction and balance, and the tipe of guide used.

35

155

370

200

65

3080

2.4 

Technical specifications

Suggested use and model - Guide and available dimensions


CODE


DESCRIPTION

POWER GUIDE

SEZ7U

for sectional doors up to 10 mq with motor 24 Vdc and 

central with integrated receiver

700Nm

pre-assembled chain rail 3320 mm in 

single piece


SEZ7

for sectional doors up to 10 mq with motor 24 Vdc and 

central with integrated receiver

700Nm

chain rail 3320 mm into three pieces with 

fast joints

SEZ12U

for sectional doors up to 16 mq with motor 24 Vdc and 

central with integrated receiver

1200Nm

pre-assembled chain rail 3320 mm in 

single piece


SEZ12

for sectional doors up to 16 mq with motor 24 Vdc and 

central with integrated receiver

1200Nm

chain rail 3320 mm into three pieces with 

fast joints

SEZ124

for sectional doors up to 16 mq with motor 24 Vdc and 

central with integrated receiver

1200Nm

pre-assembled chain rail 4000 mm in 

single piece


SEZ124

H max=3,4m
m² max=16m²

H max=3,4m
m² max=14m²

H max=3,2m
m² max=14m²

Model

Voltage 

(V)

Door 

surface 

(m

2

)

Total length

Travel of 

the guide

Height of the 

door when 

opening

Ambient temperature 

difference  (°C)

SEZ7U

190-240

<=10

3320 mm (1x3m)

2700 mm

<2700 mm

-20+55

SEZ7

190-240

<=10

3320 mm (3x1,1m)

2700 mm

<2700 mm

-20+55

SEZ12U

190-240

<=16

3320 mm (1x3m)

2700 mm

<2700 mm

-20+55

SEZ12

190-240

<=16

3320 mm (3x1,1m)

2700 mm

<2700 mm

-20+55

SEZ124

190-240

<=16

4000 mm (1x4m)

3400 mm

<3400 mm

-20+55

output power accessories 24/800 mA

Summary of Contents for Viper

Page 1: ...Einsatz Instrukcje i zalecenia dotyczące instalacji i użytkowania Instruções e advertências para a instalação e utilização Motoriduttore sezionale per automazione garage Opener for sectional and up and over garage door Motoréducteur sectionnél pour automation garage Motorreductor seccional para automatismo garaje Moto redutor seccional para amolação garagem Przekrojowa przekładnia zwalniająca do a...

Page 2: ...ny part of the automation other than those specified in this manual Operations of this type will only lead to malfunction The manufacturer disclaims any liability for damage arising from products modified arbitrarily Keep the parts of the components from being immersed in water or other liquids During the installation ensure that no liquid penetrates into the devices If liquid spills into any part...

Page 3: ...d of two boxes One contains the package of the automation system the other contains the guide assembly as shown in the illustration below Automation system package Characteristic Name Quantity Automation system 1 Manual 1 Curved arm for door 1 Mounting clamp 2 Support 1 U bracket 3 Support bracket 1 Door bracket 1 Package of various fastening devices 6x15 hex head self tapping screw 8x 6x80 Screw ...

Page 4: ...ail 3320 mm in single piece SEZ7 for sectional doors up to 10 mq with motor 24 Vdc and central with integrated receiver 700Nm chain rail 3320 mm into three pieces with fast joints SEZ12U for sectional doors up to 16 mq with motor 24 Vdc and central with integrated receiver 1200Nm pre assembled chain rail 3320 mm in single piece SEZ12 for sectional doors up to 16 mq with motor 24 Vdc and central wi...

Page 5: ...disconnection under the conditions dictated by the overvoltage category III Ensure that all materials used for the installation comply with cur rent regulations 4 PRODUCT INSTALLATION 4 1 Assembly of chain in 3 parts 1 Line the three pieces of the guide 2 Place the connector at the center of the guide and between the limits position then repeat for the second connector 3 Tighten the nut with a wre...

Page 6: ...body to the guide 6x15 self tapping screw U bracket Guide lateral movement ring 90 rotated head Standard 6x15 self tapping screw U bracket Guide lateral movement ring 4 4 Manual opening of door Guide Carriage Cord In case of power failure 1 If the door is closed Pull the cord and release the clutch to allow the door to be lifted easily 2 If the door is open Pull the cord once to allow the door to ...

Page 7: ...e unit provides a single audible signal and the display indicates 0 in cycles Attention If programming is not complete the settings will be cancelled automatically If incorrect information has been pro grammed power off and then power back on referring to the following 4 8 Setting of opening limit Press the key P for 5 seconds Press Or press The unit emits 1 beep and 1 is displayed Door opening Do...

Page 8: ...ss P to save the settings Press P flashes Press or press to select the level 4 11 Setting force level Press to display 4 Default setting Force level Low High Press P to save the settings C When programming is finished the door must make a full cycle before usage this cycle is used to learn the force after the modification made Note in order to exit the programming and save the parameters push P bu...

Page 9: ...ff Press P to show 0 the func tion is not active default setting Press to show 1 and activate the function The duration auto matic closing is 5 seconds Press or to select the dura tion following the table below Press P again to save the set tings 4 12 Setting reception mode 4 15 Setting of alarm for 2000 operating cycles Default setting off Press to display 8 Press P The display shows 0 to indicat...

Page 10: ...paragraph 4 12 then after memorize transmitters as indicated here below 1 Save Press the S button until 0 appears Release the S button Press the button of the transmitter to be memorised The 0 on the display disappears the transmitter has been saved For the next transmitters maximum 20 repeat the procedure for each single transmitter 2 Deletion of a single transmitter Press and hold the P S button...

Page 11: ...iagram drawing or photo of the installa tion risks analysis and solutions adopted manufacturer declaration of conformity of all devices connected instruction manual of each device and maintenance schedule of the installation Fix on the gate or door a plaque indicating the automation data the name of the person responsible for the commissioning the serial number and year of construction the CE mark...

Page 12: ...utomation can be operated as any normal non automated opening device To do this you must run the manual release the only operation on the automation allowed to the end user Release and manual movement before performing this operation pay attention that the device can be released only when the door is stationary Maintenance Like any machine your automation needs periodic maintenance to ensure its l...

Reviews: