521 East 3
rd
Street Mt. Vernon, NY 10553 • www.keydigital.com
Rev 1.0
– Oct, 2022
4
Accessories
•
Qty 1: Brushed aluminum decora plate
•
Qty 2: Decora mounting screws with flat
head
•
Qty 2: Gang-box mounting screws
•
Qty 1: 12V/2A (24W) Power supply with
screw-in connector. Desktop type. Model
KD-PS12V2ASC.
•
Qty 1: 5ft Micro USB to USB A data cable
(USB 2.0)
•
Qty 1: IR Emitter with 3.5mm mono end
•
Qty 2: L mounting bracket for Rx unit
•
Qty 2: Velcro for Rx unit
Quick Setup Guide
Begin with the Tx and Rx units and all input / output devices turned off with power cables removed.
Connect
1.
Connect video sources
into the HDMI and USB-C input ports of KD-XWPS TX
a. For USB-C, the cable must be USB-C 3.2 Gen 2 to support AV at the needed bandwidth
2.
Connect video displays/projectors
to the HDMI output port of Rx
3.
If collecting IR control signals
at the wall plate, connect IR emitter to Rx
’s IR Out port and secure the
emitter head to the IR sensor of the device you wish to control.
a.
Connect CAT6 cable
from KD-XWPS TX
’s RJ45 output port to the RX units RJ45 input. Use
568-B termination. Do not connect the Tx or Rx units to third-party devices, including HDBaseT.
Damage will occur and warranty will be voided.
4.
Connect power.
Screw-in power supply to the Rx unit, and then connect power to outlet.
Control
•
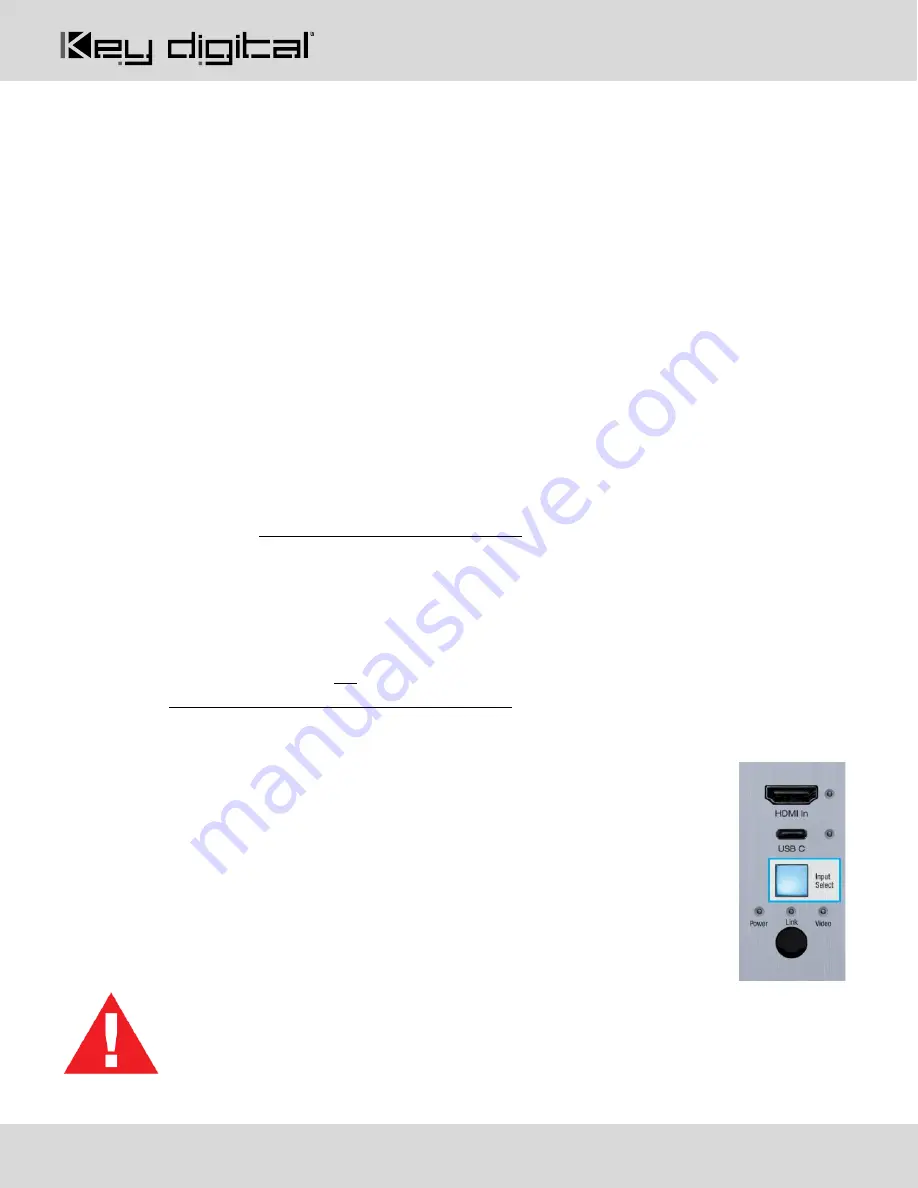
Use the Input Select button to toggle between the HDMI or USB-C source inputs or
to activate Auto Switch mode
•
Press and hold for 3 seconds to activate Auto Switching. Solid illumination of the
backlighting indicates mode has been set
Test for proper operation of the unit and cables in your system before permanently securing the
unit for final installation. Ensure that you leave enough ventilation space to provide sufficient
airflow and cooling


