E
N
GLISH
12
Keyline S.p.A.
NINJA LASER
Man. cod. B409927FG
Copyright by Keyline - Italy
SETUP
Warning:
Before carrying out any calibration activity out of the
ones described from paragraph 5.3.1 to para-
graph 5.3.5, please contact the technical service
centre, to avoid wrong manoeuvres.
5.3.1
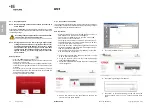
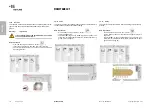
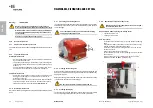
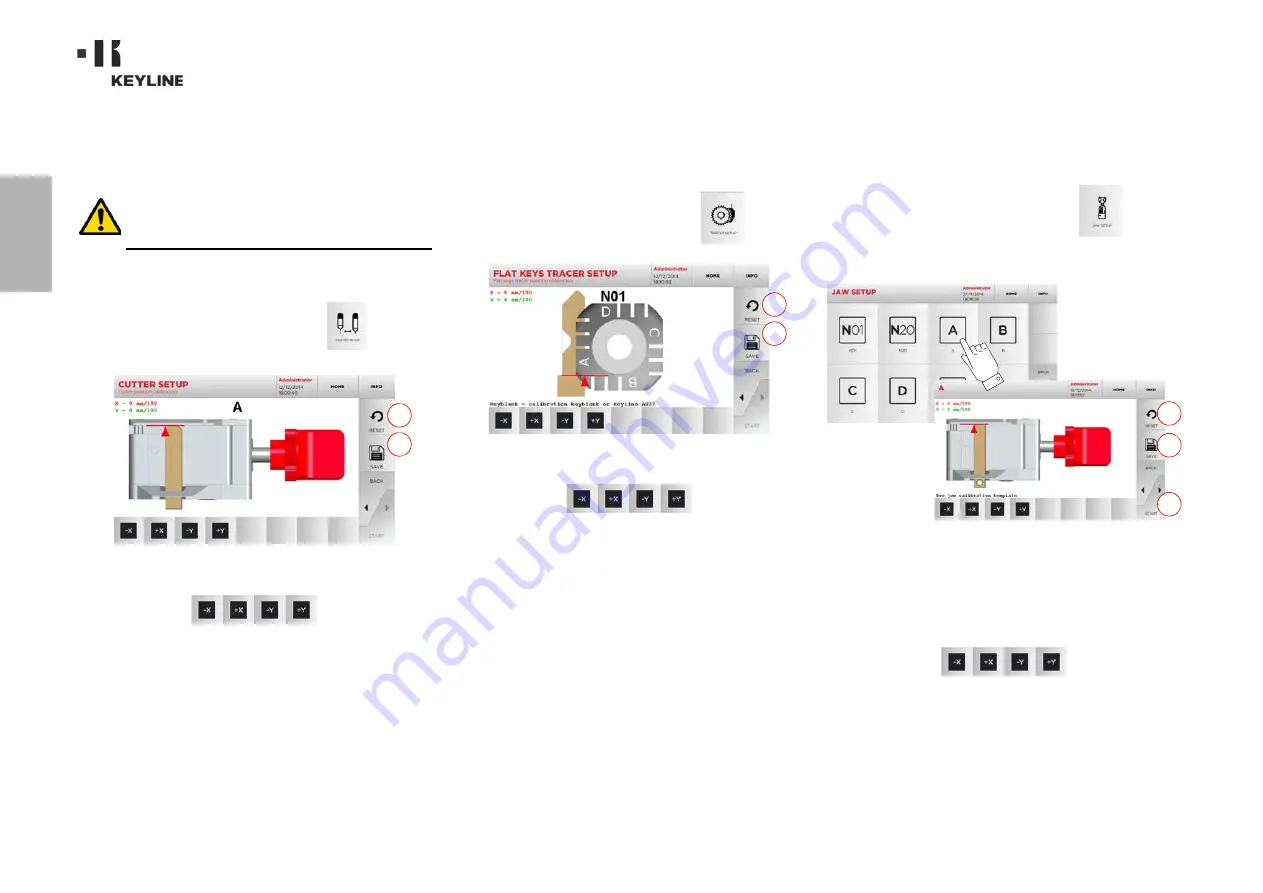
Laser cutter Setup
How to proceed:
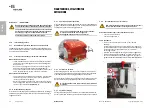
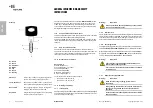
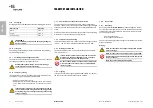
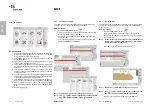
• From the CALIBRATIONS MENU, select:
• Change the position of the X-Y axes with the buttons:
• On the top left of the display it is possible to view the
height to be modified.
• Save your changes by pressing “1”.
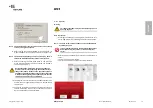
Note:
If you leave the page without pressing the "1" key, all
changes shall be lost.
• To reset the changes and go back to the previous setting,
press “2”.
5.3.2
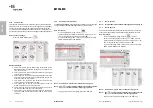
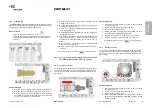
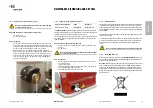
Flat keys tracer Setup
How to proceed:
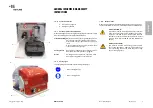
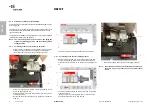
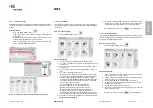
• From the CALIBRATIONS MENU, select:
• Change the position of the X-Y axes with the buttons:
• On the top left of the display it is possible to view the
height to be modified.
• Save your changes by pressing “1”.
Note:
If you leave the page without pressing the "1" key, all
changes shall be lost.
• To reset the changes and go back to the previous setting,
press “2”.
5.3.3
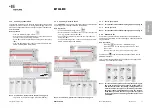
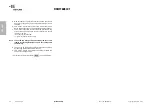
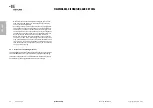
Laser keys jaw Setup
How to proceed:
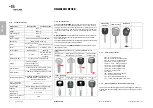
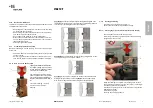
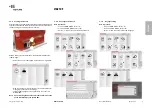
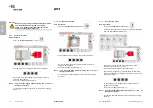
• From the CALIBRATIONS MENU, select:
• Install the required jaw and select the corresponding code
from the JAW SETUP MENU (e.g. A).
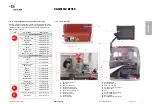
• Press “3” to launch the jaw self-calibration process.
• Follow the instructions on screen.
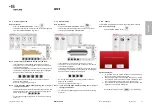
• Insert the calibration template as requested.
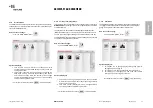
• Alternatively, if necessary, it is possible to calibrate the
system manually, by correcting the position of the X and Y
axes with the keys:
• On the top left of the display it is possible to view the
height to be modified.
• Save your changes by pressing “1”.
Note:
If you leave the page without pressing the "1" key , all
changes shall be lost.
• To reset the changes and go back to the previous setting,
press “2”.
2
1
2
1
1
2
3

