E
N
GLISH
22
Keyline S.p.A.
NINJA LASER
Man. cod. B409927FG
Copyright by Keyline - Italy
MAINTENANCE, DISMANTLING AND DISPOSAL
9Maintenance, Dismantling and disposal
Warning:
IMPORTANT!
Before carrying out any maintenance operation you
must turn OFF the power and disconnect the power cord.
Maintenance must be carried out only by qualified per-
sonnel equipped with appropriate protective devices
for safe work.
Always use original Keyline spare parts.
9.1.0
General information
9.1.1
Skills of maintenance personnel
The machine operator must be knowledgeable about machine opera-
tion.
9.1.2
Type of Maintenance
Ordinary Maintenance
• Servicing operations that must be carried out periodically
by the machine operator.
• The purpose of ordinary maintenance is guarantee regular
functioning of the machine and a consistent quality of the
product.
• The maintenance schedule may vary in relation to work or
environmental conditions in the place of installation.
Complex Maintenance
• Complex maintenance consists of actions to be taken only
when given conditions occur (break downs, failures, re-
placement of parts).
• Due to the complex nature of such actions and the special
tools required, we recommend you should contact quali-
fied personnel from or authorized by
Keyline S.p.A.
9.2.0
Ordinary maintenance
We recommend inspecting the machine periodically and replace worn
parts.
9.2.1
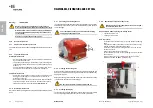
Checking and cleaning the fan
It is suggested to periodically check the cleaning level of the air grids
and make sure that there is no accumulated dust that could obstruct
the air passage.
Poor ventilation could cause a machine overheating
and damage the components.
9.2.2
Cleaning the working area
At the end of each working day clean the machine removing scrap and
burrs to ensure proper functioning of the machine and to prevent any
damage to its parts.
Empty the shaving collection drawer every time that the work surface
is cleaned or whenever it is full of shavings.
Do not clean the machine with compressed air.
9.2.3
Cleaning the display
To clean the Touch Screen display we recommend using a micro-fibre
cloth; avoid using substances that contain alcohol or solvents.
9.2.4
Replacement of the laser key cutter
Before carrying out this operation disconnect the pow-
er cable from the mains.
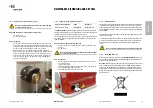
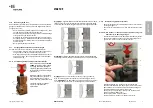
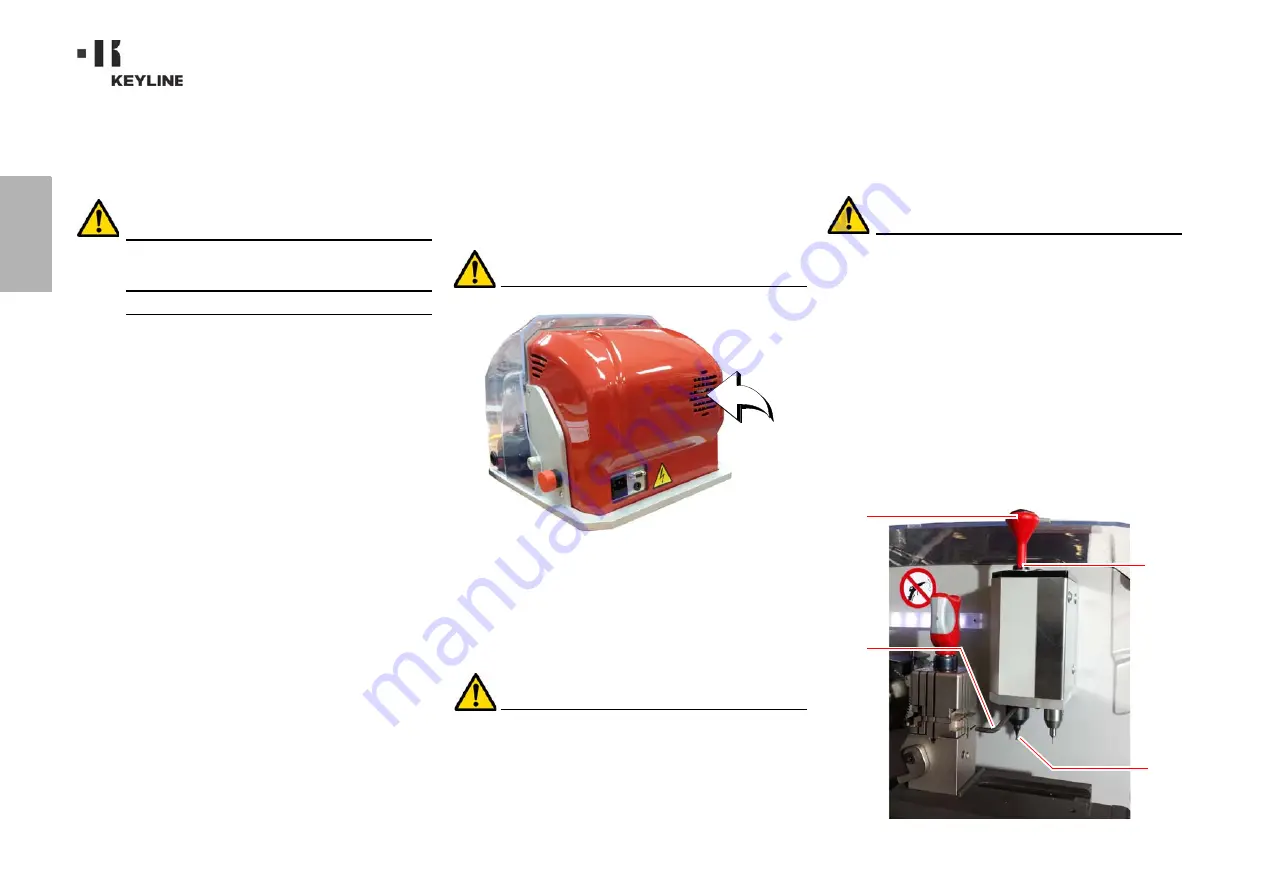
Required tools when replacing the milling cutter
• 1 cutter insertion rod
• 1 hexagonal keys D. 3
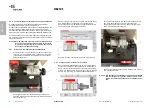
How to proceed:
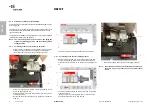
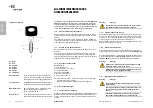
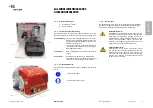
• insert the cutter insertion rod (1) into the “Patent pending”
seat;
• rotate the bar slowly until the bar ‘tooth’ (2) fits into the slot
located inside the “Patent pending” seat;
• insert the T-shaped 3 mm hexagon keys (3) in the hole to
unlock the cutter;
• loosen the nut that fastens the cutter;
• pull out the bar from the “patent pending” seat and remove
the cutter (4).
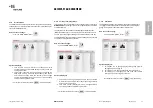
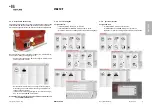
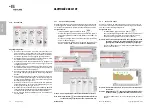
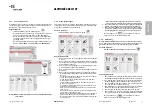
• to mount the new cutter, follow the wizard in the SET-
TINGS, UTILITIES, CHANGE CUTTER menu.
3
4
1
2

