138
8163A/B, 8164A/B, 8166A/B User’s Guide
5
Tunable Lasers
4 Move to <
On
>, by using the cursor key, and press
Enter
to enable the
output. The LED beside the optical output is lit constantly.
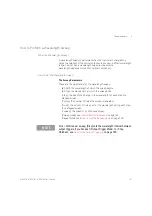
How to Set Power and Attenuation
Attenuator
If your tunable laser has an built-in optical attenuator, you can set the
laser output power and then set the attenuation.
1 Move to the Tunable Laser channel and press [Details].
2 Choose the Output 2, the high power output, for a Tunable Laser
module with two optical outputs, as described in
on page 135. For modules with one optical output this
is not necessary.
3 Move to the power parameter, [P], and press [Pwr unit].
4 Move to <dBm> and press Enter.
5 Type 5.000, using the numerical keypad and press Enter.
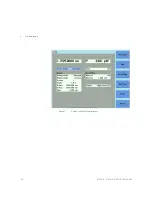
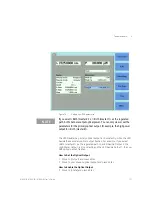
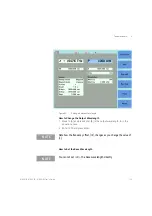
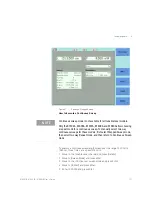
6 If [Power Mode] is not set to <Manual Att.> (see Figure 77), that is, it is
set <Automatic>, perform the following steps:
a
Move to [Power Mode] and press Enter.
b
Move to <Manual Att.> and press Enter. The attenuation parameter,
[Atten.], appears, see
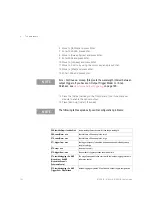
7 Move to [Atten.], type 3.000, using the numerical keypad, and press
Enter.
NOTE
If you enable the laser output for a module with two optical outputs by
pressing the Active hardkey on the module’s front panel, you
automatically choose the optical output for that module. For example, if
you press the Active hardkey beside Output 1, the Low SSE optical
output, you choose <Low SSE> as the optical output, the LED beside the
Output 1 lights constantly.
Furthermore, if you then proceed to press the Active hardkey beside
Output 2, the High Power Output, you choose <Both (master:1)> as the
optical output, the LED beside the Output 2 flashes.
If you press the Active hardkey beside a flashing LED, you disable the
unregulated optical output. If you press the Active hardkey beside a
constantly lit LED, you disable both optical outputs.
Summary of Contents for 8163A
Page 17: ......
Page 86: ...8163A B 8164A B 8166A B User s Guide 85 Additional Information 2 Figure 47 MAC Address...
Page 99: ......
Page 133: ......
Page 213: ......
Page 298: ...8163A B 8164A B 8166A B User s Guide 297 Applications 10 Figure 183 Low Dynamic Range...
Page 310: ...8163A B 8164A B 8166A B User s Guide 309 Applications 10 Figure 190 Printed Results...
Page 313: ......
Page 345: ......
Page 453: ......


