152
8163A/B, 8164A/B, 8166A/B User’s Guide
5
Tunable Lasers
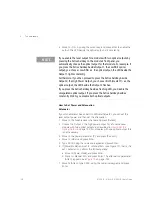
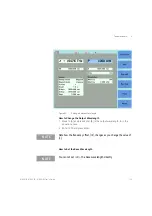
6 Move to
[
λ
Stop
] and press
Enter.
7 Enter 1560.000, press
Enter
.
8 Move to [
Sweep
Cycles
] and press
Enter.
9 Enter 0003 and press
Enter
.
10 Move to
[
Vsweep
] and press
Enter
.
11 Move to 5 nm/s, by using the cursor key, and press
Enter
.
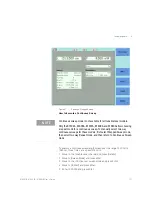
12 Move to
[
Step
] and press
Enter
.
13 Enter 1.000 and press
Enter
.
14 Press the [Active] hardkey on the front panel of your Tunable Laser
module to enable the optical output.
15 Press [Run Swp] to start the sweep.
NOTE
For a <Continuous> sweep, [Step] sets the wavelength interval between
output triggers, if you have set <Output Trigger Mode> to <Step
NOTE
The following table explains all possible configuration problems:
368,LambdaStop <=LambdaStart
start wavelength must be smaller than stop wavelength
369,sweepTime < min
the total time of the sweep is too small
370,sweepTime > max
the total time of the sweep is too large
371,triggerFreq > max
the trigger frequency (calculated from sweep speed divided by sweep
step) is too large
372,step < min
step size too small
373,triggerNum > max
the number of triggers exceeds the allowed limit
374,LambdaLogging = On AND
Modulation = On AND
ModulationSource! =
CoherenceControl
The only allowed modulation source with the lambda logging function is
coherence control.
375,LambdaLogging = On AND
TriggerOut! = StepFinished
lambda logging only works "Step Finished" output trigger configuration
Summary of Contents for 8163A
Page 17: ......
Page 86: ...8163A B 8164A B 8166A B User s Guide 85 Additional Information 2 Figure 47 MAC Address...
Page 99: ......
Page 133: ......
Page 213: ......
Page 298: ...8163A B 8164A B 8166A B User s Guide 297 Applications 10 Figure 183 Low Dynamic Range...
Page 310: ...8163A B 8164A B 8166A B User s Guide 309 Applications 10 Figure 190 Printed Results...
Page 313: ......
Page 345: ......
Page 453: ......

