8163A/B, 8164A/B, 8166A/B User’s Guide
219
Setting Attenuation and/or Power Levels
8
Power Units
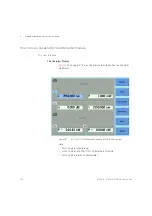
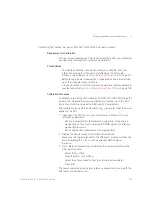
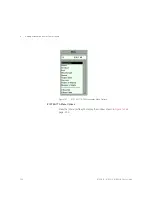
To select the units used to display power values:
1 Use the Cursor key to highlight a power parameter (P
set
or P
ref
), then
press the [Pwr Unit] softkey.
2 Select <
W
> or <
dBm
>.
3 Press [OK].
The menu item <
Power Unit
> is functionally equivalent to the
[Pwr Unit] softkey.
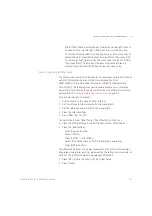
How to Control the Shutter
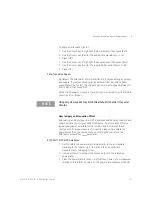
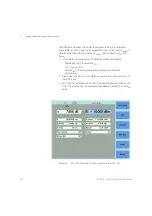
The optical path of the Attenuator module is controlled by a shutter, which
you can use both for protection purposes or to simulate channel drops.
When the shutter is open, the green LED on the attenuator module’s front
panel is lit.
The Enable button
Press the
Enable
button, located on the front panel of the Attenuator
module, to toggle the shutter state.
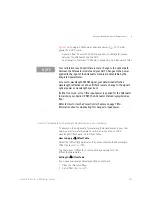
The On/Off Softkey
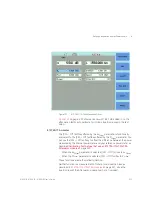
Press the [On/Off] softkey to toggle the shutter state.
The menu item <
Output State
>, and the parameter [
Output
], is functionally
equivalent to the [On/Off] softkey.
Output at Startup
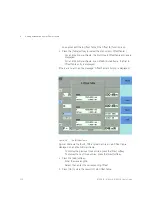
To select the shutter state at startup:
1 Press the [Menu] softkey.
2 Use the Cursor key to highlight <
Output at Startup
>, then press
Enter
.
3 Select <
Off
> or <
On
>.
4 Press [OK], then press [Close].
Remote Interlock
The Attenuator module’s shutter state is protected by mainframe’s Remote
Interlock (RIL) feature. The shutter cannot be opened if the 50
W
resistor is
removed from the RIL connector on the back panel of the mainframe. See
Summary of Contents for 8163A
Page 17: ......
Page 86: ...8163A B 8164A B 8166A B User s Guide 85 Additional Information 2 Figure 47 MAC Address...
Page 99: ......
Page 133: ......
Page 213: ......
Page 298: ...8163A B 8164A B 8166A B User s Guide 297 Applications 10 Figure 183 Low Dynamic Range...
Page 310: ...8163A B 8164A B 8166A B User s Guide 309 Applications 10 Figure 190 Printed Results...
Page 313: ......
Page 345: ......
Page 453: ......

