8163A/B, 8164A/B, 8166A/B User’s Guide
231
Setting Attenuation and/or Power Levels
8
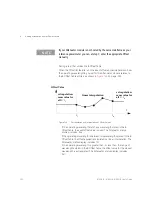
•
The
λ
Offset Table is automatically ordered by wavelength, there is
no need to enter wavelenght; offset pairs in any particular order.
•
To edit the offset applied to an existing entry, use the cursor key to
select its
λ
field, press [Add], enter the new offset, then press [OK].
•
To remove an existing entry, use the cursor key to select its
λ
field,
then press [Del]. The indices of the remaining table entries are
automatically updated; [Del] does not leave a blank entry.
How to Construct a
λ
Offset Table
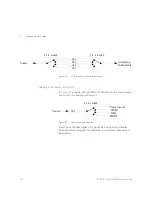
The procedures used to store the results of wavelength calibration process
using GP-IB commands are outlined in our Application Note
5988-3159EN: “Variable Optical Attenuator in BER Test Applications”.
For simplicity, the following manual procedure assumes your reference
powermeter is hosted by the same mainframe as the Attenuator module,
as described in
Hosting a Reference Powermeter
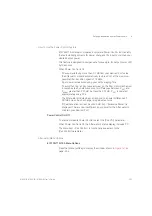
For each wavelength of interest:
1 Set the source to the wavelength of interest.
2 Set the attenuator’s
λ
parameter to this wavelength.
3 Set the reference powermeter to this wavelength.
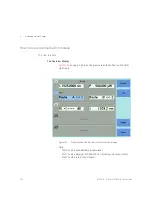
4 Press the [Menu] softkey.
5 Set <
Offset
(
λ
) > to <
off
>.
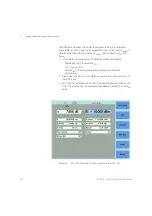
You cannot edit the
λ
Offset Table if the Offset (
λ
) function is on.
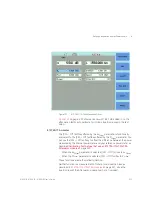
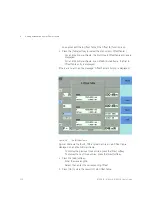
6 Press the [Table] softkey (or select the Menu item <
Offset Table
>)
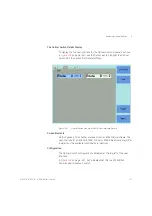
7 Press the [Add] softkey.
•
Enter the wavelength
λ
.
•
Select <
Offset
>
•
Press the [PM -> off] softkey.
•
Select the channel used to host the reference powermeter.
•
Press [OK] to confirm.
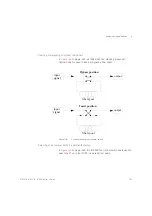
The difference between the power measured by the Attenuator module’s
integrated powermeter and that measured by the reference powermeter is
stored in the
λ
Offset Table as a wavelength:Offset pair.
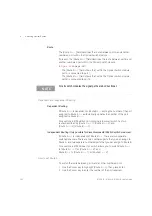
8 Press [OK] to store the result in the
λ
Offset Table.
9 Press [Close].
Summary of Contents for 8163A
Page 17: ......
Page 86: ...8163A B 8164A B 8166A B User s Guide 85 Additional Information 2 Figure 47 MAC Address...
Page 99: ......
Page 133: ......
Page 213: ......
Page 298: ...8163A B 8164A B 8166A B User s Guide 297 Applications 10 Figure 183 Low Dynamic Range...
Page 310: ...8163A B 8164A B 8166A B User s Guide 309 Applications 10 Figure 190 Printed Results...
Page 313: ......
Page 345: ......
Page 453: ......


