250
8163A/B, 8164A/B, 8166A/B User’s Guide
10
Applications
How to Set Markers
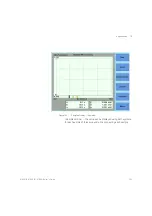
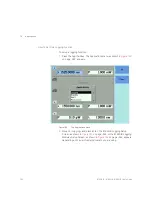
To position a marker:
1 Move to the marker by pressing [Next], the
Enter
hardkey, or the
Modify Knob repeatedly until the marker is selected.
2 You can change the position of a marker in one of the following ways:
•
Press [Menu], move to <
Set Active Marker
>, and press
Enter
. The
current setting for the selected marker appears. Edit this value to
your required value and press
Enter
.
•
For A or B, use the left and right cursor keys to position the marker.
•
For C or D, use the up and down cursor keys to position the marker.
•
Use the Modify Knob to position the marker, this is quicker than
using the cursor keys.
How to Zoom In
To zoom in one level around the active marker:
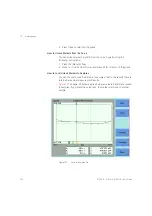
1 Press the [Next] softkey until you move to your chosen marker.
2 Position the marker using the cursor key.
3 Press the [ZoomIn] softkey to zoom in one level around the active
marker. In this way, you can zoom in around the active marker and the
zoom function is separate for the x and y axes.
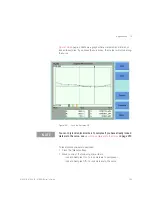
You can also zoom in between markers:
1 Set each marker as described above in Figure
2 Press the [Zoom In Betw] softkey to zoom in between the markers.
NOTE
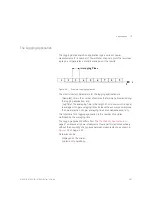
As a default, the C and D markers are out of range when you first open a
graph. See
on page 250, for more information on
setting moving markers.
NOTE
The Modify Knob is only available for the 8164A/B Lightwave
Measurement System.
Summary of Contents for 8163A
Page 17: ......
Page 86: ...8163A B 8164A B 8166A B User s Guide 85 Additional Information 2 Figure 47 MAC Address...
Page 99: ......
Page 133: ......
Page 213: ......
Page 298: ...8163A B 8164A B 8166A B User s Guide 297 Applications 10 Figure 183 Low Dynamic Range...
Page 310: ...8163A B 8164A B 8166A B User s Guide 309 Applications 10 Figure 190 Printed Results...
Page 313: ......
Page 345: ......
Page 453: ......


