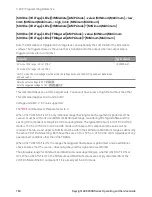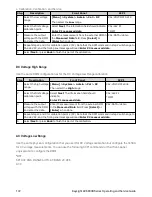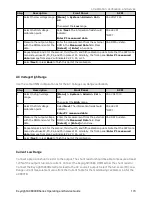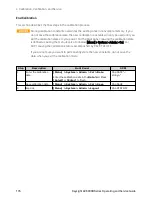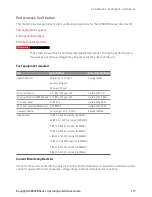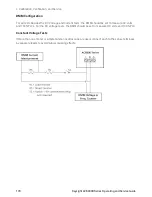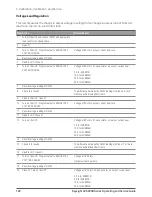
Ensure that the 6060B is in Constant Current (CC) mode. For the 3458, use the following commands to
configure the instrument after it powers up in the factory default configuration:
DCV AUTO, AZERO ON, FIXEDZ OFF
NPLC 100
Step
Description
Front Panel
SCPI
1
Select
Low
range.
[Menu] > System > Admin > Cal >
Current > Low_Range
CAL:CURR:OFFS 2
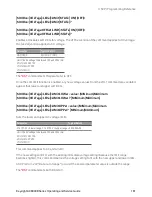
2
Disconnect the load and shunt.
3
Go to next step.
Select
Next
.
CAL:LEV P1
*OPC?
4
Wait five minutes.
5
Go to next step.
Select
Next
.
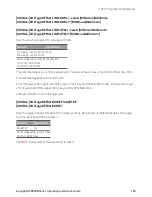
6
Reconnect the load and shunt.
7
Select
Next
.
8
Enter a 0 (zero).
(no action required)
CAL:DATA 0
9
Select
Next
.
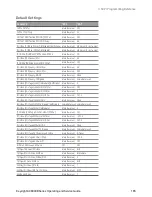
10
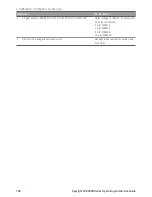
Set the Keysight 6060B to Constant Current Mode and set the load current to 90% of the value from
the table below for the model being calibrated. For example, use 3.6 A for the AC6801B.
11
Go to next step.
Select
Next
.
CAL:LEV P2
*OPC?
12
Wait five minutes.
13
Select
Next
.
14
Calculate the shunt current
(I=V/R) and enter the data.
Enter the computed current from the
external DMM measurement and Load
resistance and press
[Select]
or
[Enter]
. Select
Next
or press
Back
to
finish the calibration step.
CAL:DATA <
data
>
Current Table
AC6801B AC6802B AC6803B AC6804B
Low Range
4.0 A
8.0 A
16.0 A
32.0 A
4 Calibration, Verification, and Service
174
Keysight AC6800B Series Operating and Service Guide
Summary of Contents for AC6801B
Page 1: ...Operating and Service Guide Keysight AC6800B Series Basic AC Sources...
Page 16: ...AC6802B 1 Getting Started 16 Keysight AC6800B Series Operating and Service Guide...
Page 17: ...AC6803B Keysight AC6800B Series Operating and Service Guide 17 1 Getting Started...
Page 18: ...AC6804B 1 Getting Started 18 Keysight AC6800B Series Operating and Service Guide...
Page 62: ......
Page 196: ...4 Calibration Verification and Service 196 Keysight AC6800B Series Operating and Service Guide...

