Scanner Maintenance and Calibration
5
Keysight 5500 SPM User’s Guide
5-18
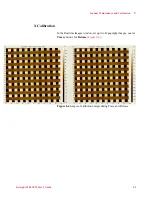
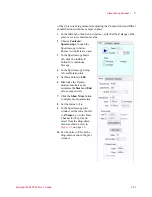
all four measurements. An example of one of the corner angle
measurements is shown below in
.
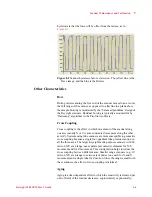
Figure 8-16
Angle measurement after calibrating Non-orthogonality
Z Calibration
Sensitivity
After the X and Y dimensions have been calibrated, obtain an image of a
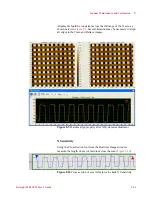
Z calibration standard and render the data as Tilted. Zoom in on a single
pit to minimize distortion. Position the cross section tool over a Z
feature. Place markers at the top and bottom of the feature. Measure the
step size.
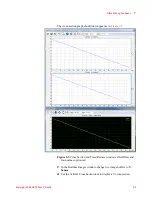
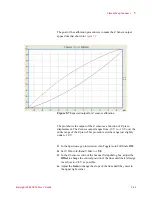
Figure 8-17
Cross-section checking feature height for Z sensitivity
It is important to correctly position the markers for the Z feature
measurement. Place them in the center of the scan range. It may also be


