LAN configuration
The following sections describe the primary front panel LAN configuration functions on the front-panel menu.
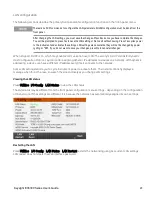
There are no SCPI commands to configure the LAN parameters. All LAN configuration must be done from the
front panel.
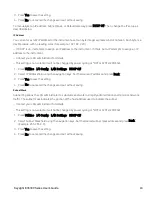
After changing the LAN settings, you must save the changes. Press Back once you have complete the changes.
You will be prompted to press Yes to save the LAN setting or No to exit without saving. Press Yes cycles power
to the instrument and activates the settings. LAN settings are nonvolatile, they will not be changed by power
cycling or *RST. If you do not want to save your changes, press No to cancel all changes.
When shipped, DHCP is on, which may enable communication over LAN. The acronym DHCP stands for Dynamic
Host Configuration Protocol, a protocol for assigning dynamic IP addresses to devices on a network. With dynamic
addressing, a device can have a different IP address every time it connects to the network.
Some LAN settings require you to cycle instrument power to activate them. The instrument briefly displays a
message when this is the case, so watch the screen closely as you change LAN settings.
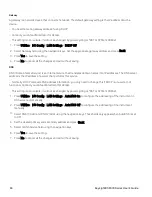
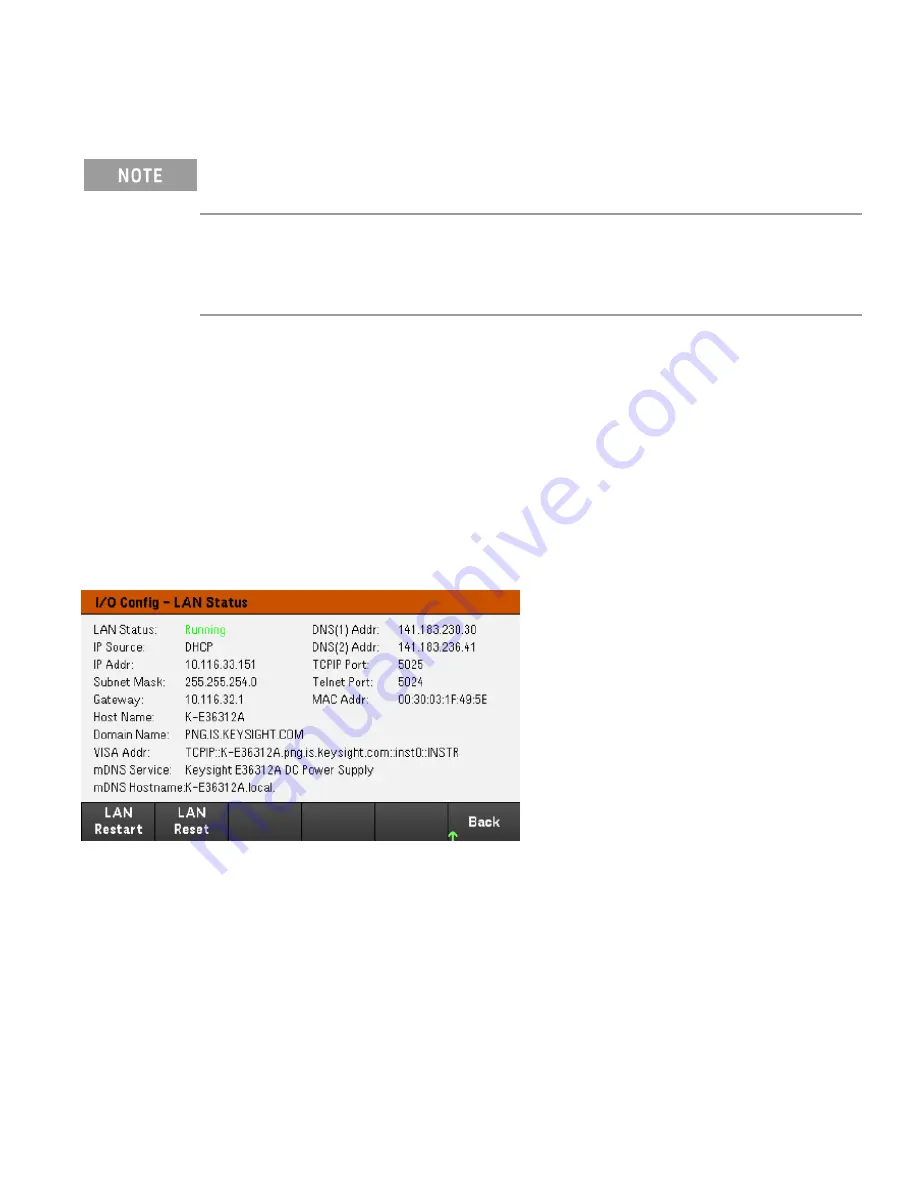
Viewing the LAN status
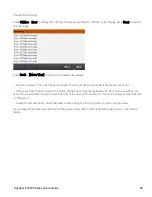
Press
Utilities
>
I/O Config
>
LAN Status
to view the LAN status.
The LAN status may be different from the front panel configuration menu settings - depending on the configuration
of the network. If the settings are different, it is because the network has automatically assigned its own settings.
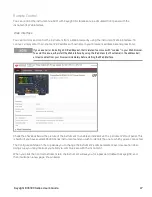
Restarting the LAN
Press
Utilities
>
I/O Config
>
LAN Status
>
LAN Restart
restarts the networking using ALL current LAN settings.
LAN restart does not clears the Web interface password.
Keysight E36300 Series User's Guide
41

