
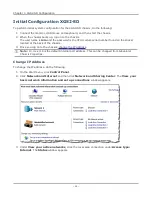

Unpack and Connect the Unit
1. Unpack the unit from the shipping container, and verify that you have all the required
components.
The XGS2 chassis platform shipping carton contains the following items:
l
One XGS2 chassis
l
One rack mounting kit
l
Two power cords (one additional power cord if you buy an optional redundant power supply)
l
Ixia standard warranty notice
l
One
XGS2 Getting Start Guide
l
Any optional items that you ordered (such as transceivers and cables)
If any items are missing or damaged, contact Ixia Support. Refer to
for
contact information for each Ixia region.
2. Install the chassis. See
Install XGS2 Chassis on the next page
.
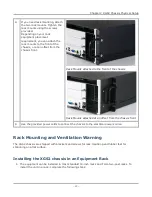
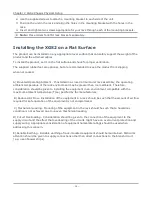
3. Place the unit in the operating location that you have chosen.
You can operate the appliance as a desktop unit or a rack-mounted chassis. For rack-mount
instructions, refer to
Rack Mounting XGS2 chassis platform
4. Before connecting the unit, record the following information from the label on the back of the unit:
l
Host Name (for example, XGS2-HS),
l
Part number (for example, 940-0012),
(You can record these in the form on
Record Product Information on page 15
.)
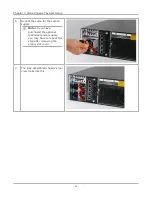
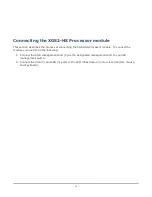
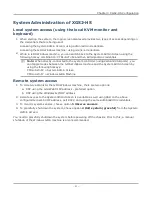
5. Connect the LAN port on the XGS2 chassis platform to your network.
6. Connect the VGA and USB ports to the KVM infrastructure (or connect them to a local monitor,
mouse, and keyboard).
Using the provided USB to PS2 cable, connect the RS232 port on the XGS2 chassis platform to the
workstation that you will use to manage the unit (described in
Initial Configuration of XGS2-HS
and
Initial Configuration XGS2-SD on page 24
).
If your workstation does not have a 9-pin serial port, you will need to use a USB to Serial port
converter.
7. Connect the power cord (provided in the shipping carton) to a 110V or 220V power source.
8. Switch on the power supply.
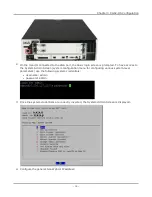
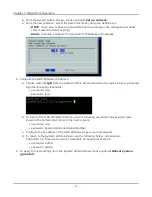
9. Check the following LED indicators to ensure that your system is operating correctly:
l
Power LED indicator: Green indicates proper operation.
l
LAN port LED indicator: Green indicates proper operation.
– 9 –
Summary of Contents for Ixia IxOS XGS2 Series
Page 1: ...IxOS XGS2 Chassis Platform Getting Started Guide Release 8 51 EA...
Page 3: ...This page intentionally left blank iii...
Page 5: ...This page intentionally left blank v...
Page 11: ...This page intentionally left blank 4...
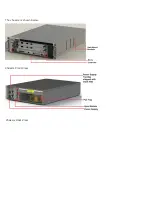
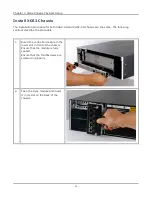
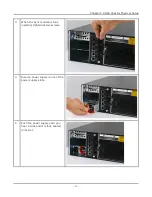
Page 14: ...The chassis is shown below Chassis Front View Chassis Rear View...
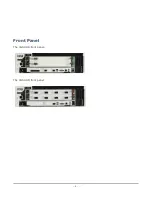
Page 15: ...Front Panel The XGS2 HS front panel The XGS2 SD front panel 4...
Page 52: ...This page intentionally left blank 41...


