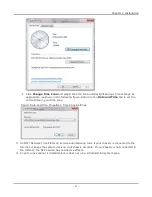
If the installation fails, check that there is enough disk space on the system by using the
df -ak
command.
There must be enough space in the /tmp folder to extract the files, and also in the target folder where
the files are to be installed. If the /tmp directory does not have enough space, specify the directory.
You can do this by setting IATEMPDIR environment with path to the folder where you have enough free
space. The following example shows the use of the options:
export IATEMPDIR=<tempdir>
./IxOS8.00.XXX.XXXLinux.bin
Note:
For 64-bit Linux systems, you should use the ixosX.XX.XXX.XXXLinux64.bin. The
installation is the same as described in the previous procedure.
Unix/Linux Operation
Though IxExplorer is a Windows-only application, you can access the IxOS hardware and software from
a UNIX or Linux environment by installing a Tcl client on the UNIX/Linux computer. The client computer
connects to IxTclServer on the chassis.
For specific information on how to use IxTclServer and the Tcl client, see the
IxOS Tcl Development
Guide
.
There is also support for 64-bit Linux and the installer is ixos8.00.XXX.XXXLinux64.bin.
Powering Up
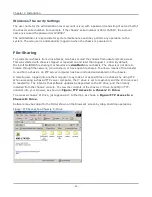
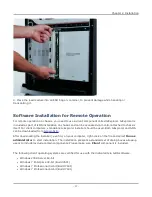
To power the chassis, press the power button in the front of the chassis. If a monitor is connected to
the chassis, the initial window appears as is shown in
Figure: Initial Window Display from
Locally Connected Monitor
.
The IxServer software is the agent that interfaces directly to the hardware of the chassis. It is started
automatically at power-up and the software’s viewable output is primarily intended as a diagnostic tool
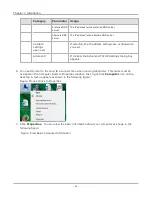
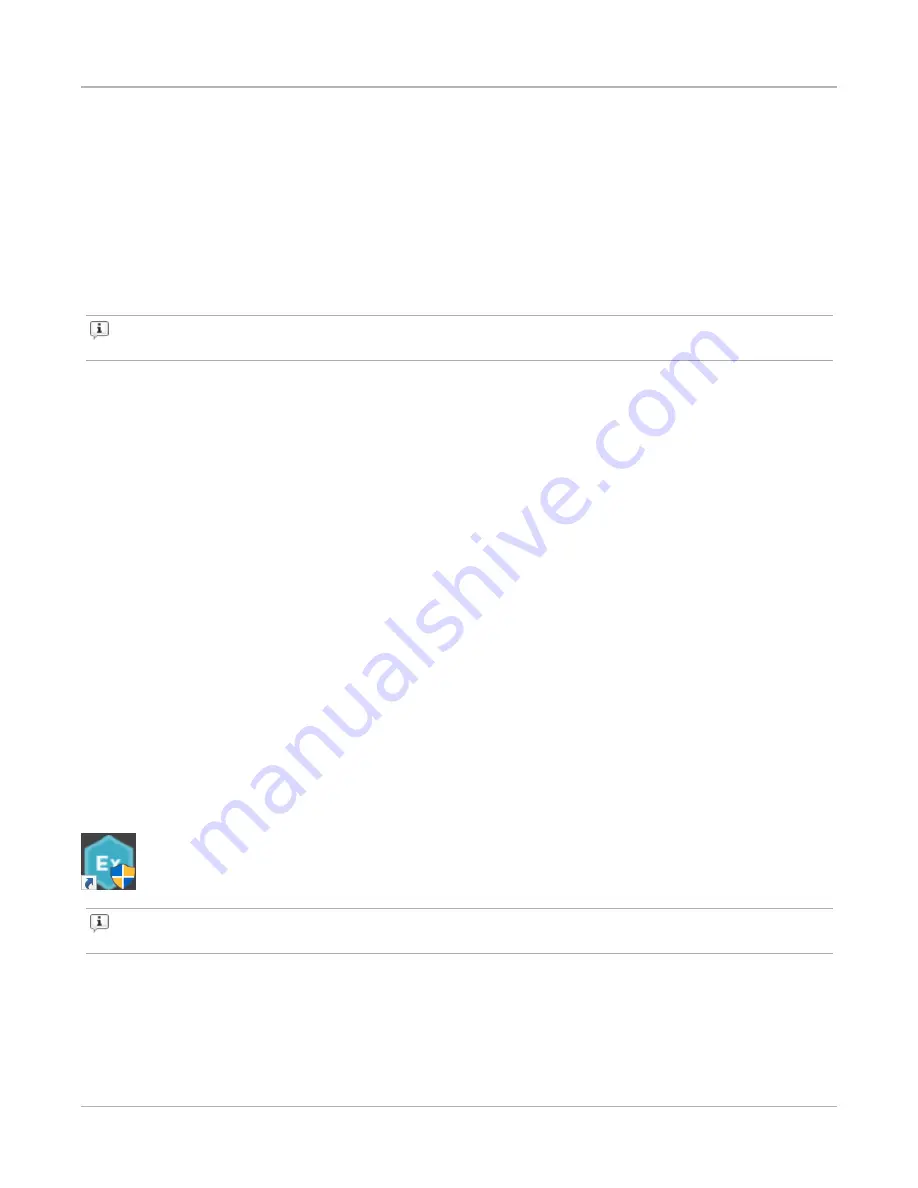
for the Ixia hardware. IxExplorer can now be started locally by double-clicking the IxExplorer icon on
the Windows desktop, as shown in the following figure:
Note:
Except for chassis designed for HOT SWAPPING (that is, the XM12, and XM2), the chassis
must be powered off before installing or removing load modules.
Chapter 2 Installation
– 31 –
Summary of Contents for Ixia IxOS
Page 1: ...IxOS Getting Started Guide Release 8 51 EA ...
Page 3: ...This page intentionally left blank iii ...
Page 5: ...This page intentionally left blank v ...
Page 11: ...This page intentionally left blank xi ...
Page 52: ...Figure Extracting files Figure Setup progress window Chapter 2 Installation 41 ...
Page 57: ...Figure IxExplorer installation options on client Chapter 2 Installation 46 ...
Page 58: ...Figure IxOS installation options on chassis Chapter 2 Installation 47 ...
Page 63: ...Figure Setup complete Chapter 2 Installation 52 ...
Page 96: ...Figure Example of the Statistics Window for Gigabit Cards Chapter 3 Using IxExplorer 85 ...


