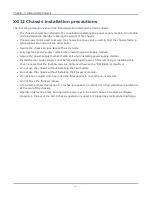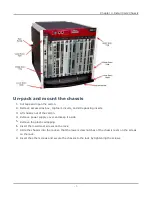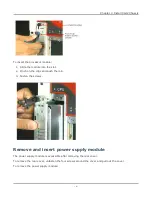
3. Push the power clamp handles in to lock the busbars in place.
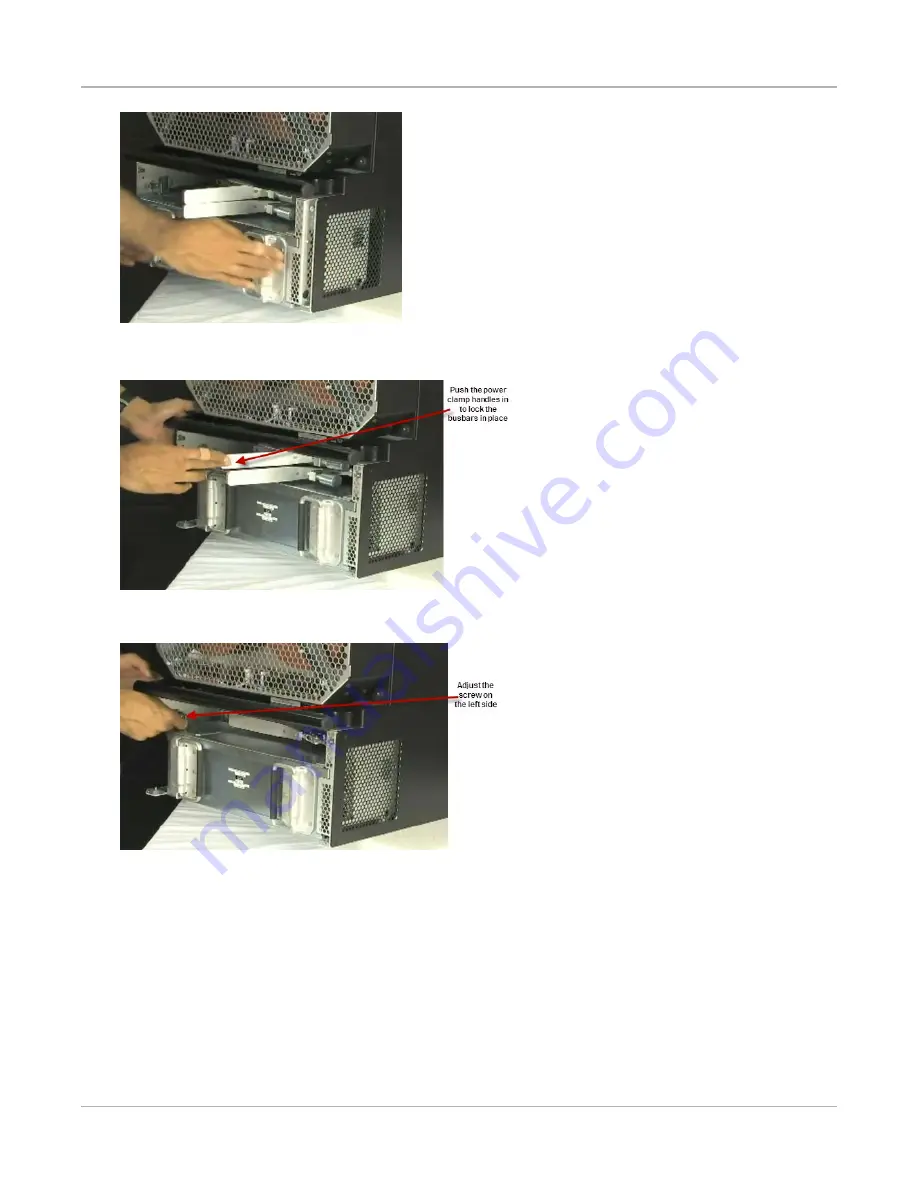
4. To hold the power module in place, tighten the thumbscrew at the upper left corner of the power
supply module.
5. Replace the rear cover and fasten it with the screws.
Power cords
The XG12 chassis is CE marked and UL™ certified when using the 200-240VAC power cords supplied
with the chassis. However, these certifications for the chassis safety approvals are only valid when the
unit is operating from all three 200-240VAC main power sources.
Chapter 3 Install XG12 Chassis
– 11 –
Summary of Contents for Ixia XG12
Page 1: ...XG12 Chassis Release 9 10 Assembly Guide Document version 202008071846 05 30...
Page 5: ...This page intentionally left blank v...
Page 7: ...This page intentionally left blank vii...
Page 9: ...This page intentionally left blank 2...
Page 11: ...This page intentionally left blank 4...

