Keysight PXIe System and Cable Interface Installation Guide
21
Using Different PXIe Chassis
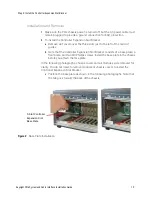
Follow these steps to install the module in a PXIe chassis.
1
Turn off the host PC and the PXIe chassis. The chassis should be plugged into
an AC power source; the AC power cord grounds the chassis and protects it
from electrical damage while modules are installed.
2
On the M9018 chassis, set the rear panel
INHIBIT
switch to
DEF
.
3
Remove the module from its protective bag. Observe electrostatic discharge
precautions.
4
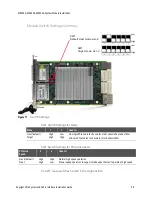
Ensure the switches on the Cable Interface Module or the System Module are
set correctly.
a
Refer to
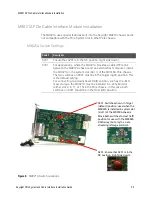
on page 23 for information on the
M9021A switches.
b
Refer to
“Module Switch Settings Summary”
on page 29 for information on
the System Module switches.
5
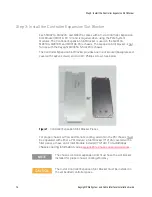
Remove the screw protection caps from the module retaining screws.
6
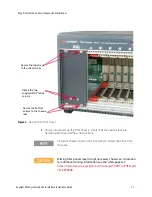
Push down on the module’s ejector/injector handle.
7
Carefully align the module board edges with the chassis guide rails (red guide
rails for slot 1) and insert the module into the guide rails.
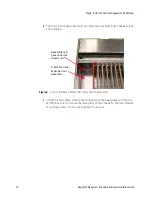
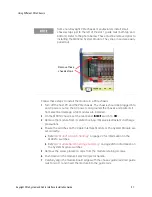
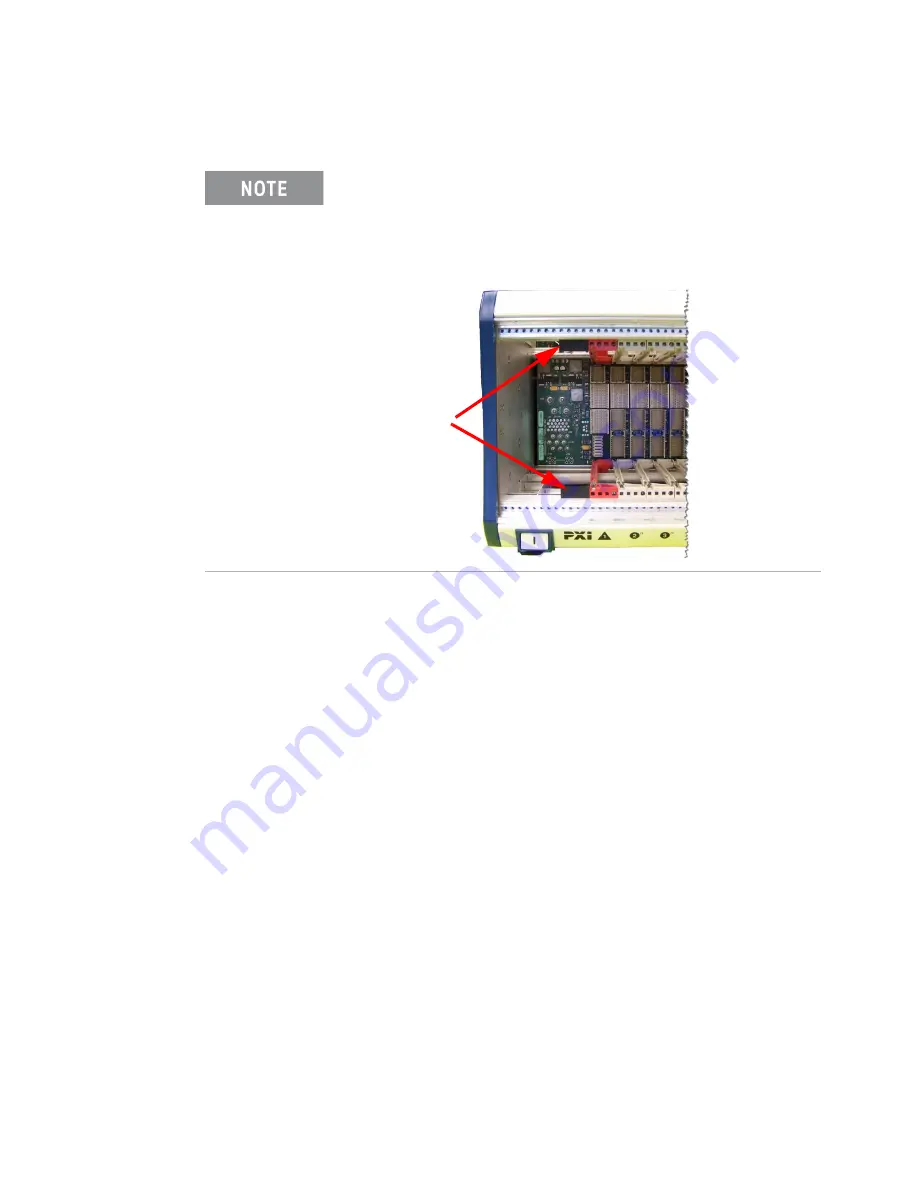
Some non-Keysight PXIe chassis manufacturers install small
chassis stops just to the left of the slot 1 guide rails (both top and
bottom). Refer to the photo below. These must be removed prior to
installing the M9024A System Module. They snap in and are easily
pulled out.
Remove these
chassis stops
Summary of Contents for M9021A
Page 2: ......
Page 6: ...vi ...
Page 44: ...44 Keysight PXIe System and Cable Interface Installation Guide Troubleshooting and Service ...
Page 45: ......


