12
RTB SERIES CABLE REEL MANUAL
KH200-02619_REV-A
SECTION 3 - INSTALLATION
Cable Installation
Either of two methods for installing cable on the reel may be used. The
first method
is to simply lay the cable
out straight along the path of travel and wrap onto the reel. The
second method
requires using a support for
the cable being wrapped (see
Figure 13-1,
next page). In either method, it is important that the cable not twist
or loop.
1. Remove the 4 screws securing the outer flange. Remove outer flange, gasket and drum from the remaining
assembly.
2. Strip back approximately 6” of cable jacket.
3. Feed cable through the watertight and the drum, so that 1” of the jacket is through the watertight. Secure
a cable-tie 1/4” from the end of the jacket and tighten watertight. Replace inner flange gasket if damaged
(see
Figure 13-3,
next page).
4. Cut the individual wires such that the white and green wires extend 3” beyond the cable jacket and the red
and black wire extend 6” beyond the cable jacket. Strip approximately 1/2” of insulation. Insert each cable
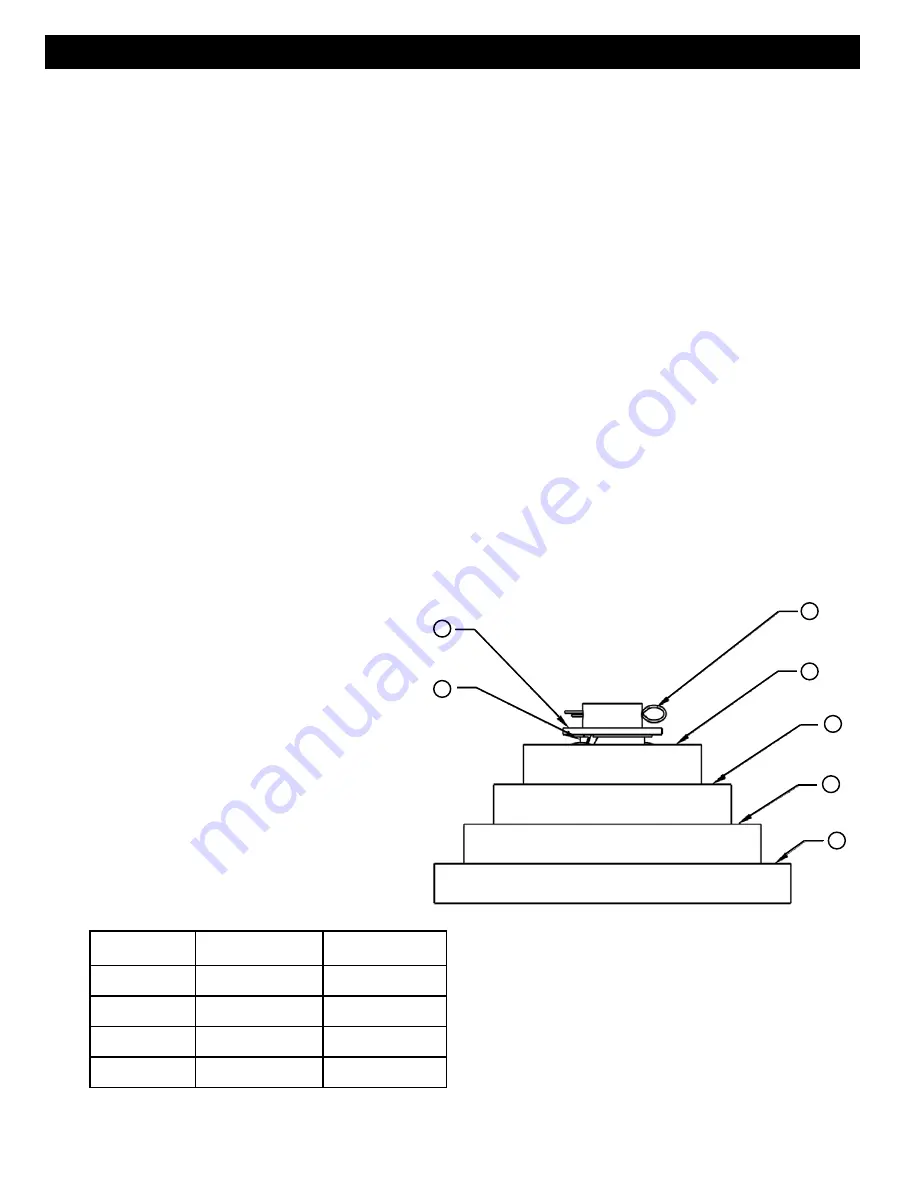
wire and it’s corresponding slip ring brush wire into the toggle lock wire connector. See
Figure 12-1
.
5. Perform a continuity check to verify circuits.
6. Attach outer flange gasket and outer flange to drum (replace outer flange gasket if damaged). Attach with
10-32 x 3-1/2” screws. Longer screws will damage the reel.
7. Wrap new cable on drum spool.
8. Adjust spring tension by following spring tension adjustment procedure (page 14).
Figure 12-1
1. Plastic Washer
2. Bearing
3. Cotter Pin
4. Ground Ring
5. Ring 2
6. Ring 3
7. Ring 4
Location of Ring
No. of Conductor
Base Color
top
Ground
Green
2nd from top
2
Black
3rd from top
3
White
bottom
4
Red
1
2
4
3
5
6
7
Figure12-2


