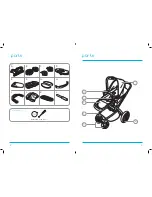
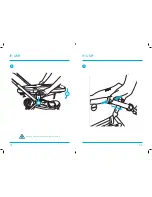
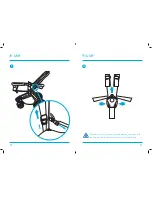
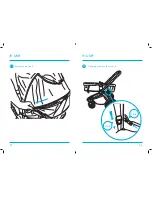
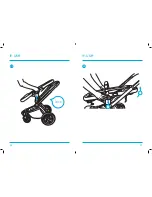
Summary of Contents for Mooch
Page 1: ...Important Keep for future reference read carefully Instruction Manual tate Pram and Pushchair ...
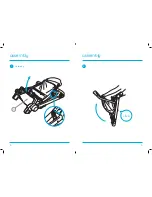
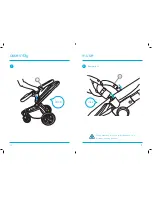
Page 3: ...assembly assembly 4 5 1 A Unfolding click 2 ...
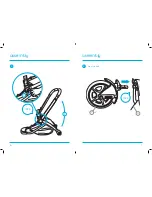
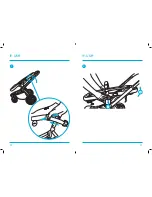
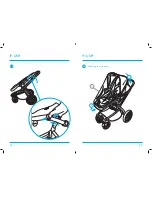
Page 4: ...assembly assembly 6 7 click 3 1 2 4 click C x2 A Front wheels ...
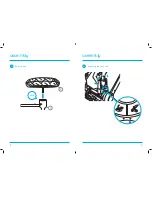
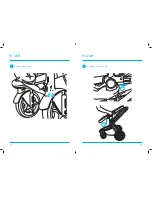
Page 5: ...assembly assembly 8 9 click 5 A B Rear wheels 6 Attaching the seat unit ...
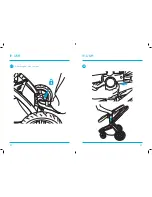
Page 7: ...assembly assembly 12 13 9 Removing the bumper bar 1 1 2 10 Attaching the hood I click ...
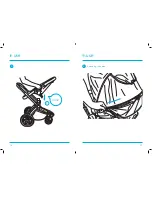
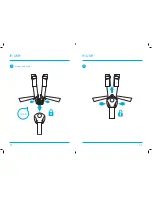
Page 8: ...in use in use 14 15 2 Change to rear facing 2 1 1 Swivel wheel lock ...
Page 9: ...in use in use 16 17 4 3 Extending the hood click 3 ...
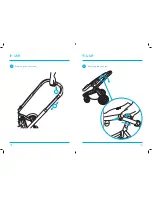
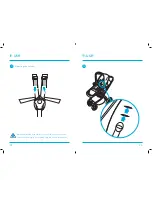
Page 10: ...in use in use 18 19 5 Adjusting the handlebar 6 Adjusting the backrest 1 2 ...
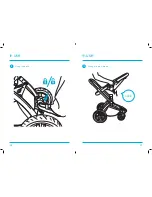
Page 11: ...in use in use 20 21 8 7 2 1 ...
Page 12: ...in use in use 22 23 9 Using the buckle 10 click ...
Page 14: ...in use in use 26 27 13 Using the brake 14 click Change to pram mode ...
Page 15: ...in use in use 28 29 15 16 2 1 Remove bumper bar when in pram mode ...
Page 18: ...in use in use 34 35 Changing the pram to seat unit 22 21 Extending the hood click click ...
Page 19: ...in use in use 36 37 24 click 23 2 1 ...
Page 20: ...in use in use 38 39 25 Attaching the raincover J 26 2 1 ...
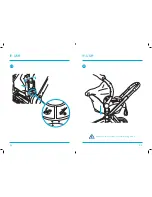
Page 21: ...in use in use 40 41 Attaching an infant carrier 27 28 ...
Page 22: ...in use in use 42 43 29 30 Never use infant carrier in forward facing mode ...
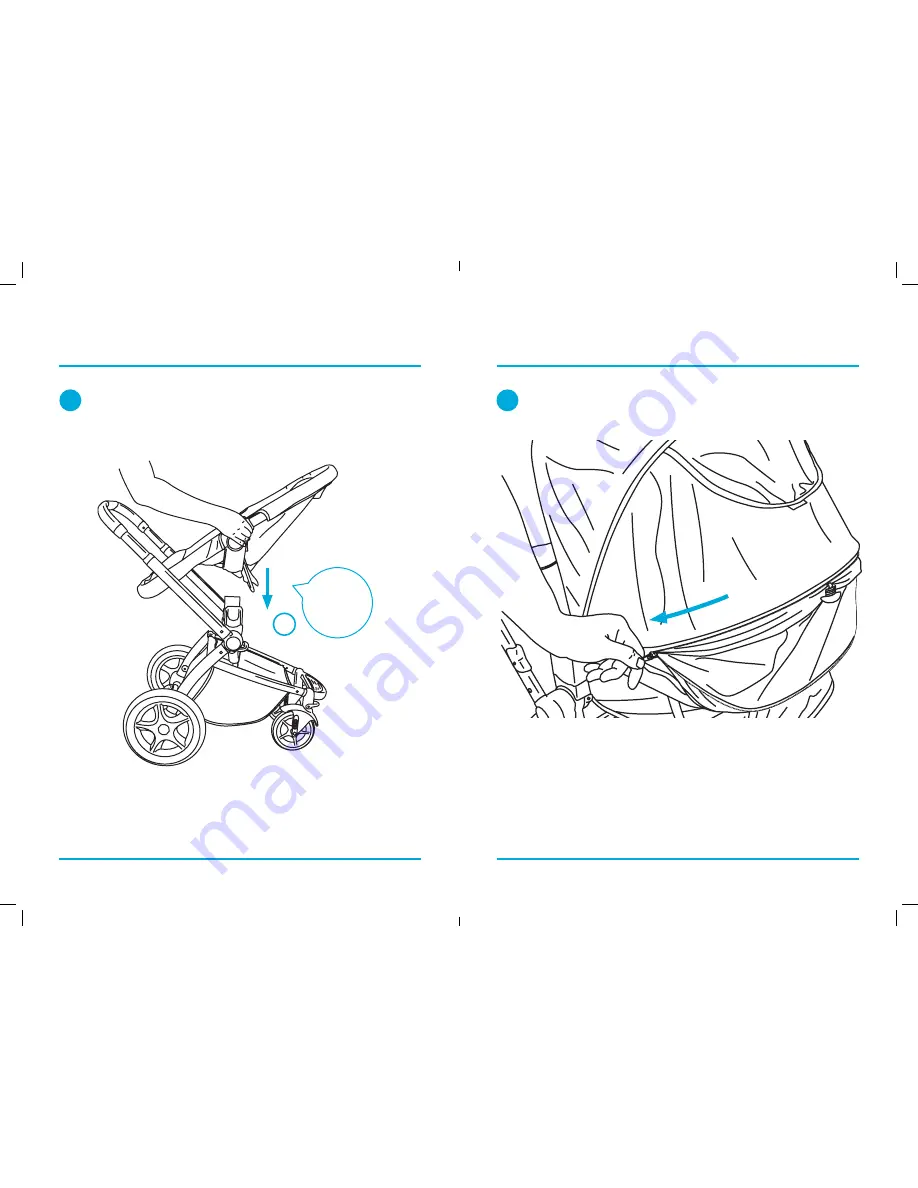
Page 23: ...folding folding 44 45 Folding the pushchair 1 2 ...
Page 24: ...folding folding 46 47 3 click 4 1 2 3 5 4 Keep child away whilst folding pushchair ...
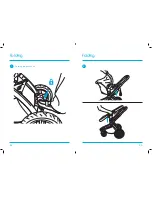
Page 25: ...disassembly 49 folding 48 5 Carrying the pushchair Remove front wheels 1 1 2 3 ...
Page 26: ...disassembly disassembly 50 51 Removing the basket Remove rear wheels 3 2 1 2 ...
Page 27: ...disassembly 52 4 ...


